Upload the tutorial data
This tutorial uses a set of data that is designed to show you the features in the product. Using the tutorial data ensures that your search results are consistent with the steps in the tutorial.
Prerequisites
- You must have the tutorial data files on your computer.
- The tutorialdata.zip file must remain compressed to upload the file successfully. Some browsers automatically uncompress ZIP files. See Download the tutorial data files for more information.
- It is helpful to understand the type of data you that are uploading with this tutorial. See What is in the tutorial data?.
Use the Add Data wizard
- If there is a Welcome window displayed, close that window.
- Click Settings > Add Data.
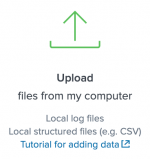
- At the bottom of the window, click Upload. There are other options for adding data, but for this tutorial you will upload the data files.
- Under Select Source, click Select File.
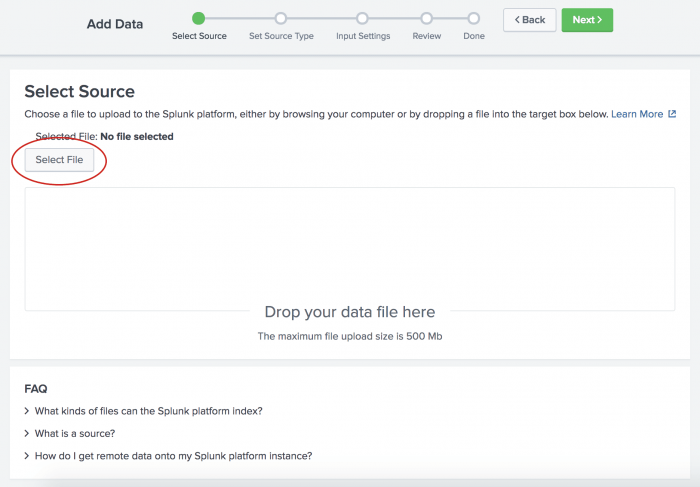
- In your download directory, select the
tutorialdata.zipfile and click Open.Because you specified a compressed file, the Splunk software recognizes that type of data source. The Set Source Type step in the Add Data wizard is skipped. When you load data that is not in a compressed file, you will be asked to set the data source type.
- Click Next to continue to Input Settings.
- Under Input Settings, you can override the default settings for Host, Source type, and Index.
Because this tutorial uses a ZIP file, you are going to modify the Host setting to assign the host values by using a portion of the path name for the files included in the ZIP file.- a. Select Segment in path.
- b. Type
1for the segment number.
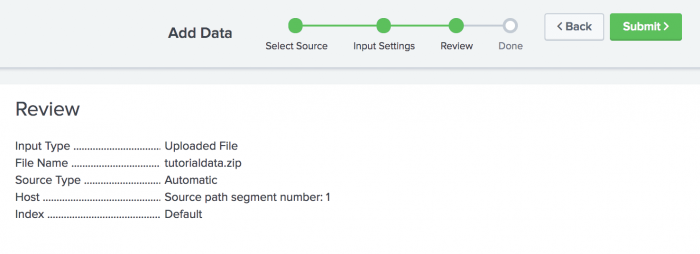
- Click Review. The following screen appears where you can review your input settings.
- Click Submit to add the data.
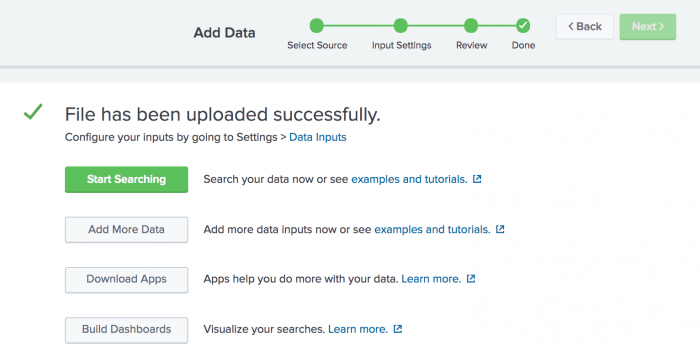
- To see the data in the Search app, click Start Searching.
You might see a screen asking if you want to take a tour. You can take the tour or click Skip.
The Search app opens and a search is automatically run on the tutorial data source.

Success! The results confirm that the data in thetutorialdata.zipfile was indexed and that events were created. - Click the Splunk logo to return to Splunk Home.


Next step
You have completed Part 2 of the Search Tutorial.
Now you know how to add data to your Splunk platform. Next, you will begin to learn how to search that data. Continue to Part 3: Using the Splunk Search App.
| What is in the tutorial data? | Exploring the Search views |
This documentation applies to the following versions of Splunk® Enterprise: 9.3.0, 9.3.1, 9.3.2, 9.3.3, 9.3.4, 9.4.0, 9.4.1, 9.4.2
Feedback submitted, thanks!