Install the Splunk App for Windows Infrastructure using self service installation on Splunk Cloud
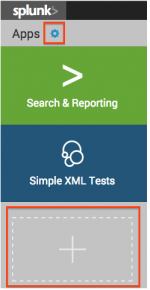
- Click on the Manage Apps button.
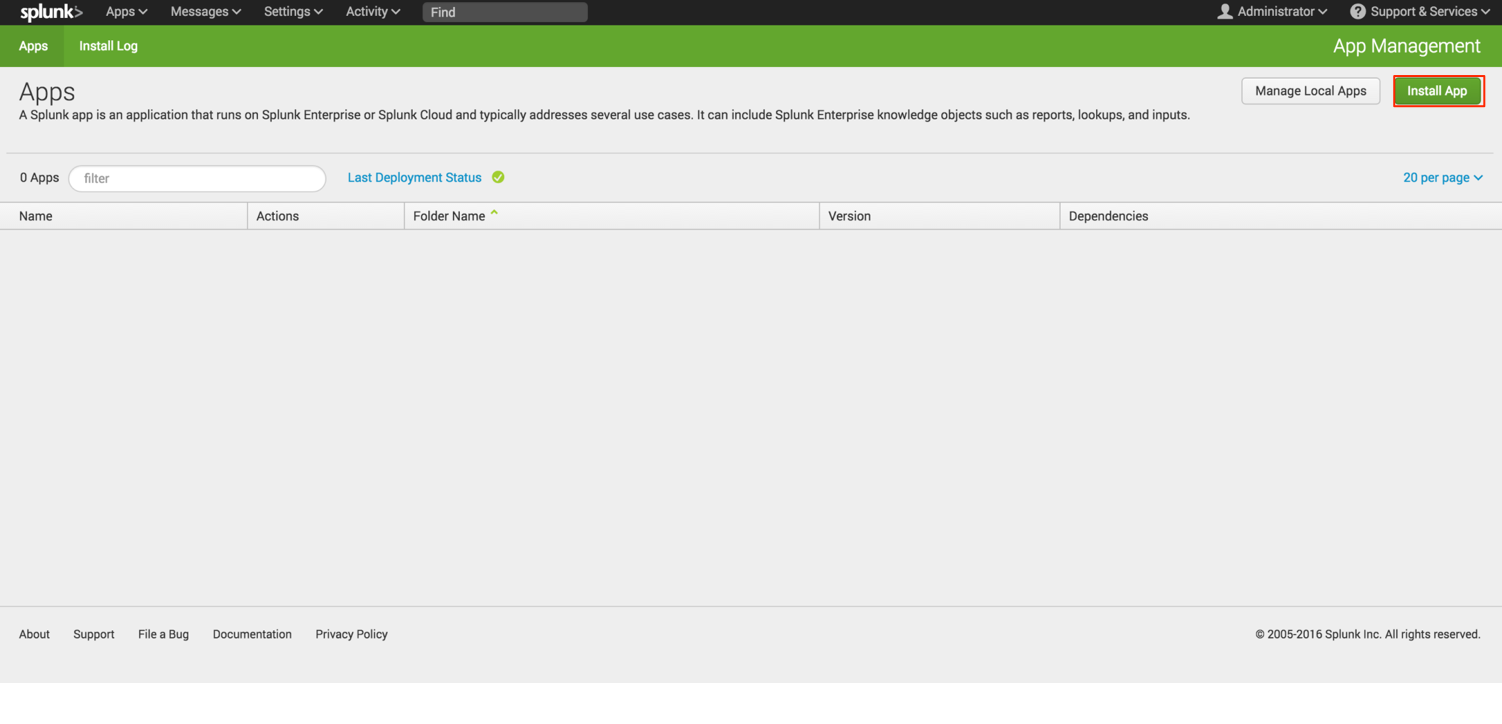
- Under the App Management menu, click the Install App button. The Browse More Apps menu appears.
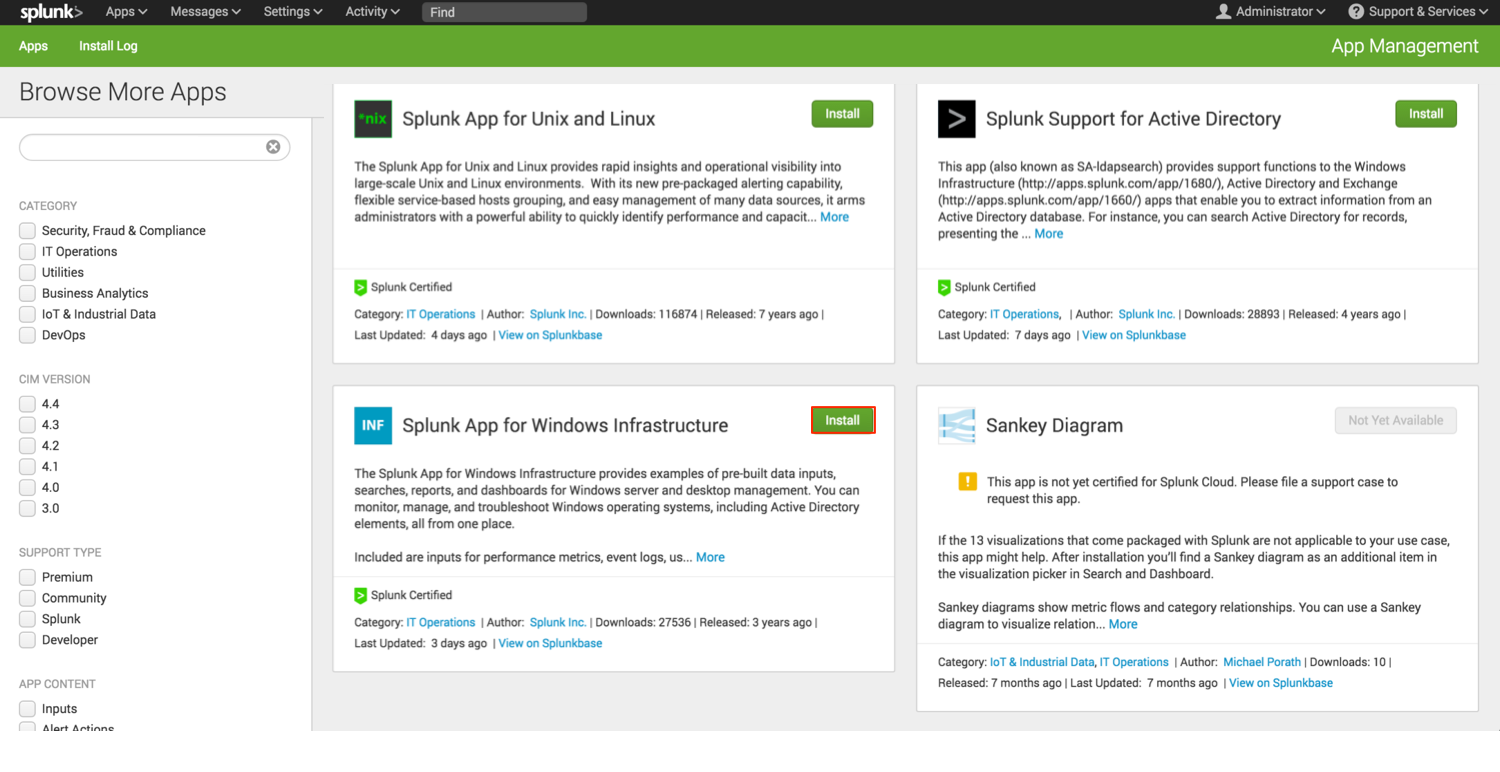
- Search for the Splunk App for Windows Infrastructure, and click the Install button. Note: Not all apps are available to be installed using self service installation.
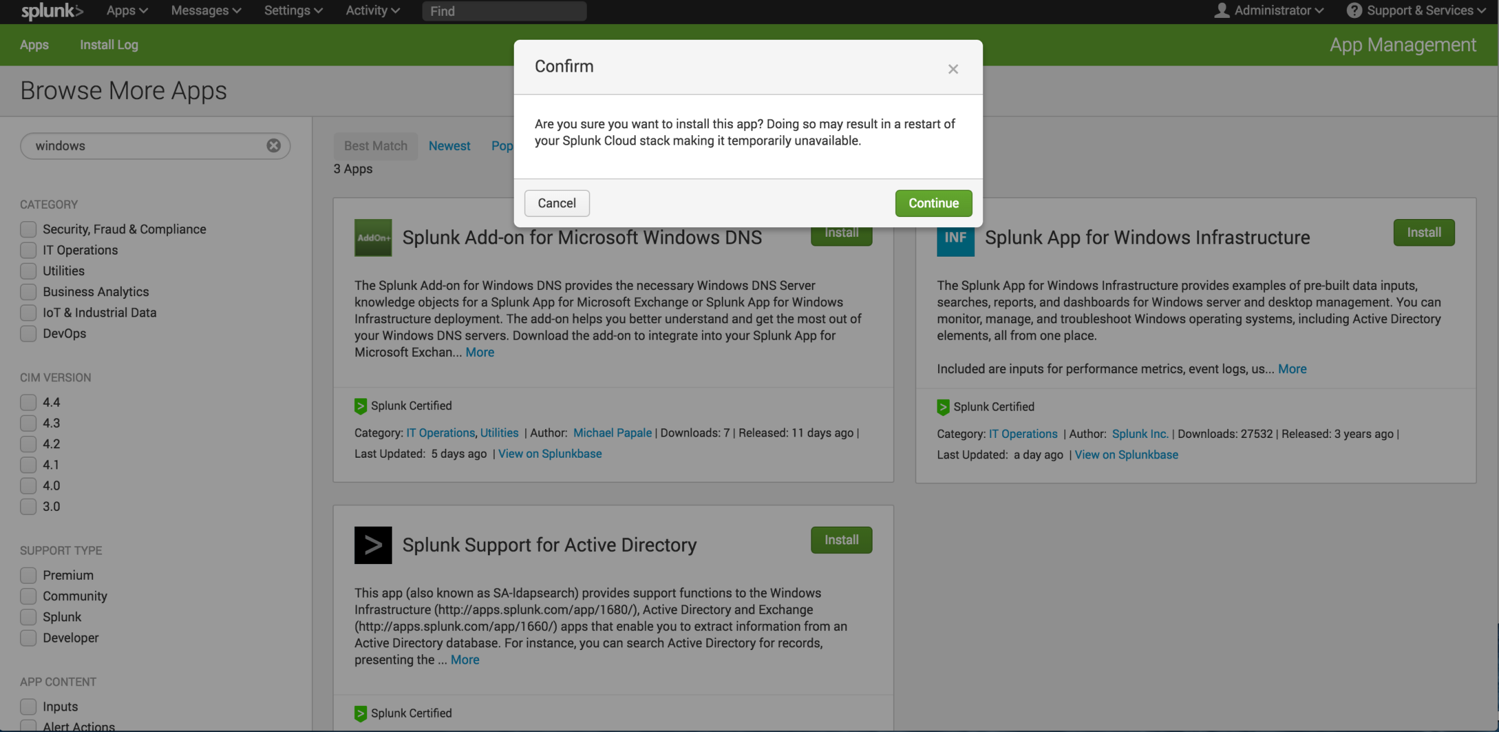
- A Confirmation box appears. Review and click Continue.
- Enter your Splunk.com login credentials, read and accept the login disclaimer, and click the Login and Download button.
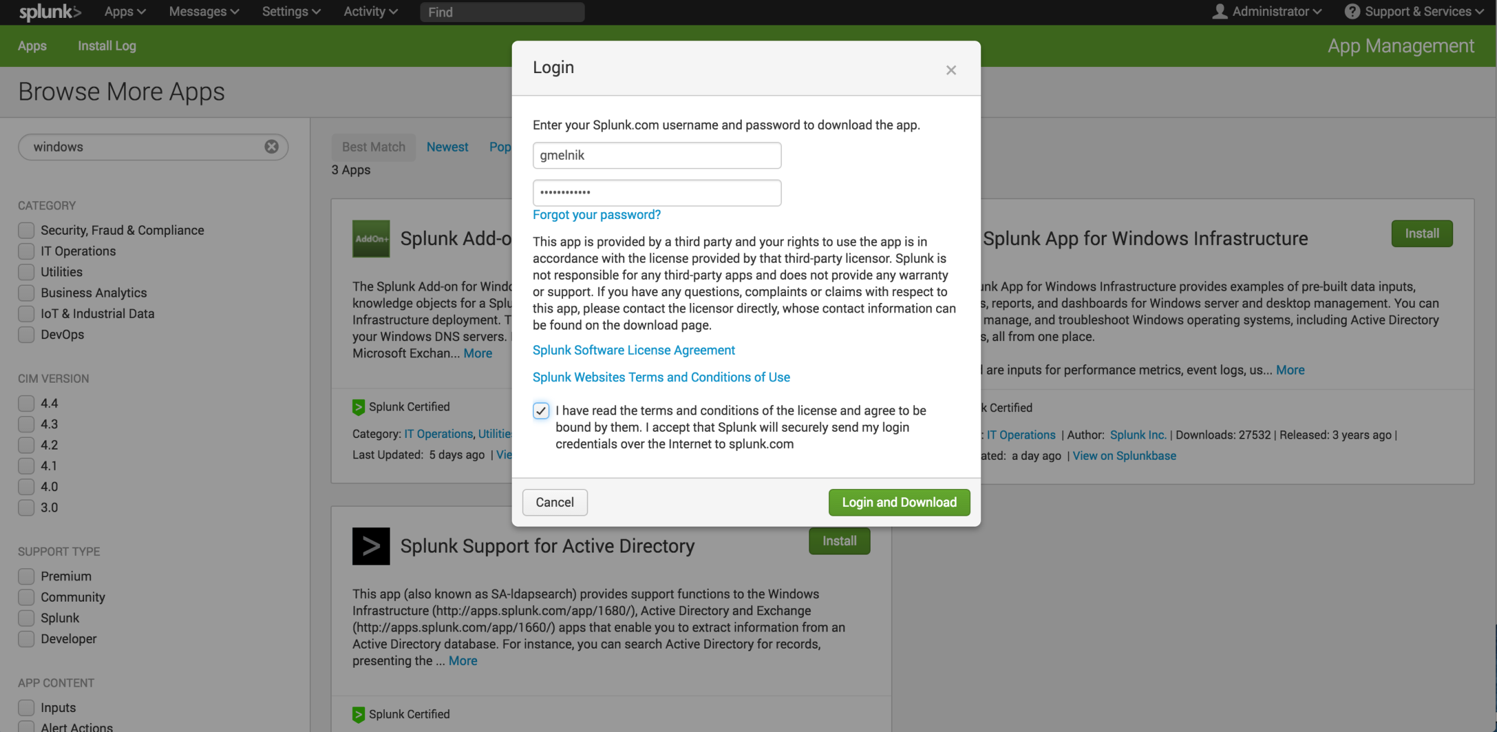
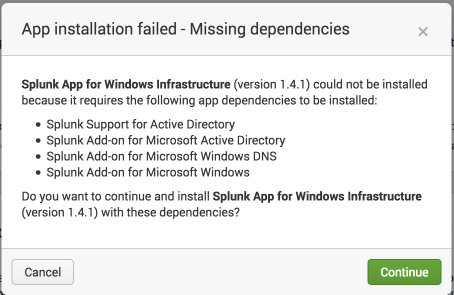
- (Optional) If the App Installation Failed window appears, review the apps or add-ons that are listed as app dependencies, review and accept the terms and conditions of the license(s), and click Install to install the app dependencies for the Splunk App for Windows Infrastructure. Once deployed, your Splunk Cloud instance will restart.
- Log back into your Splunk Cloud deployment. A Complete window appears to show successful installation of the Splunk App for Windows Infrastructure.
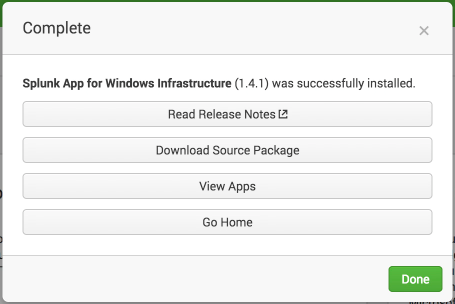
- Review the Complete window for release notes and source package review, and click the View Apps button.
- On the App Management page, review the installed apps.
| Install the Splunk App for Windows Infrastructure on a search head cluster | How to upgrade the Splunk App for Windows Infrastructure |
This documentation applies to the following versions of Splunk® App for Windows Infrastructure (EOL): 1.4.1, 1.4.2, 1.4.3, 1.4.4, 1.5.0, 1.5.1, 1.5.2, 2.0.0, 2.0.1, 2.0.2
 Download manual
Feedback submitted, thanks!