Step 5: Configure an HDFS provider
We will now give Hunk the information it needs to work with your Hadoop directory. For more detailed information about setting up a provider, see Add or edit an HDFS provider in this manual.
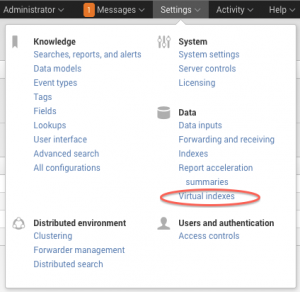
1. In Hunk Web, select Manager > Virtual Indexes in the menu bar.
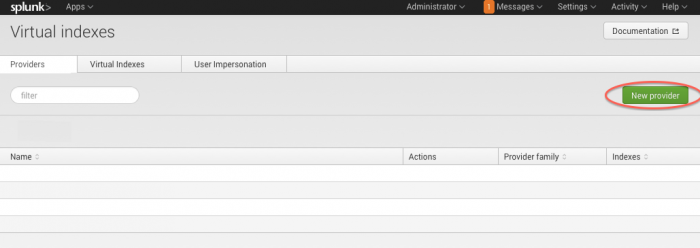
2. Click the Provider tab (if it is not already selected) and click New Provider.

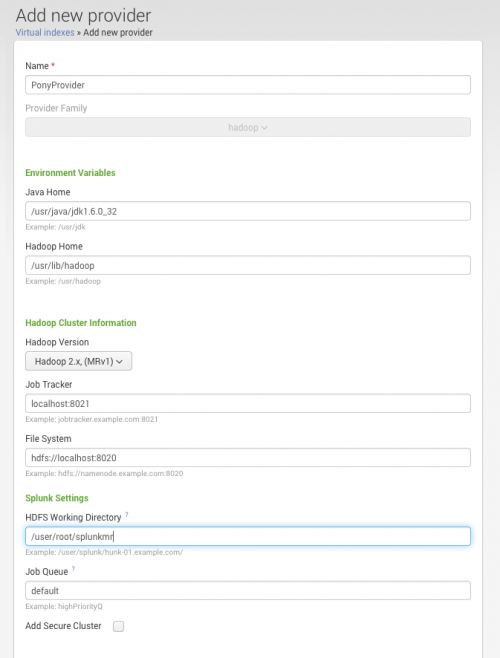
The New Provider page appears:
3. Give your provider a Name. For our example, the name is "PonyProvider".
4. Select a Provider Family, if you are using our example, the option is "Hadoop".
6. In the Java Home field, provide the path to your Java instance. The path in our example is /usr/java/jdk1.6.0_31. (You can run ls /usr/java to verify your version for this example.)
7. In the Hadoop Home field, provide the path to your Hadoop client directory. In our example we are using /usr/lib/hadoop.
8. In the Hadoop Version field, tell Hunk which version of Hadoop you are using. Our example uses Hadoop 2.x, (MRv1). Hunk currently supports MRv1, MRv2, and Yarn. If you are using Yarn, make sure you select Yarn as your type.
9. In the JobTracker field, provide that host and port to where the JobTracker resides. In our example, this is localhost:8021. If you are using Yarn, leave this field blank.
10. In the File System field, provide the URI to the default file system. In our example, this URI is: hdfs://localhost:8020.
11. For HDFS working directory provide the path in HDFS that you want Hunk to use as a working directory. For our example, this is /user/root/splunkmr.
12. Skip the Additional Settings fields, these are preset values that, in this case, do not need to be edited.
13. If you are using the Cloudera VM for Yarn, you will need to add a few new settings in the Additional Settings section. These are:
vix.yarn.resourcemanager.address = <your namenode>:8032vix.yarn.resourcemanager.scheduler.address = <your namenode>:8030
If you are using Hortonworks for Yarn, add the following settings:
- vix.yarn.resourcemanager.admin.address= <namenode>:8141
- vix.yarn.resourcemanager.scheduler.address= <namenode>:8030
13. Click Save.
This documentation applies to the following versions of Hunk®(Legacy): 6.0.1


 Download manual
Feedback submitted, thanks!