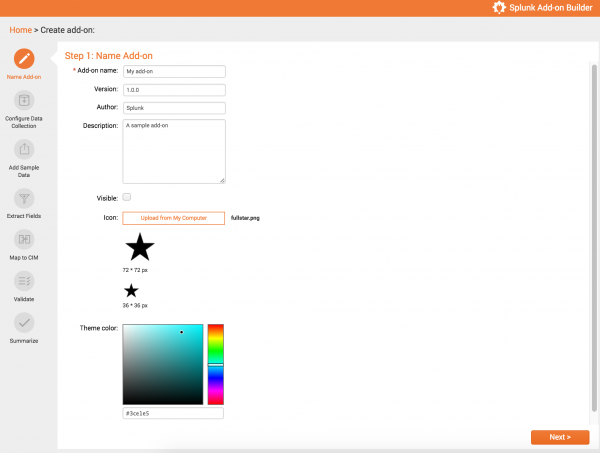
Name Project
In the Name Project section, specify the basic properties for your add-on project to determine how the add-on appears in Splunk Web.
Set the following properties for your project:
| Add-on name | The name of the add-on. This name, with the "TA_" prefix and "_" instead of spaces, is also used as the app's folder name under $SPLUNK_HOME/etc/apps/. |
| Version | The version number of the add-on, which appears with the add-on in Splunk Web. |
| Author | The author name, which appears with the add-on in Splunk Web. |
| Description | The description of your add-on. |
| Visible | Indicates whether you want the add-on to be visible in the Splunk Web app list. By default, add-ons are not visible. |
| Icon | Upload an image file to use as the icon for your add-on. The Add-on Builder creates a large version (72x72 pixels) and a small version (36x36 pixels) of the icon from this image. |
| Theme color | The color to use for your add-on. |
Click Next to save your settings and continue to the next step. If you edit certain settings later (such as renaming the add-on or changing properties for visibility or theme color), you are prompted to restart Splunk Enterprise to load your changes.
| Use the Splunk Add-on Builder | Configure Data Collection |
This documentation applies to the following versions of Splunk® Add-on Builder: 1.1.0

 Download manual
Feedback submitted, thanks!