Splunk® App for Lookup File Editing

User Guide

Acrobat logo Download manual as PDF


This documentation does not apply to the most recent version of Splunk® App for Lookup File Editing. For documentation on the most recent version, go to the latest release.
Acrobat logo Download topic as PDF

Create a new lookup in the Splunk App for Lookup File Editing

Using the Splunk App for Lookup File Editing, you can edit, import, and export KV store and CSV file lookups in an interface similar to Microsoft Excel.

To create a new lookup in the Splunk App for Lookup File Editing, complete the following steps:

  1. Log in to Splunk Web.
  2. From the Apps listing, select the Splunk App for Lookup File Editing.
  3. On the resulting Lookups tab, select the New Lookup tab or the Create New Lookup button. The following steps use the New Lookup tab as an example. This image shows the Lookups tab of the Splunk App for Lookup File Editing. The Create a New Lookup menu button is highlighted. From this menu, you can select a KV store lookup or CSV lookup option.
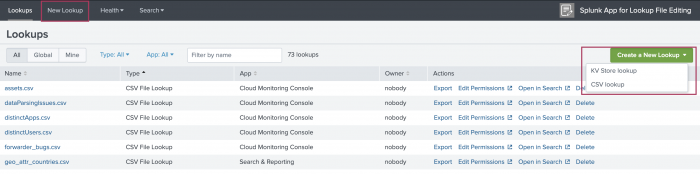
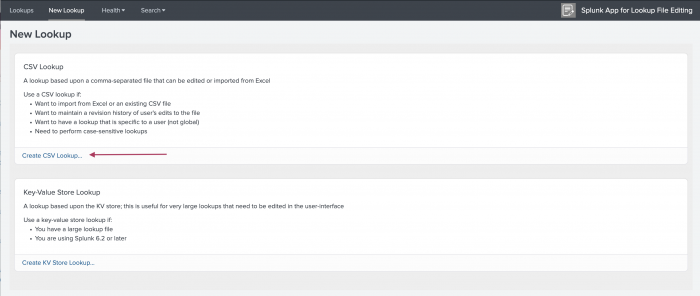
  4. From the New Lookup tab, select either Create CSV Lookup or Create KV Store Lookup. The following steps use the CSV file lookup option as an example. This image shows the New Lookup tab of the Splunk App for Lookup File Editing. There are options here for either a CSV or KV store lookup. In this example, the CSV option is selected.
  5. On the New Lookup page, select the Import button. In the resulting dialog box, you can upload your CSV file or drag and drop it. This image shows the New Lookup screen for a new CSV lookup. An button labeled Import has been selected which results in a dialog box. In this dialog box you can select a CSV file to import from your computer or choose to drag and drop the CSV file in directly.
  6. After the CSV file imports, select anywhere within the table to make edits. Select the User-only check box to keep the lookup private. This image shows the New Lookup tab following the import of an example CSV. The resulting table can be used in similar ways to an Excel spreadsheet. Selecting anywhere within the table opens edit options. Options include the ability to insert a new column, delete a column, rename a column, and insert a new row.

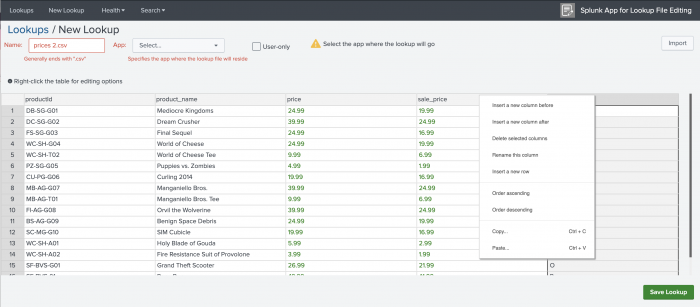
    CSV files can use only one cell delimiter to correctly import and separate data into columns. If your data does not separate into columns correctly, check the CSV file for values such as semicolons or pipes that might misidentify as delimiters.

  7. You can also use the keywords High, Medium, and Low to color-code the corresponding fields. This image shows the New Lookup tab following the import of an example CSV. In this example a new column has been added and named Urgency. In this column is a row labeled high, a row labeled medium, and a row labeled low. When used, these field names autofill with a corresponding color - high in orange, medium in yellow, and low in green.

  8. Select Save Lookup.

The process for creating a CSV file lookup is similar to the process for creating a KV store lookup. When you create a KV store lookup rather than a CSV file lookup, there are some differences in the user interface of the New Lookup page. This image shows the screen for when you select to add a new KV Store lookup rather than a CSV.

Last modified on 13 January, 2023
PREVIOUS
Navigate and use the Splunk App for Lookup File Editing
  NEXT
Edit a Lookup File

This documentation applies to the following versions of Splunk® App for Lookup File Editing: 3.6.0


Was this documentation topic helpful?


You must be logged into splunk.com in order to post comments. Log in now.

Please try to keep this discussion focused on the content covered in this documentation topic. If you have a more general question about Splunk functionality or are experiencing a difficulty with Splunk, consider posting a question to Splunkbase Answers.

0 out of 1000 Characters