Part 4: Review risk using the Risk Analysis dashboard
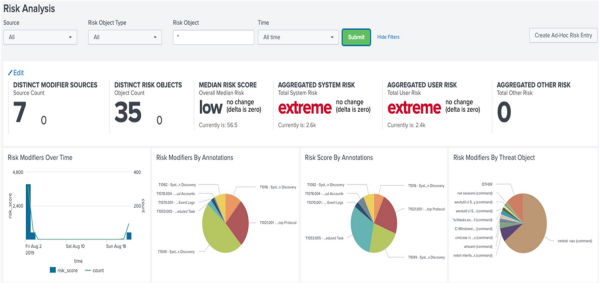
The Risk Analysis dashboard displays risk-related information for your security operations center (SOC).
Follow these steps to use the Risk Analysis dashboard to review the risk in your environment:
- In Splunk Enterprise Security, go to Security Intelligence.
- Select Risk Analysis.
- Select All Time.
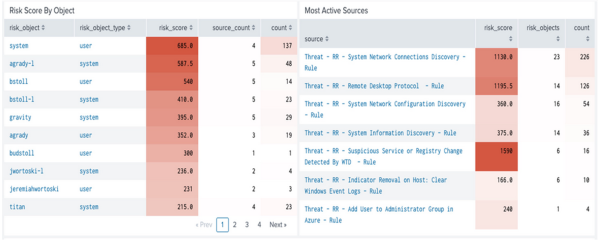
- Explore the Risk Analysis dashboard to identify the risk objects with excessively high-risk scores that you might want to investigate further.

- Review the relationships between risk scores, risk objects, and count to get deeper insight into the behavioral context of the risk activity.

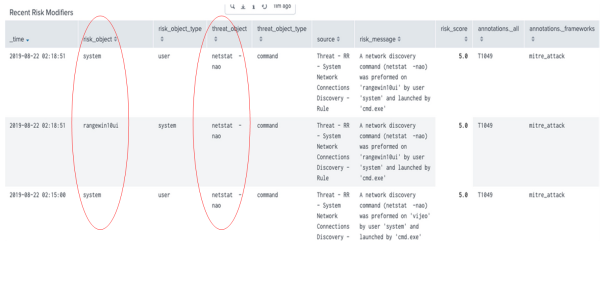
- Review the threat objects and risk objects by drilling down based on their time of occurrence and establish patterns in the adversarial activity.

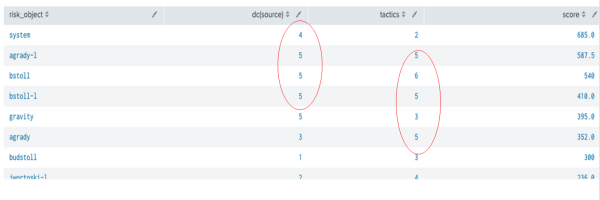
- Review the risk objects that have a high risk score or multiple tactics associated with them.

- Review the dashboard to identify risk notables that you might want to suppress such as system level alerts.

See also
For more information on the Risk Analysis dashboard, see the product documentation:
Risk Analysis dashboard in Use Splunk Enterprise Security manual.
Next step
Now that you have learned how to use the Risk Analysis dashboard, you can explore how to review risk notables for triaging.
| Part 3: Create a risk incident rule | Part 5: Review risk notables for triaging |
This documentation applies to the following versions of Splunk® Enterprise Security: 7.2.0, 7.3.0, 7.3.1, 7.3.2, 7.3.3
 Download manual
Feedback submitted, thanks!