Get started as a user 🔗
Follow these easy, quick steps to set up new users that have been added to your Splunk On-Call account. This guide will ensure that new users have set up their username and password and paging policy correctly, as well as downloaded the appropriate mobile app.
Invitation from Splunk On-Call 🔗
Accept the email invite and create your username and password
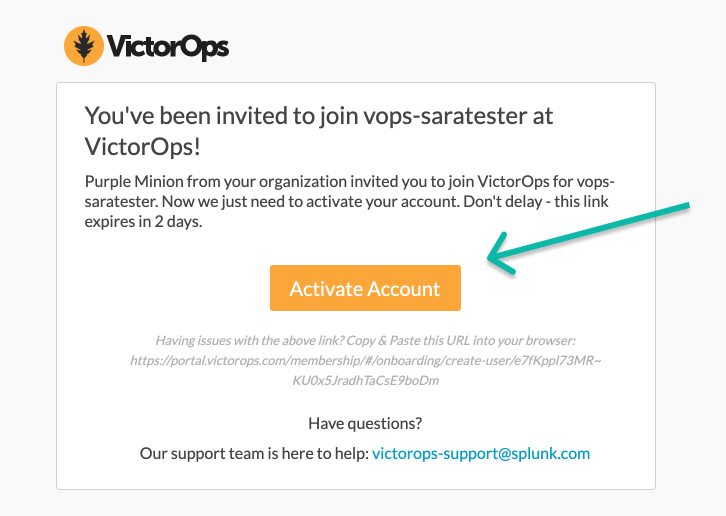
Follow your organization’s naming convention for your username. If you don’t have a naming convention, we recommend using FirstName.LastName.
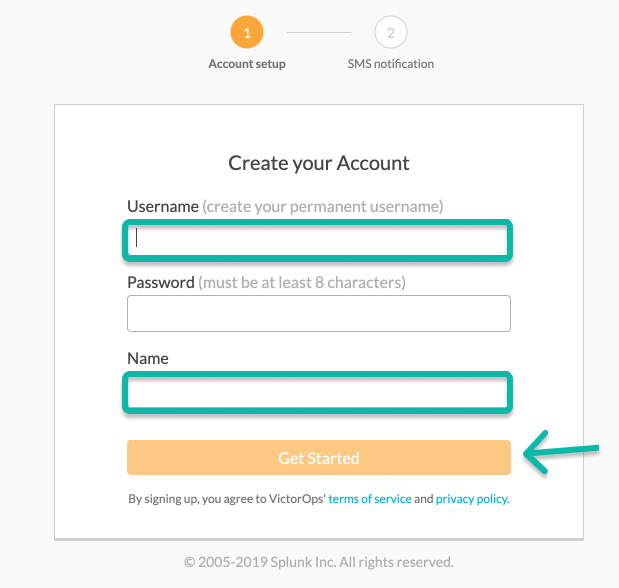
Select Get Started.
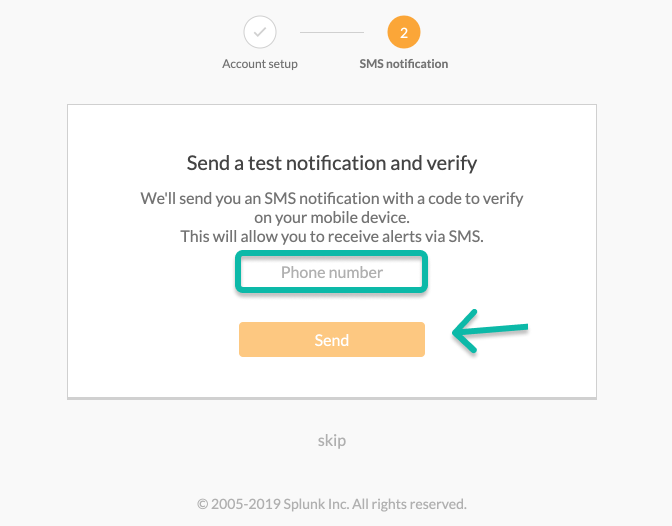
Enter the phone number you will use for future notifications
Username Best Practice 🔗
When inviting new users to the Splunk On-Call platform, it is important to consider the following:
Each user is responsible for setting up their own username at the time of registration.
Usernames cannot be changed.
Splunk On-Call does not enforce naming conventions, so it is your responsibility as an administrator to choose and enforce a naming convention.
Usernames are global, not unique to your organization. If a username that fits your naming convention is not available, consider appending the username with your organization name. For example, if john.smith is taken, try john.smith.bobsITshop is probably available. Putting the organization name at the end ensures that users in Splunk On-Call can still use the auto-drop-down lists when they begin typing another user’s username when using the chat function.
You want to make a username that is recognizable to everyone in your organization. We find these naming conventions to work best:
First name - last name (johnsmith, john.smith)
First initial last name (jsmith, j.smith)
Match your email naming convention
Note
If you are using HipChat or Slack, you will want to match your Splunk On-Call usernames to your chat usernames.
Complete your Profile 🔗
Once you have successfully created a username and password, Splunk On-Call will take you to the main timeline of the org. Select your username in the top right-hand corner of the screen, then Your Profile to complete your set up.
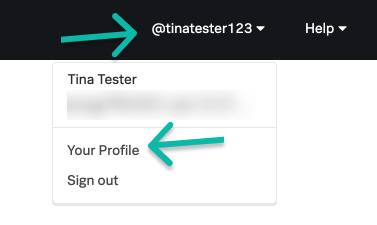
From here, you can add additional email addresses as well as up to fourphone numbers.
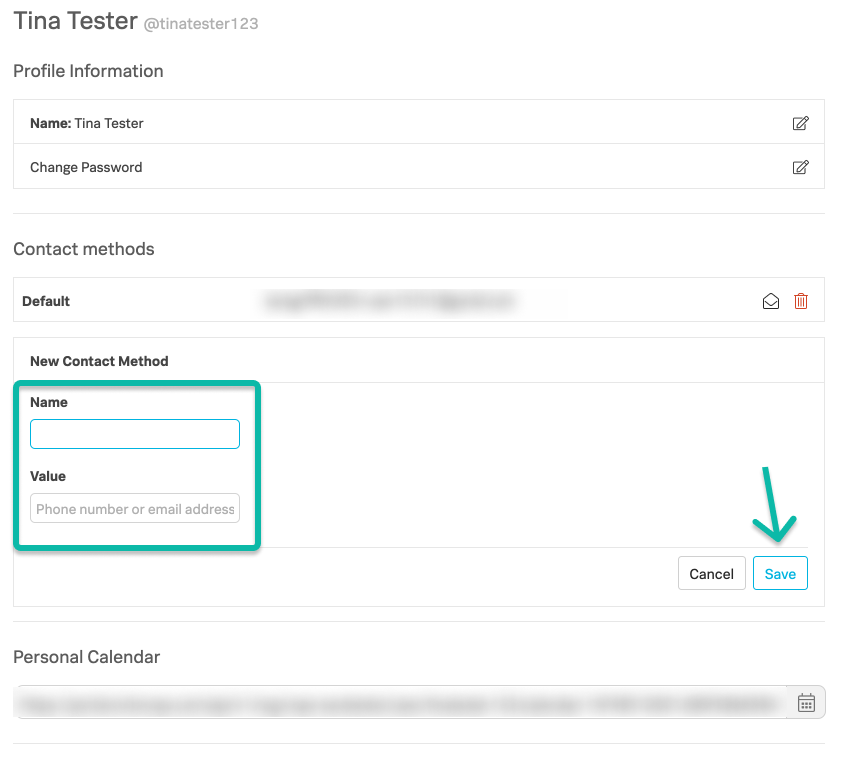
If you add a cell phone number, you will need to verify the number. Select Verify, to the right of the phone number you added, and we will send a four digit SMS short code that you must enter into your profile.
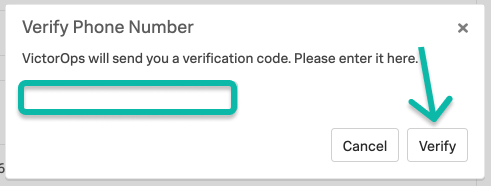
If you’re adding a landline or a desk phone, enter the desired phone number and email support@victorops.com. Splunk On-Call Support will manually verify your phone number.
Set up your Paging Policy 🔗
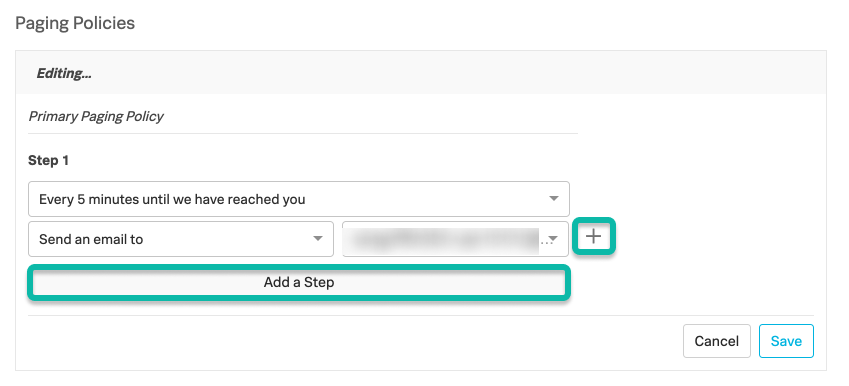
Located shortly below your contact methods is the Paging Policy section. This is how Splunk On-Call notifies you if an incident comes in when you are on-call. Build out your Paging Policy to ensure that you are properly notified when an incident comes in. You have the option to add additional steps within steps, by using the plus (+) button, or you can add additional steps by selecting Add a Step.
Download the Mobile App 🔗
In order to receive push notifications, you need to download the mobile app and sign in. Once you have done this, your device will appear under your contact methods. For details, see:
For iOS, see the Apple store .
For Android, see the Google Play store
Download the Splunk On-Call contact information 🔗
Splunk On-Call uses several phone numbers to contact you via SMS or phone call for an incident. By downloading the contact directly from the mobile app, all numbers will be automatically added to the contact. Then you can add the contacts to your favorites. For details, see: Get started with the mobile app.
Recover username 🔗
To recover your username:
Select Forgot username? when signing in to start the username recovery process.
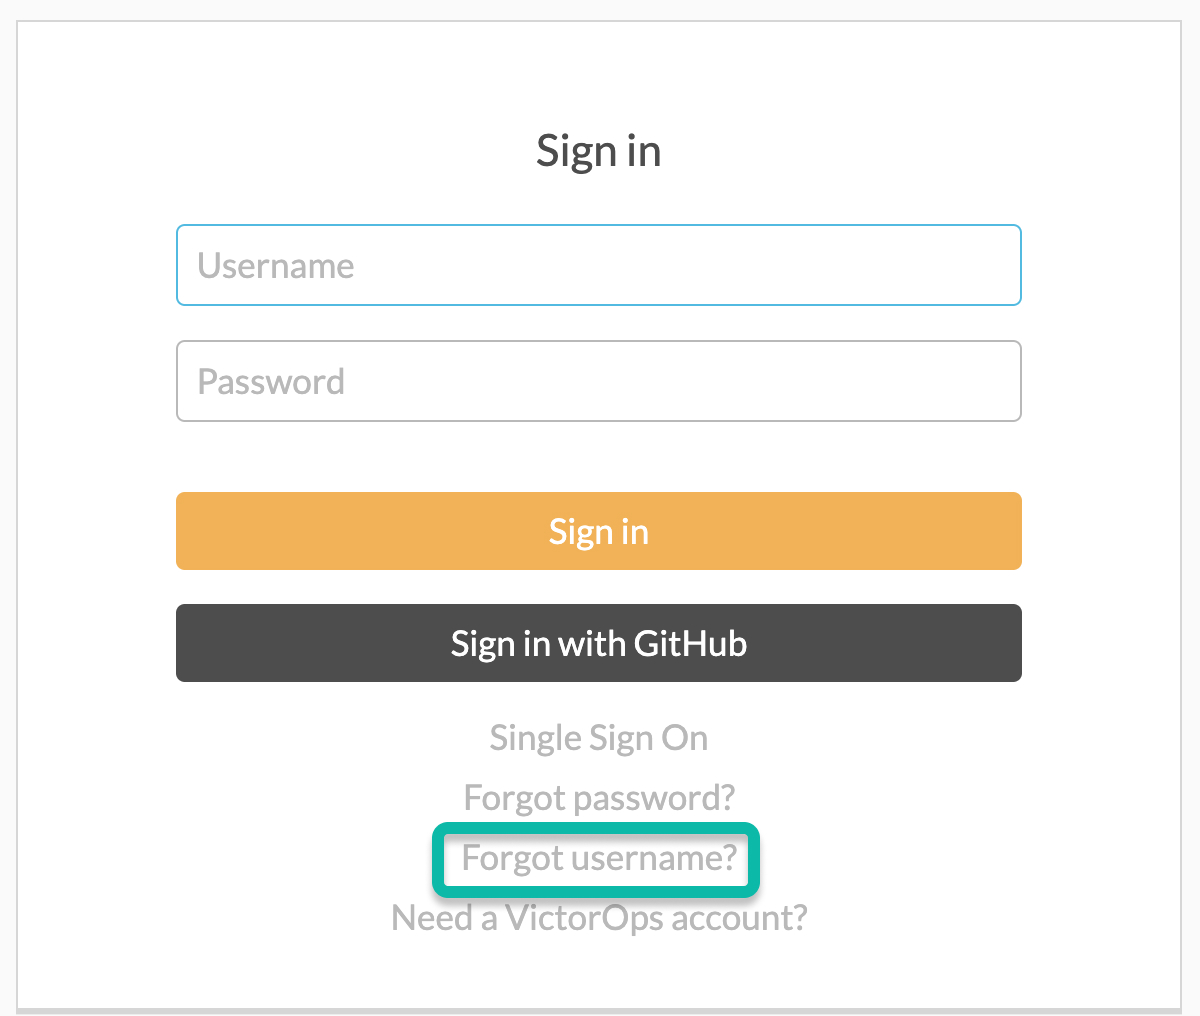
In the subsequent screen, you’ll enter the email address associated with your Splunk On-Call account.
In your email client, you’ll receive a message showing your Splunk On-Call username. Directly from the email, select the Log in to return to the sign-on page where you can now enter your credentials.