Use the action panel to layer, clone, and delete objects
When you select a chart or shape, an action panel appears to the right of the object. Use this panel to layer, clone, delete, or download an image of the object.
Layer objects
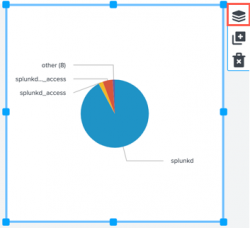
To move the object through the different layers of your canvas, click the layering icon shown in the following image:

The number of available options depends on the layer of your object. For example, if your object is on the top layer of the canvas, you can send your object back one layer, or to the first layer of the canvas. If your object is in a middle layer, you have four options:
- To send your object forward one layer, select Move forward.
- To send your object to the front layer, select Bring to front.
- To send your object back one layer, select Move backward.
- To send your object to the back to the first layer, select Send to back.
Clone an object
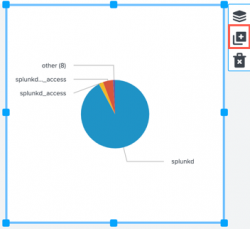
To clone the selected object, click the clone icon.

If you clone an object that is connected to a data source, the cloned object will not be connected to that same data source or any other data source. You must connect the object to a data source manually. You can use the Configuration panel to choose an existing data source, or create a new one.
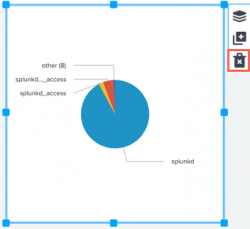
Delete an object
| Add a visualization to your dashboard | Add dynamic options to visualizations |
This documentation applies to the following versions of Splunk Cloud Platform™: 8.2.2112

 Download manual
Feedback submitted, thanks!