Configure Single Sign-On for Splunk On-Call: Other IDPs 🔗
Configure OneLogin Single Sign-On for Splunk On-Call 🔗
If you are configuring SSO for OneLogin, the default relay state is: https://portal.victorops.com/auth/sso/<org-slug-here>
Configure Azure Active Directory Single Sign-On for Splunk On-Call 🔗
If you are configuring SSO for Azure Active Directory, use the following values:
Identifier:
https://victorops.comReply URL:
https://sso.victorops.com/sp/ACS.saml2Sign on URL:
https://portal.victorops.com/auth/sso/<<org-slug-here>>Relay State:
https://portal.victorops.com/auth/sso/<<org-slug-here>>
Configure AWS IAM Identity Center - SAML Sign-On for Splunk On-Call 🔗
If you are configuring SSO for AWS IAM Identity Center:
In the IAM Identity Center console find the Applications tab.
Select Add Application and look for VictorOps.
- In the configuration settings ensure you set the fields as follows:
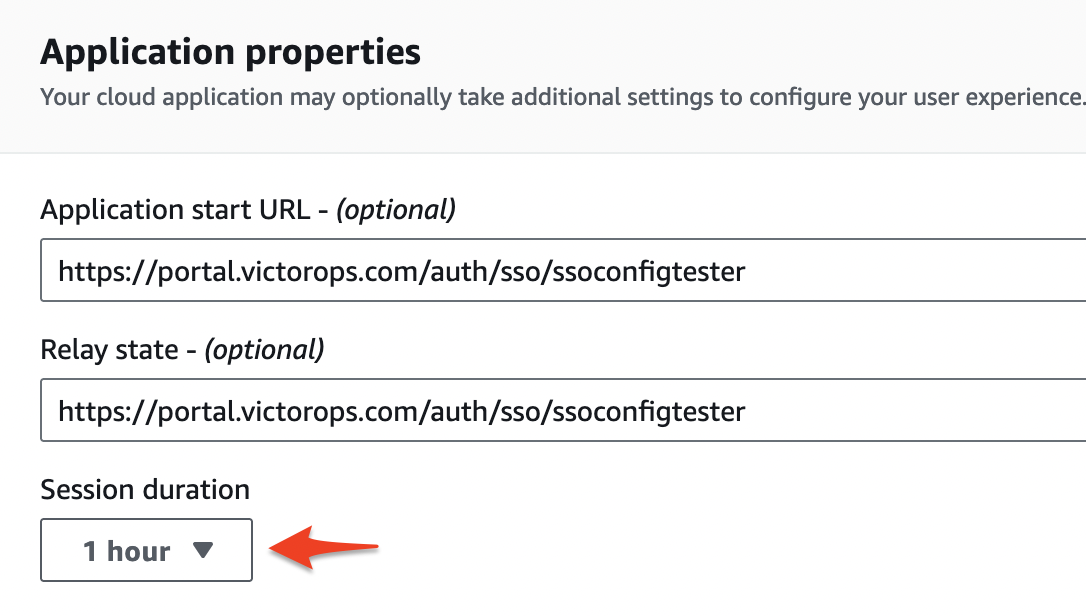
Application start URL:
https://portal.victorops.com/auth/sso/ssoconfigtesterRelay state:
https://portal.victorops.com/auth/sso/ssoconfigtesterSession duration: 1 hour
Application metadata: Select Manually type your metadata values
Application ACS URL:
https://sso.victorops.com/sp/ACS.saml2Application SAML audience:
victorops.com