HipChat integration for Splunk On-Call 🔗
Use the bi-directional integration between HipChat and Splunk On-Call to fight fires from either platform and never miss a beat. All messages entered in the Splunk On-Call timeline, including alerts, on-call changes, escalations and chats appear in the HipChat room, and vice versa.
Requirements 🔗
Splunk On-Call required version: Starter or Growth for Single Room, Enterprise for Multi-Room
Use these step by step instructions to set up the integration for a Single Room or Multi-Room configuration.
Single Room 🔗
In Splunk On-Call 🔗
In Splunk On-Call, select Integrations then Hipchat.
If the integration has not yet been enabled, click the Enable Integration button to generate your endpoint URL. Be sure to replace the “$routing_key” section with the actual routing key you intend to use. (To view or configure route keys in VictorOps, click Alert Behavior >> Route Keys)
Copy the Add-on Capabilities URL that is generated by enabling the integration.
In HipChat 🔗
From your online HipChat homepage, select Integrations.
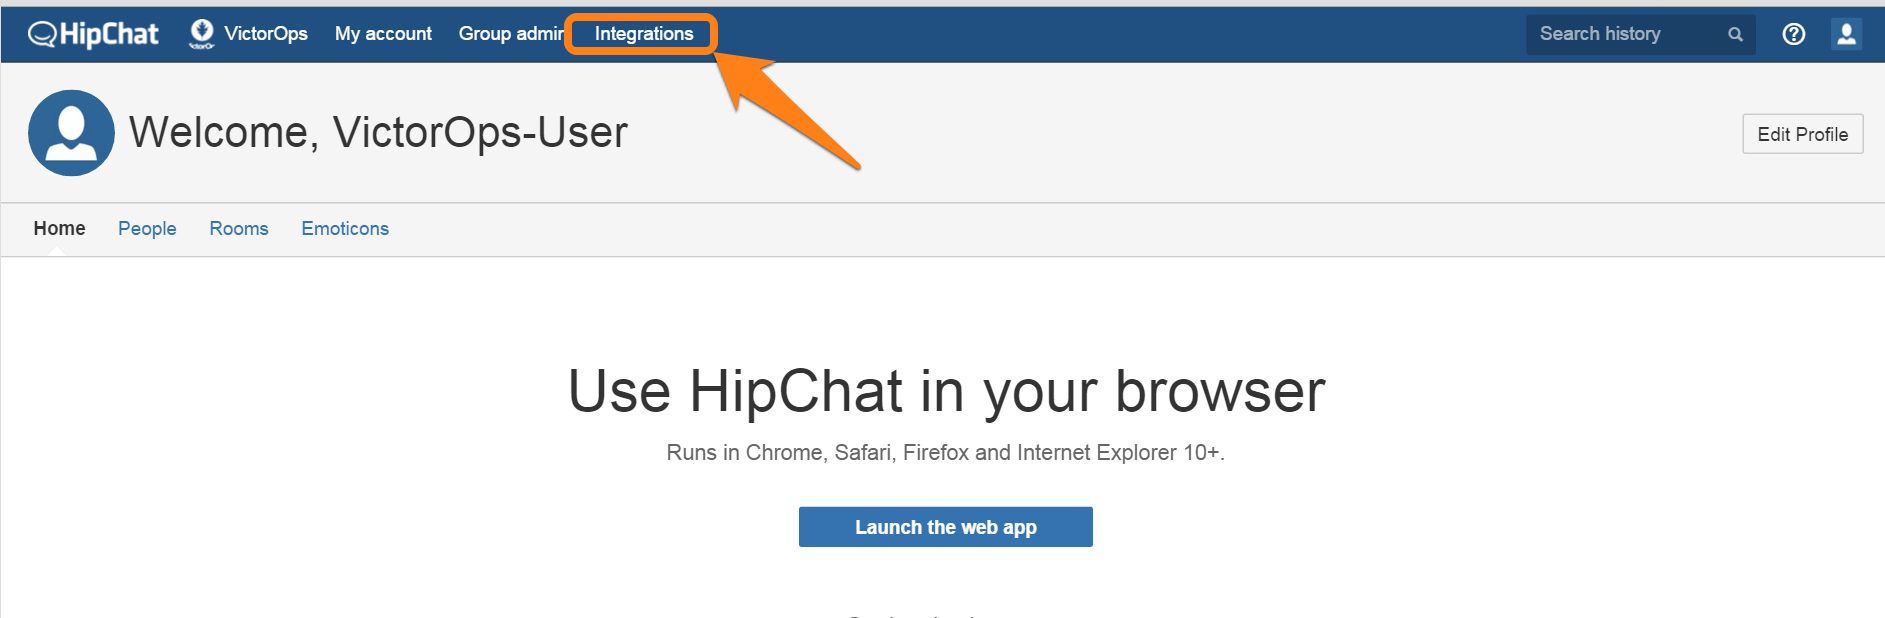
Scroll down the alphabetized list and search for VictorOps. The
integration within HipChat is stilled called VictorOps, even though the
product name has changed to Splunk On-Call: 
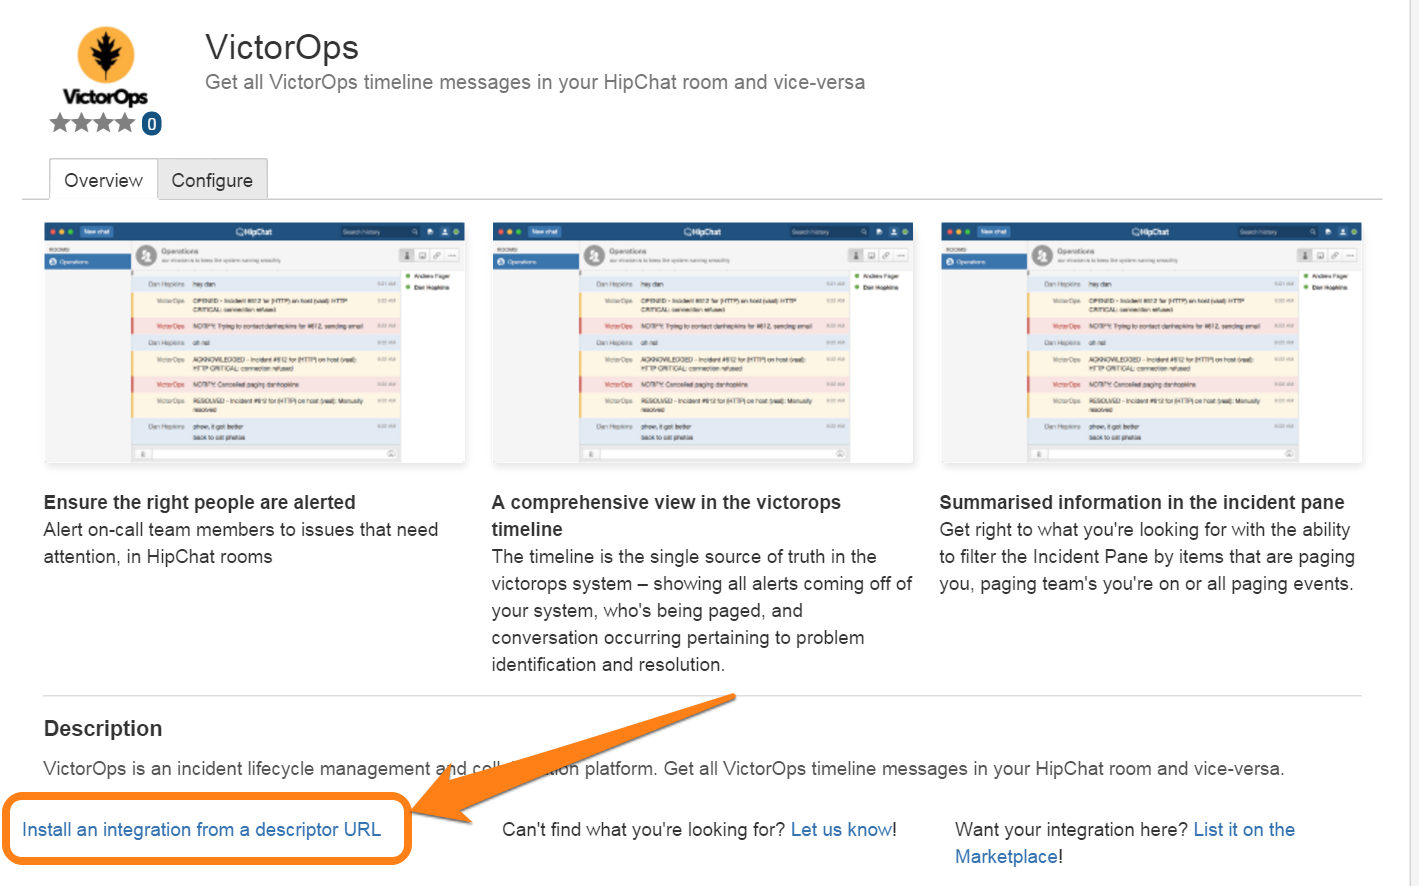
From the integration menu for VictorOps, select the Install an integration from a descriptor url option:
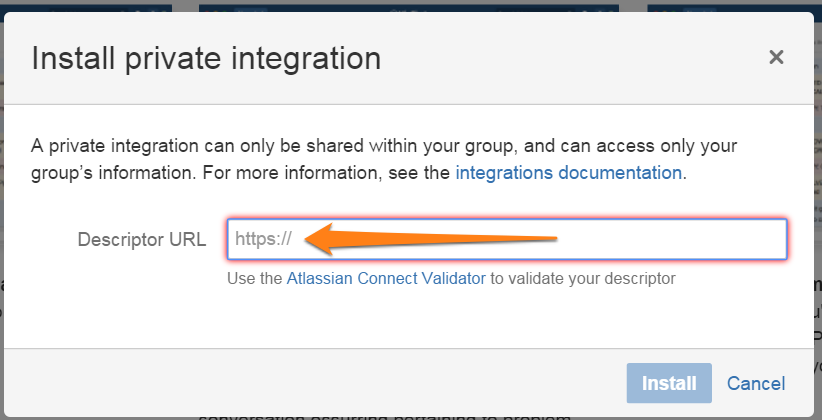
Paste the Add-on Capabilities URL that you got from your Splunk On-Call HipChat integration page into the Descriptor URL box, then click Install.
Next, choose the chat room that will be associated with VictorOps / Splunk On-Call: hip8
Finally, click Install:

That’s it!
The final step is to test the integration by posting an entry to the HipChat room you chose and make sure that it appears in your Splunk On-Call timeline, and vice versa.
Multi-Room 🔗
The Multi-Room version of the HipChat integration builds upon what is achievable with the Single Room HipChat configuration - allowing messages/events to be directed to multiple HipChat rooms accordingly. This is achieved through the leveraging of the Rules Engine and Custom Outgoing Webhooks, both of which are Enterprise level features.
In HipChat 🔗
Start by creating a custom integration. Select Integrations then Build your own integration.
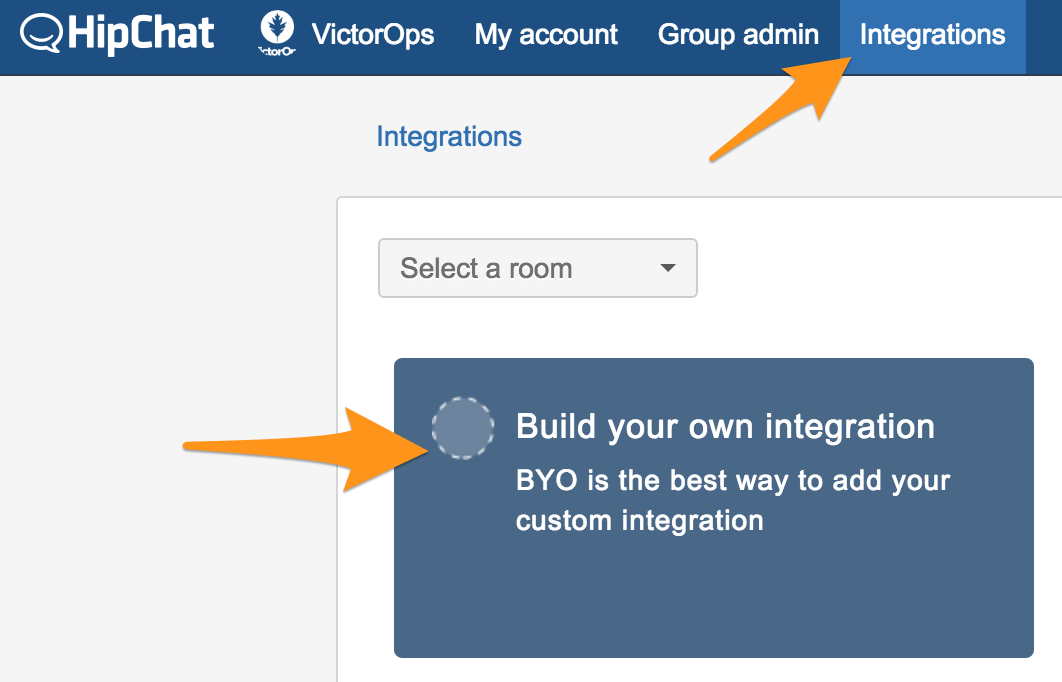
Select the room you want to create the integration for and give the integration a name.
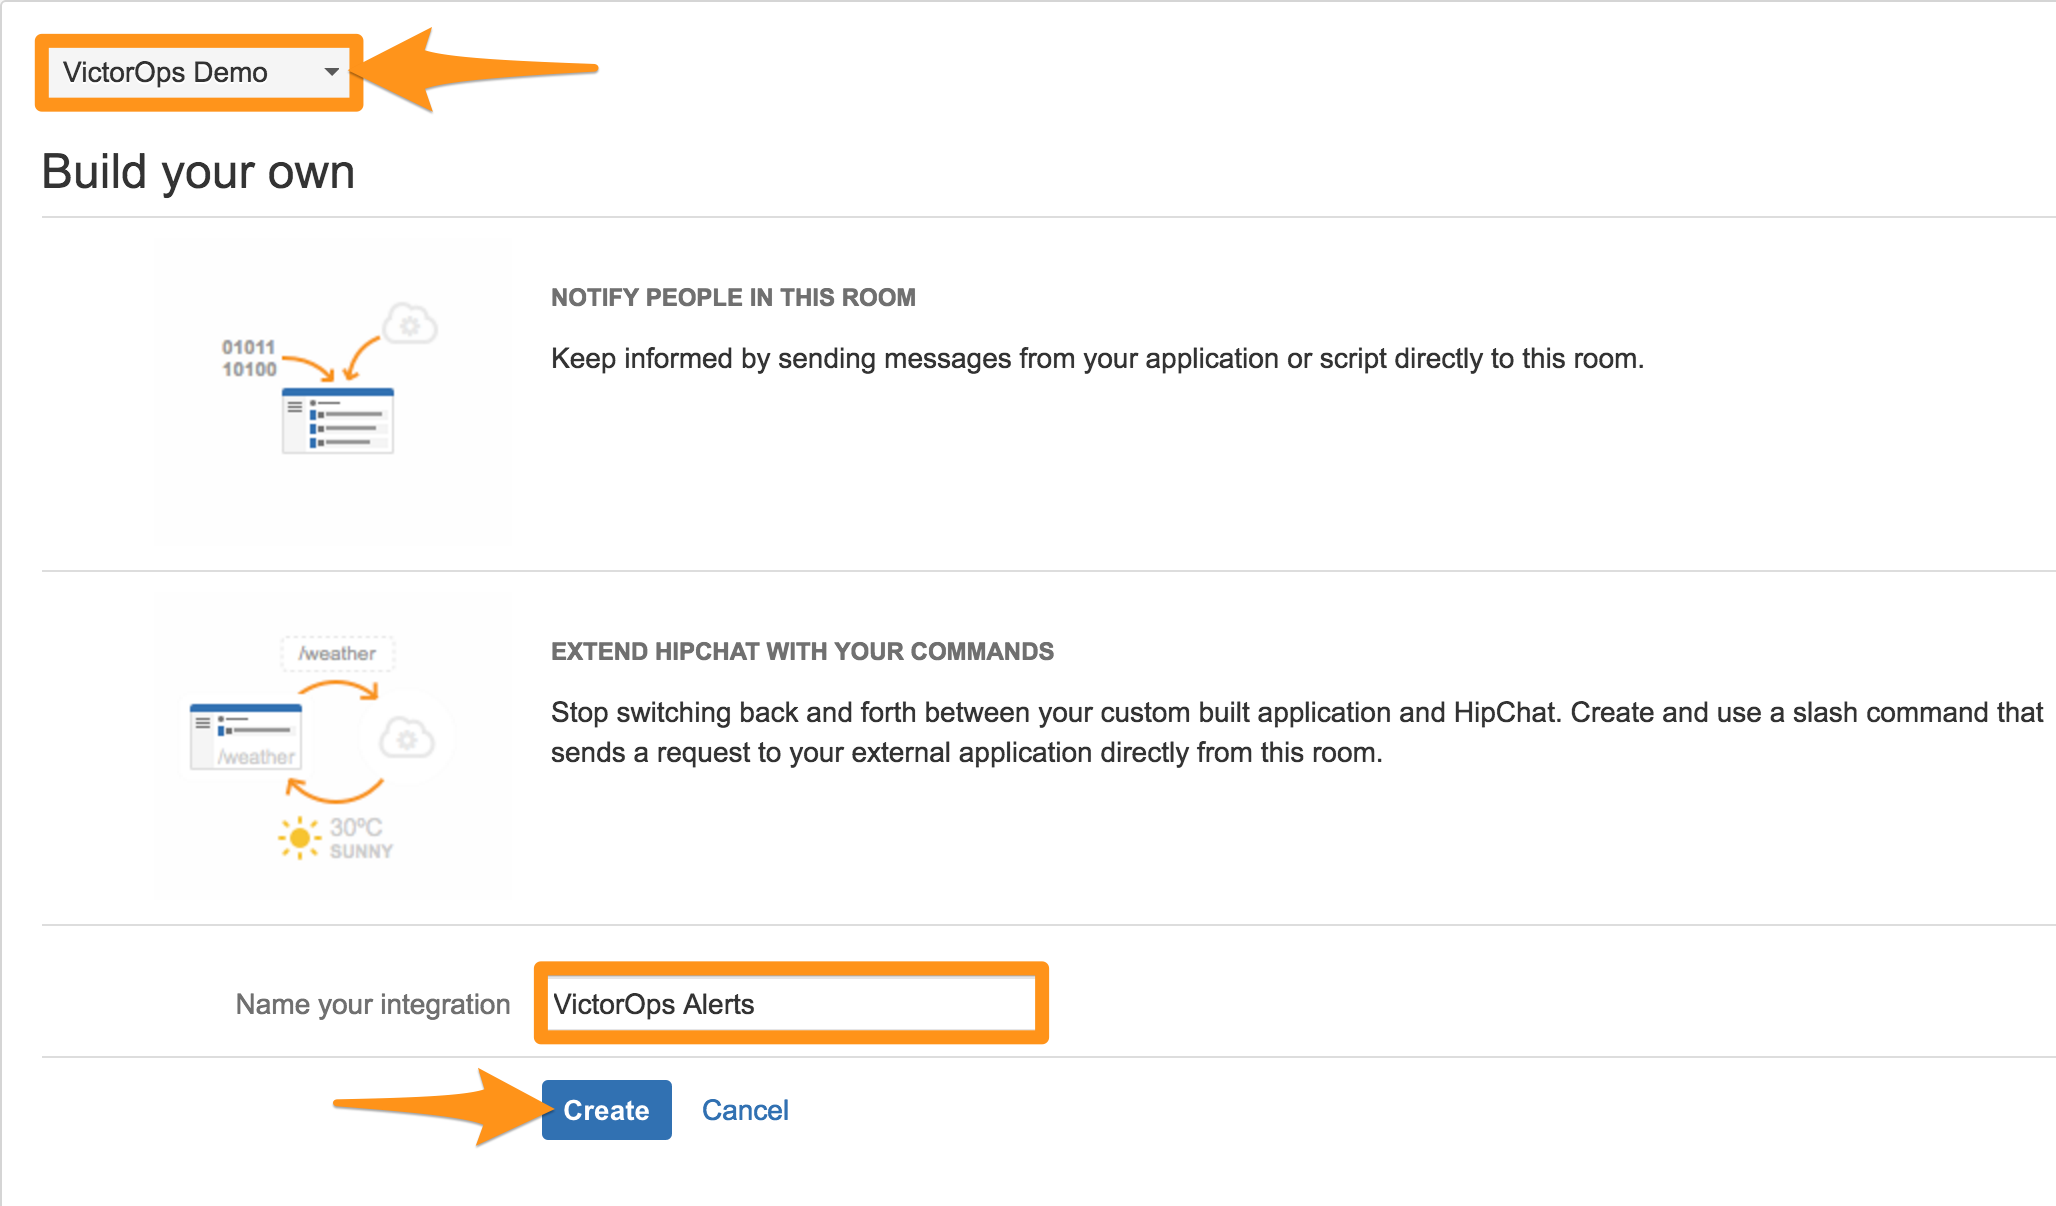
A URL will be generated that allows you to “Send messages to this room by posting to this URL”. Copy this URL to your clipboard. The URL contains two items we will need to use in later parts of this article, the room ID and the authentication token. Find them in bold here:
https://YOUR_DOMAIN.hipchat.com/v2/room/ROOM_ID/notification?auth_token=AUTH_TOKEN_HERE
Save your new custom integration.
In Splunk On-Call 🔗
First we will setup a Rules Engine rule that will add the room ID and
authentication token to the alerts you want sent into the specified
room. In this example we are setting the room_id field and auth_token
field when we match on the routing key “devops”. 
This will allow you to change the room_id and auth_token depending on the type of alert. In the example we match on the routing key “devops” but you can match on any alert field.
Next we will need to set up an Outbound Webhook to send Splunk On-Call information to your HipChat room(s). See Custom outbound webhooks in Splunk On-Call for steps.
From the Splunk On-Call timeline select Integrations >> Outgoing Webhooks >> Add Webhook.
Select the “Event” you want to forward to HipChat, in our example we are sending a message every time an incident is triggered.
Set the Method to “POST”.
Set the Content Type to “application/json”
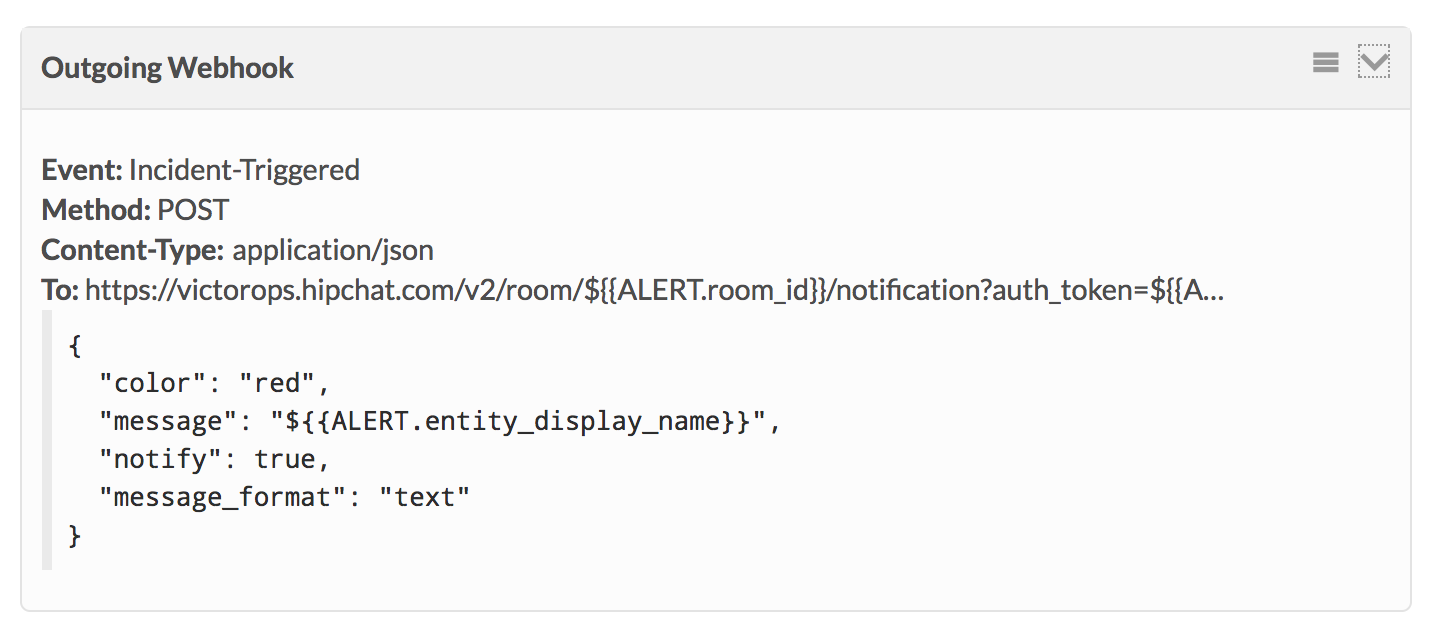
For the To address paste in your HipChat room endpoint. If you are sending to multiple rooms based on alert type, you will need to replace the “room id” and “auth token” variables with the alert fields you created in the Rules Engine. For example:
https://YOUR_DOMAIN.hipchat.com/v2/room/\({{ALERT.room\_id}}/notification?auth\_token=\){{ALERT.auth_token}}
For the payload section, you can add a number of different variables. For more information see the HipChat documentation. In our example we are sending a simple colored message that contains alert information found in the “entity_display_name” field.
{ “color”: “red”, “message”: “${{ALERT.entity_display_name}}”, “notify”: true, “message_format”: “text” }
The final result should look something like:
Additional webhooks can be created for other events in the Splunk On-Call system. If you have any questions please reach out to Splunk On-Call support.