VividCortex integration for Splunk On-Call 🔗
VividCortex provides advanced monitoring for the most advanced opensource databases. The Splunk On-Call integration with VividCortex makes use of the Splunk On-Call REST endpoint to send alerts into the Splunk On-Call timeline. The following will guide you through the steps needed to integrate the two systems.
In Splunk On-Call 🔗
From the main timeline, select Settings, then Alert Behavior. Then select Integrations.
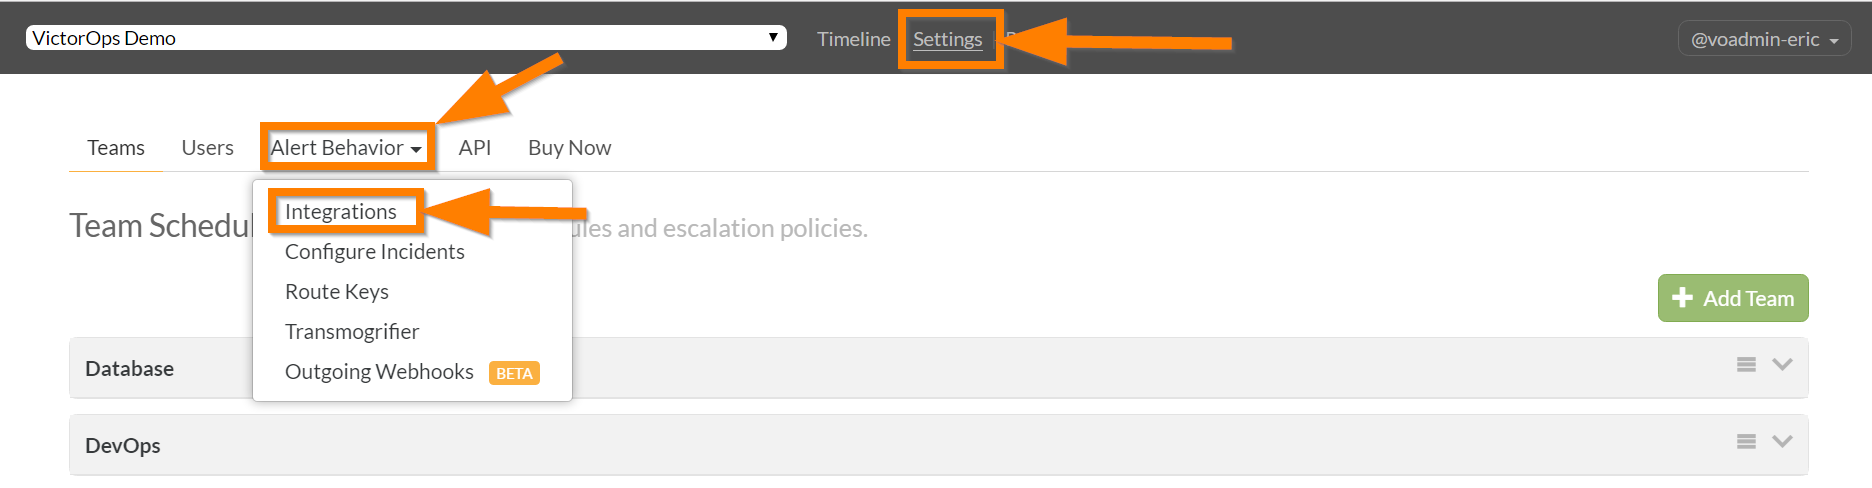
Select the Vivid Cortex integration.
Enable the integration and copy the Service API Key to your clipboard.

In VividCortex 🔗
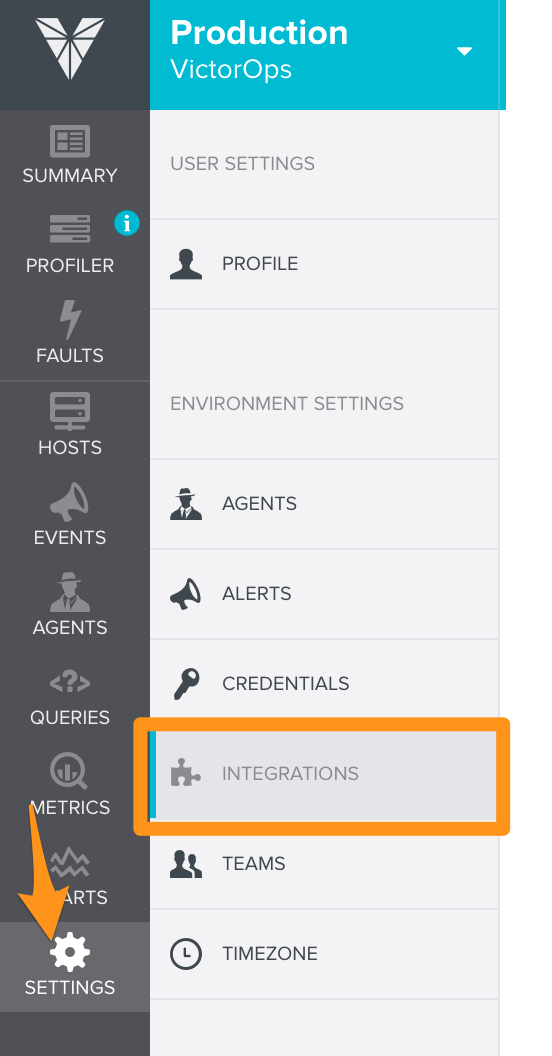
Select Settings then Integrations.
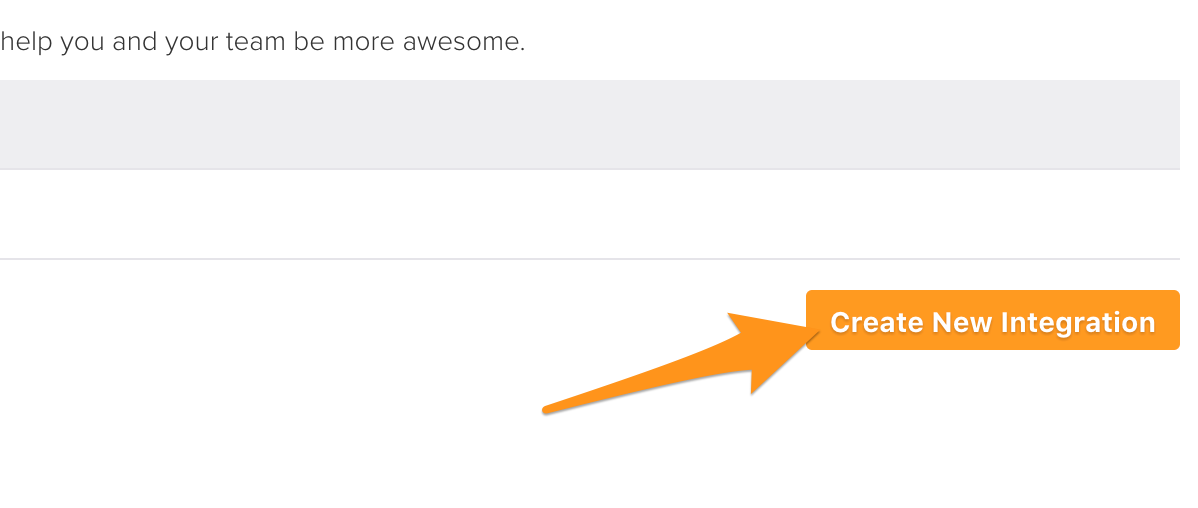
Then select Create New Integration.
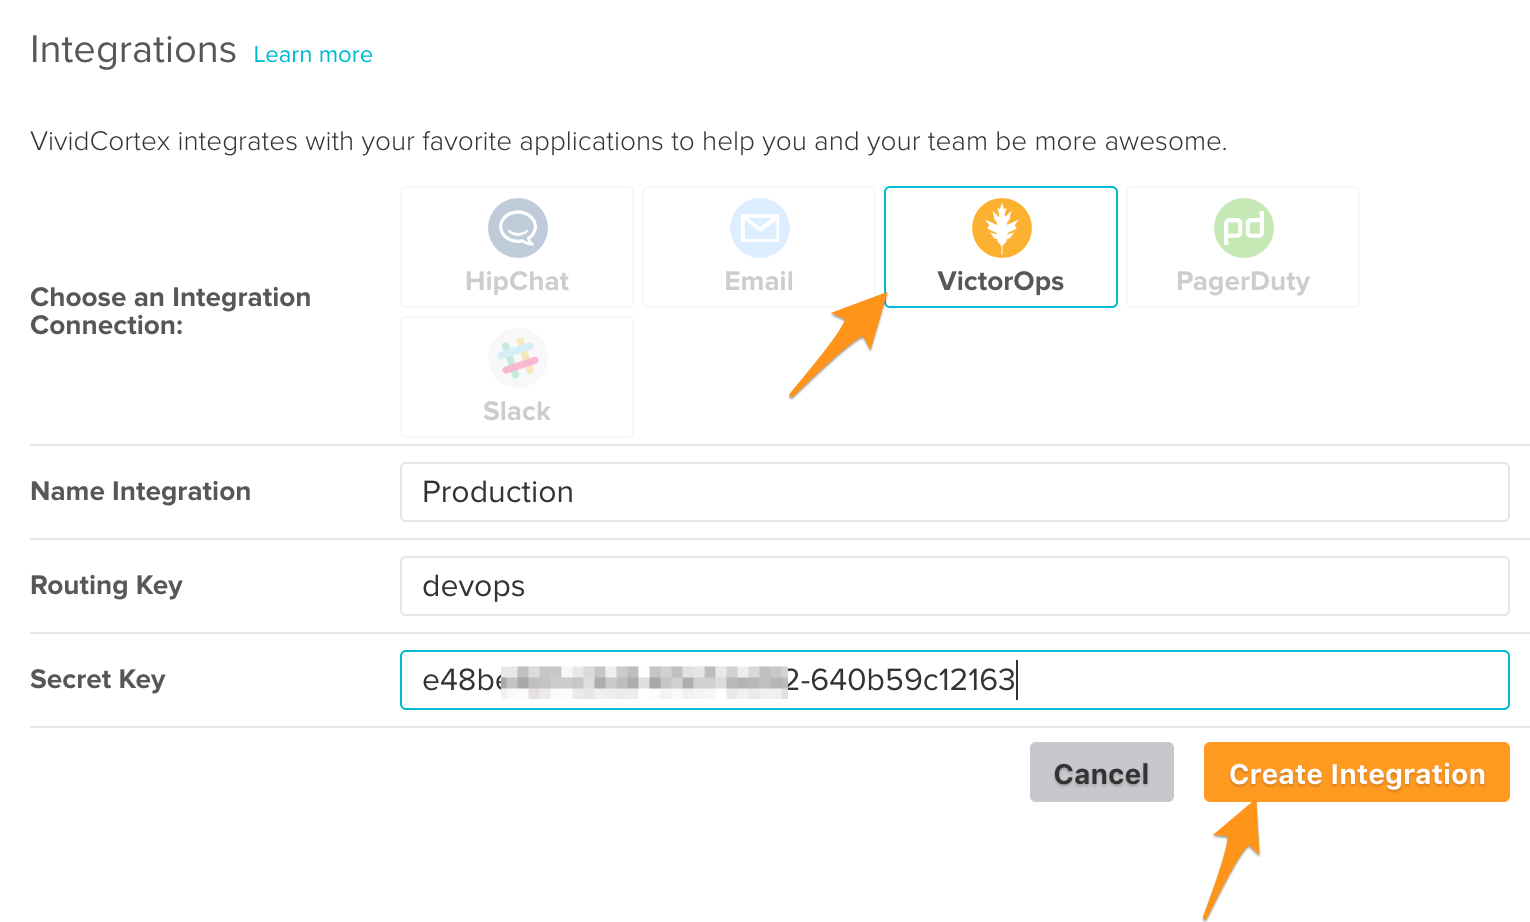
Select the Splunk On-Call (formerly VictorOps) integration. Give the integration a name, make sure to add the appropriate Routing Key. For more information about Routing keys, see Create Routing Keys in Splunk On-Call.
Paste in the API Key you copied from Splunk On-Call, select Create Integration.