HoneyBadger integration for Splunk On-Call 🔗
Honeybadger provides exception, uptime and performance monitoring to keep your web apps error-free. The following will guide you through the steps needed to integrate Honeybadger with Splunk On-Call.
Requirements 🔗
This integration is compatible with the following versions of Splunk On-Call:
Starter
Growth
Enterprise
Splunk On-Call configuration 🔗
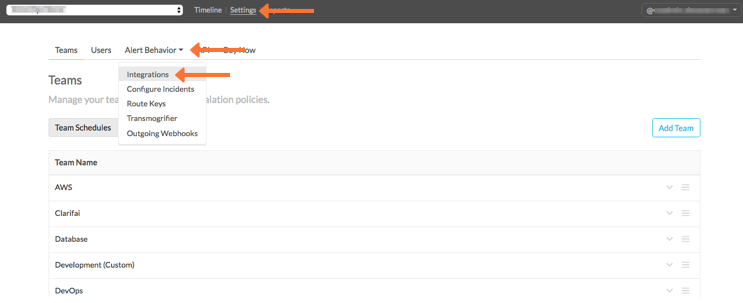
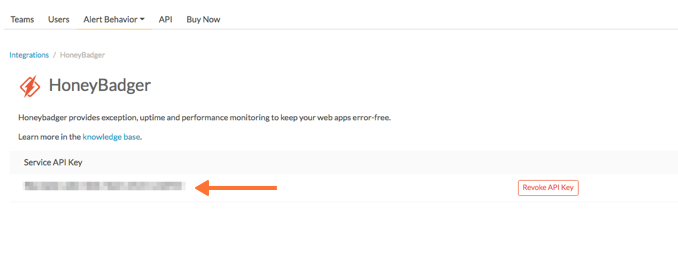
From the web portal, select Settings, Integrations, HoneyBadger.
Copy the API key to your clipboard.
Honeybadger configuration 🔗
From the web portal select Settings and then Alerts & Integrations.:guilabel:`
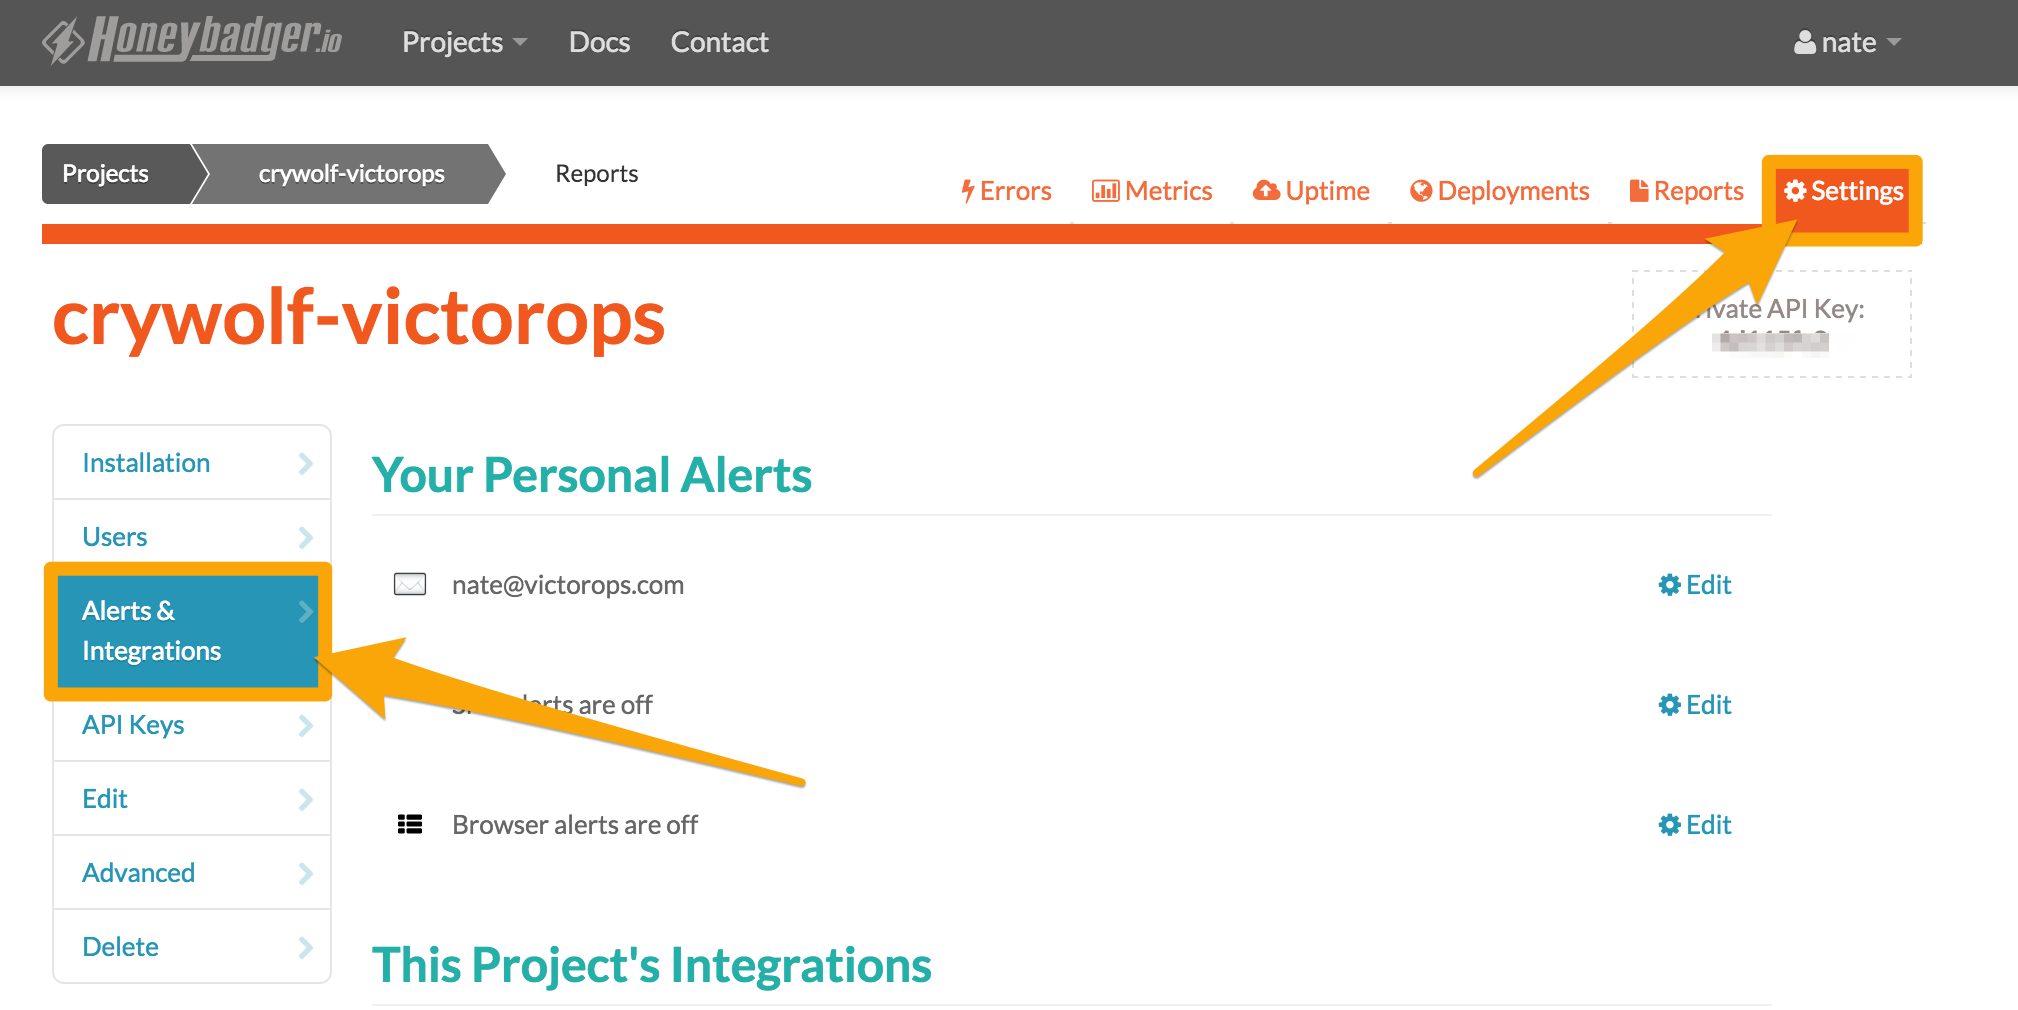
Select the Splunk On-Call integration option.
Paste in your Splunk On-Call API key and add in the appropriate routing key. See Create Routing Keys in Splunk On-Call.
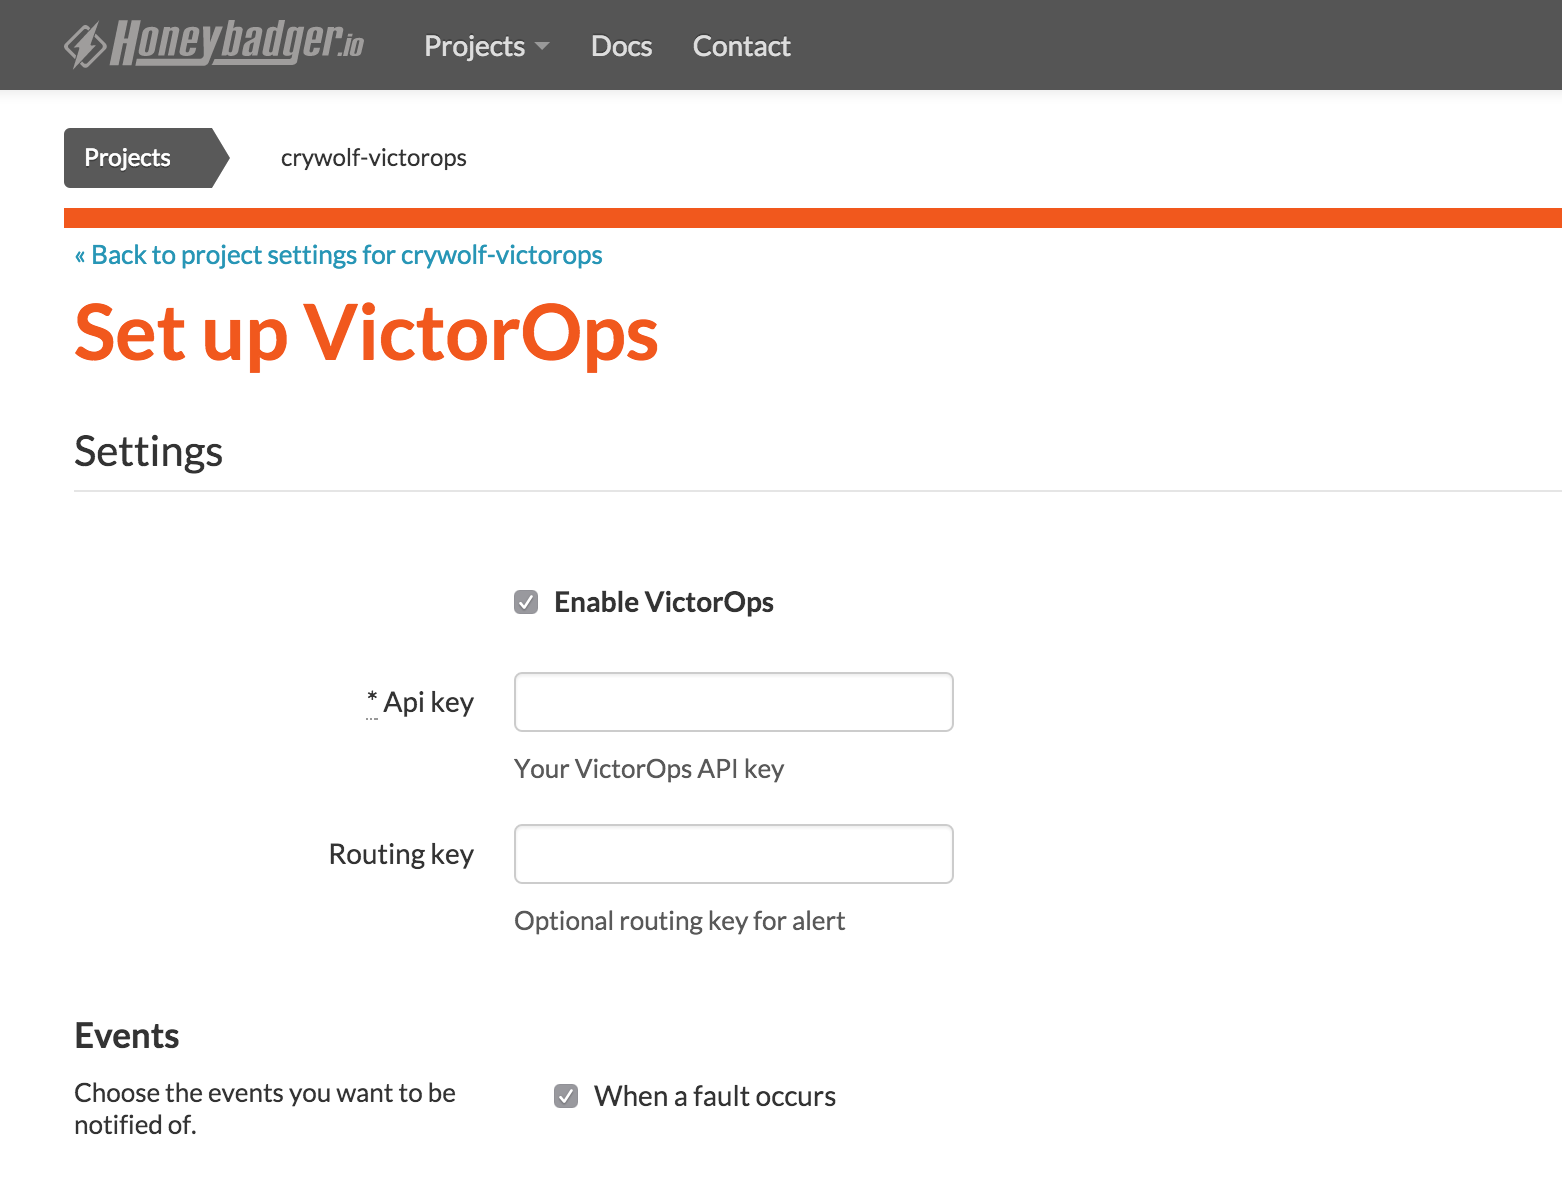
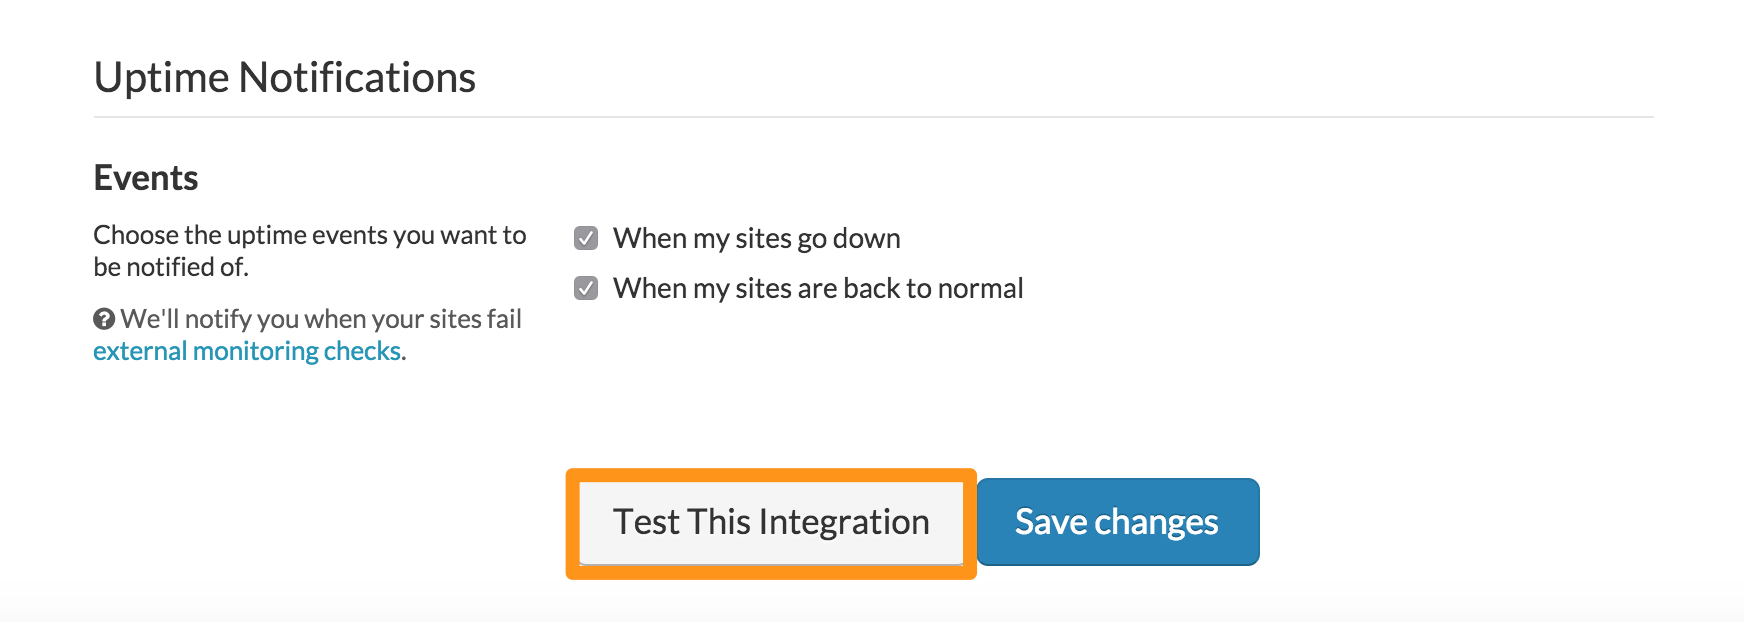
Fill out the rest of the form, test the integration to make sure the connection is successful. Select Save.