Dynatrace Synthetic Monitoring integration for Splunk On-Call 🔗
Dynatrace Synthetic Monitoring simulates customer journeys from thousands of locations around the world, using all major desktop and mobile browsers. The following guide will walk you through this integration.
In Splunk On-Call 🔗
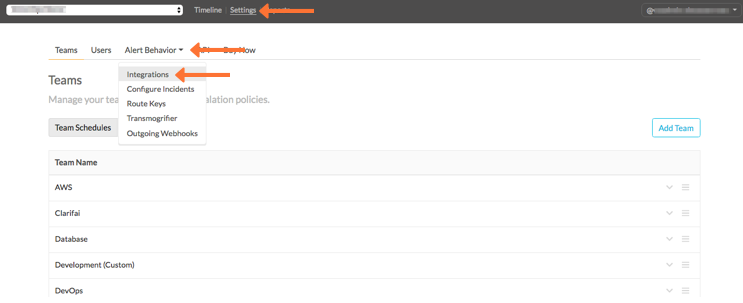
From the Splunk On-Call web portal, select Settings, then Alert Behaviors. Finally, select :Integrations.
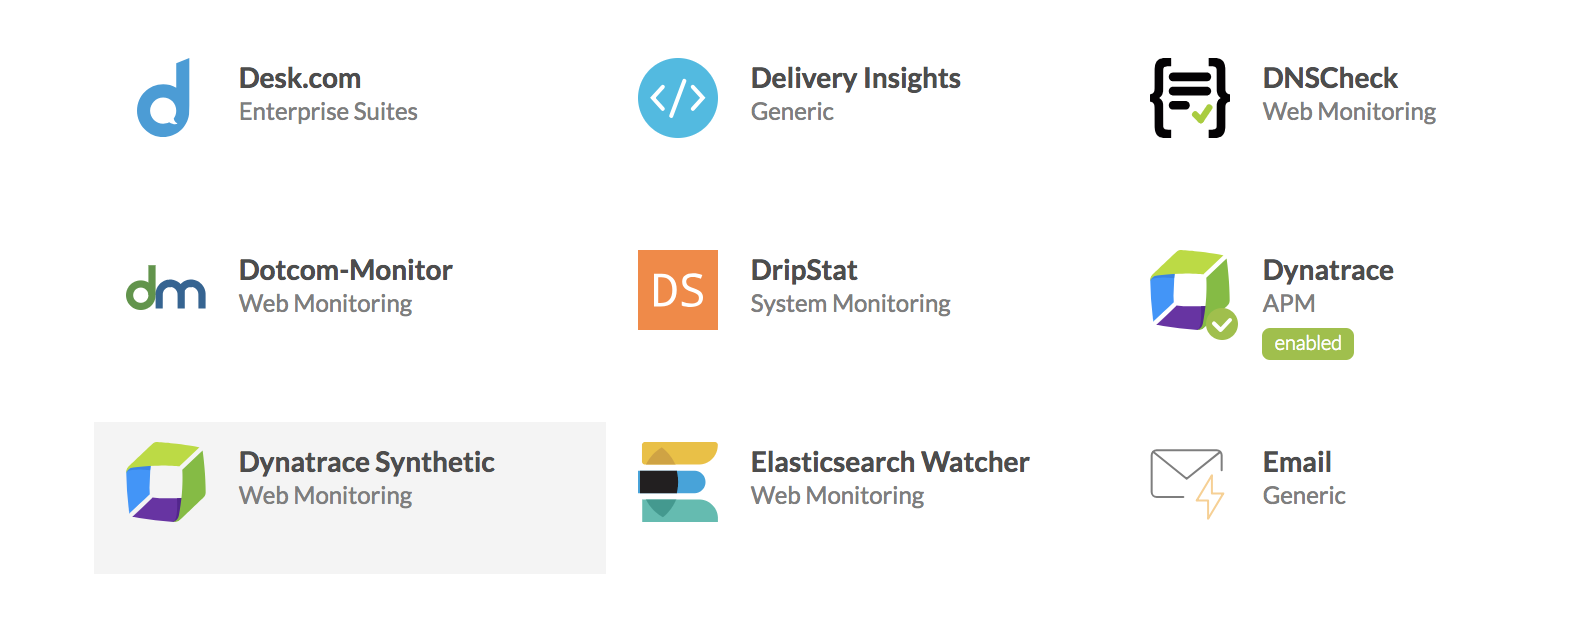
Select the Dynatrace Synthetic integration option.
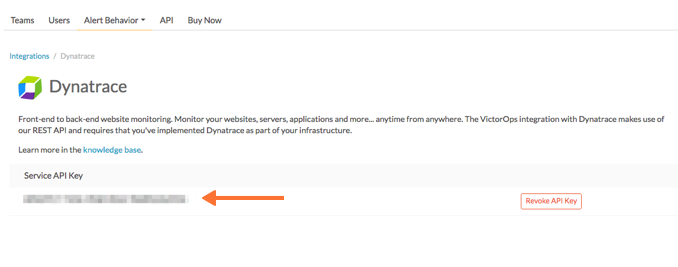
Copy the Service API Key to the clipboard.
In Dynatrace Synthetic Monitoring 🔗
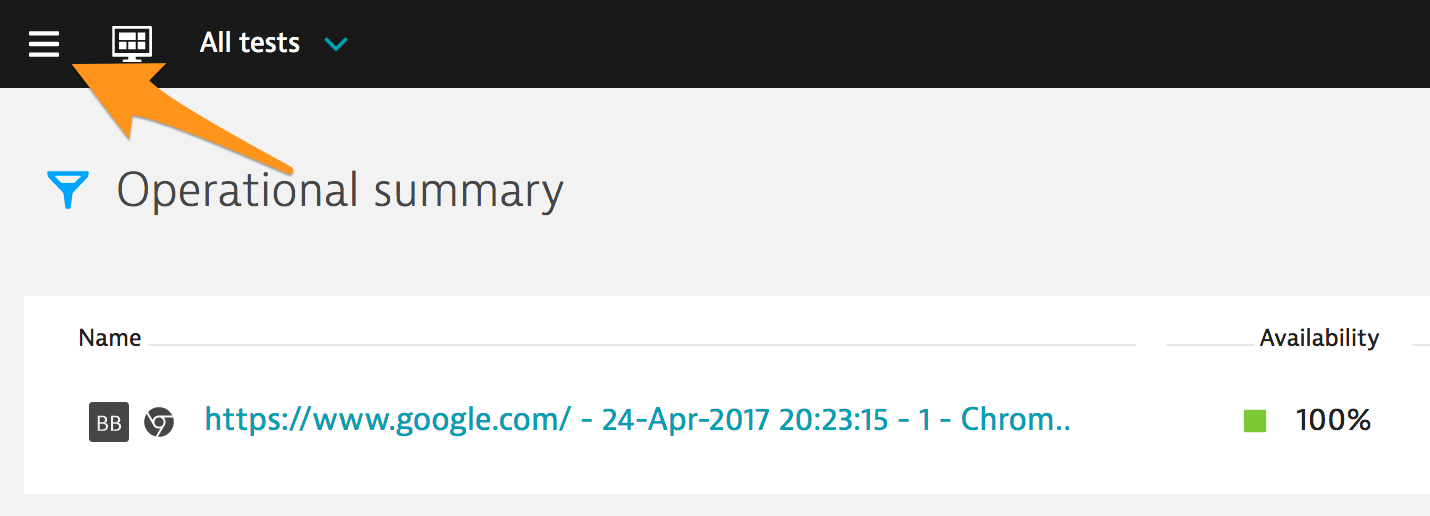
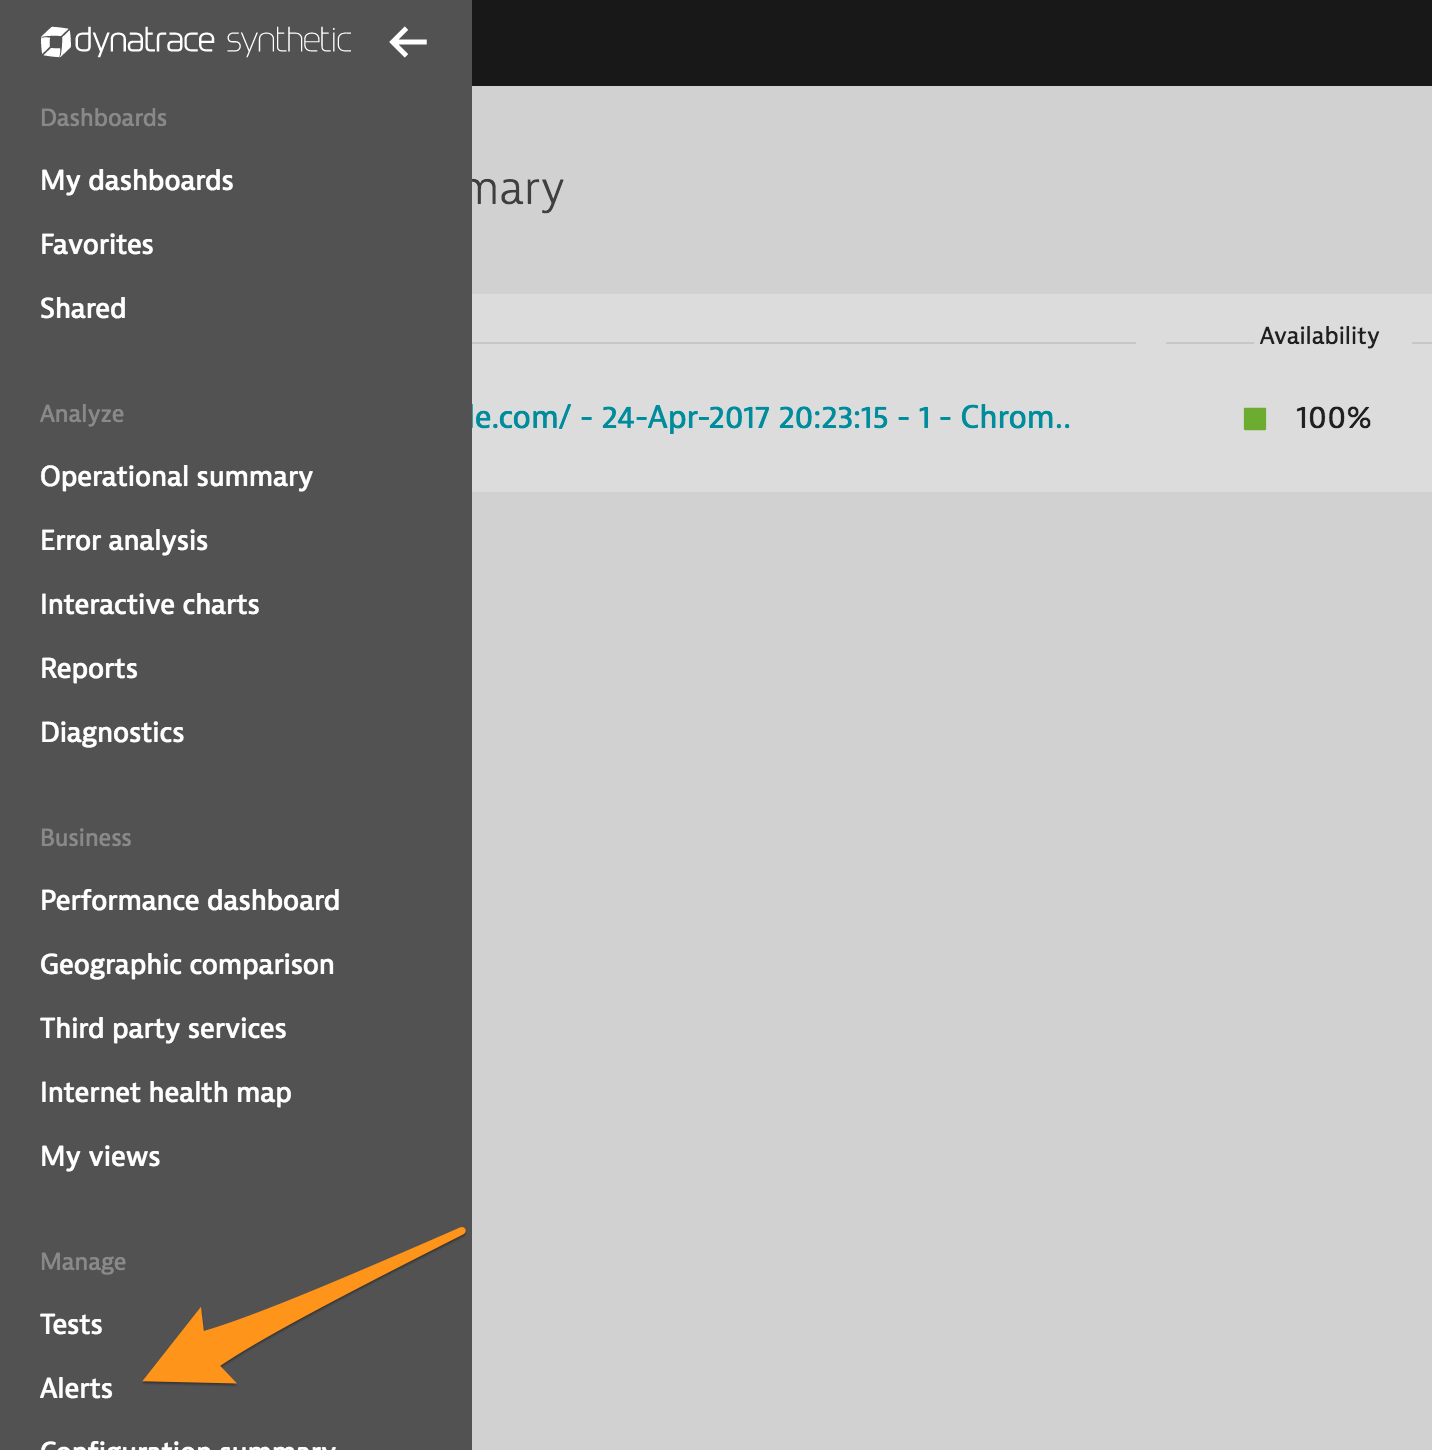
From the Dynatrace Synthetic Monitoring web interface, select the menu icon in the upper-left corner, then select Alerts from the dropdown.
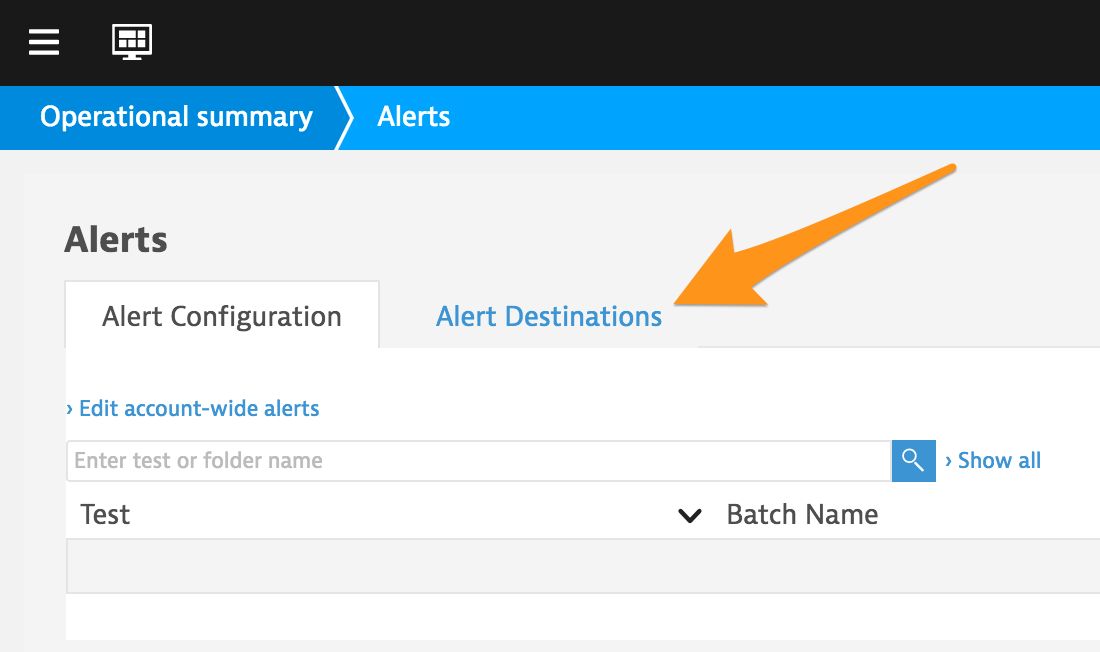
Select Alert Destinations.
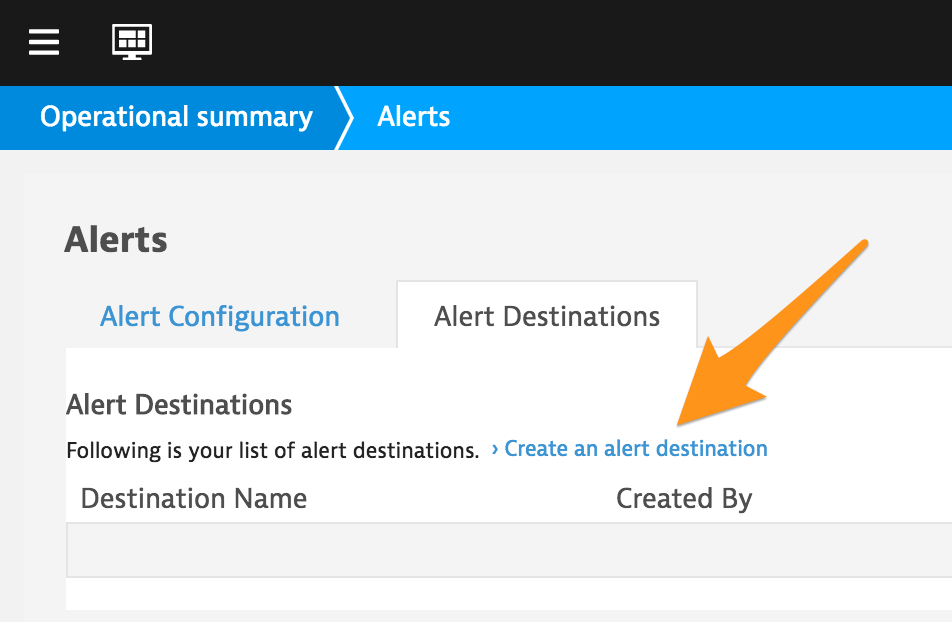
Select Create an alert destination.
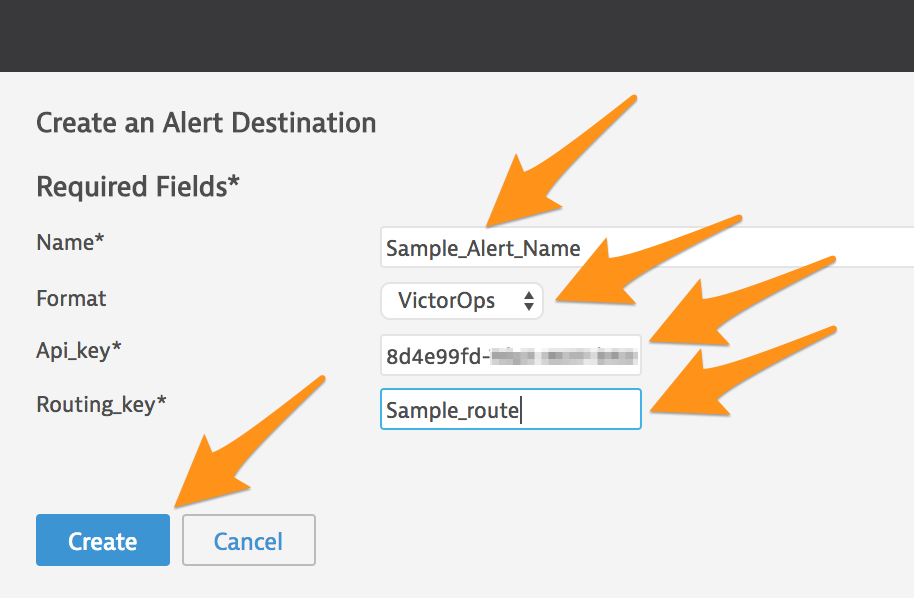
Select VictorOps from the Format` menu, then enter appropriate values for Name` and Routing_key. Paste the API key from the In VictorOps (Splunk On-Call) section.
Select Create.
Select the Alert Configuration tab.
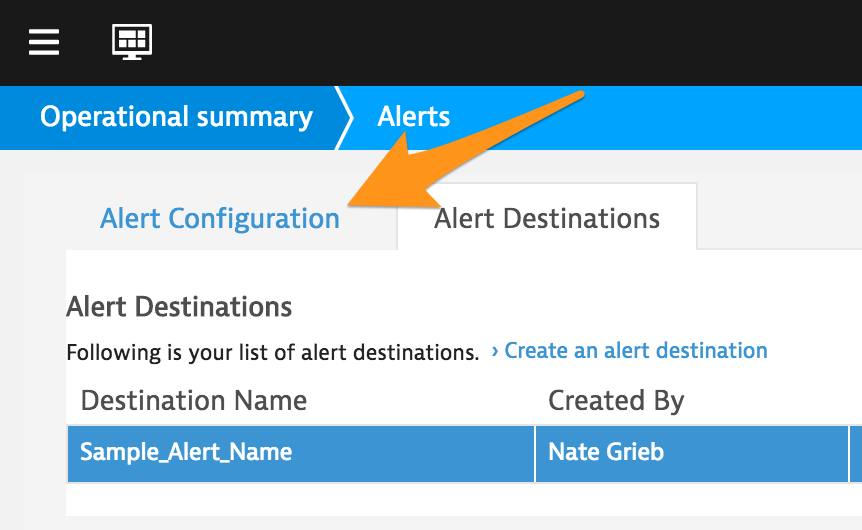
For a test that that you want to associate the alert with, select Action, then select Edit from the dropdown menu.

Select either the Test Level Alerts tab or the Step Level Alerts tab, then select the type of alert from the left side of the tab that you want to configure.

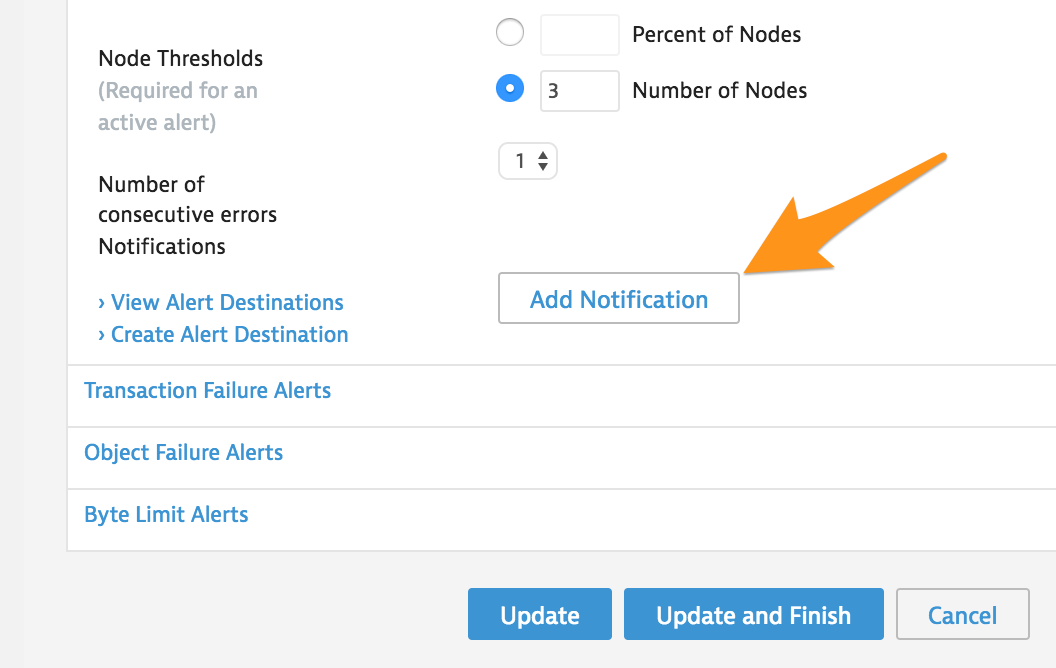
#. For testing, make sure to have set to On. You can change the Activation setting after testing if you want. Configure the alert settings how you want, then select Add Notification near the bottom of the page.
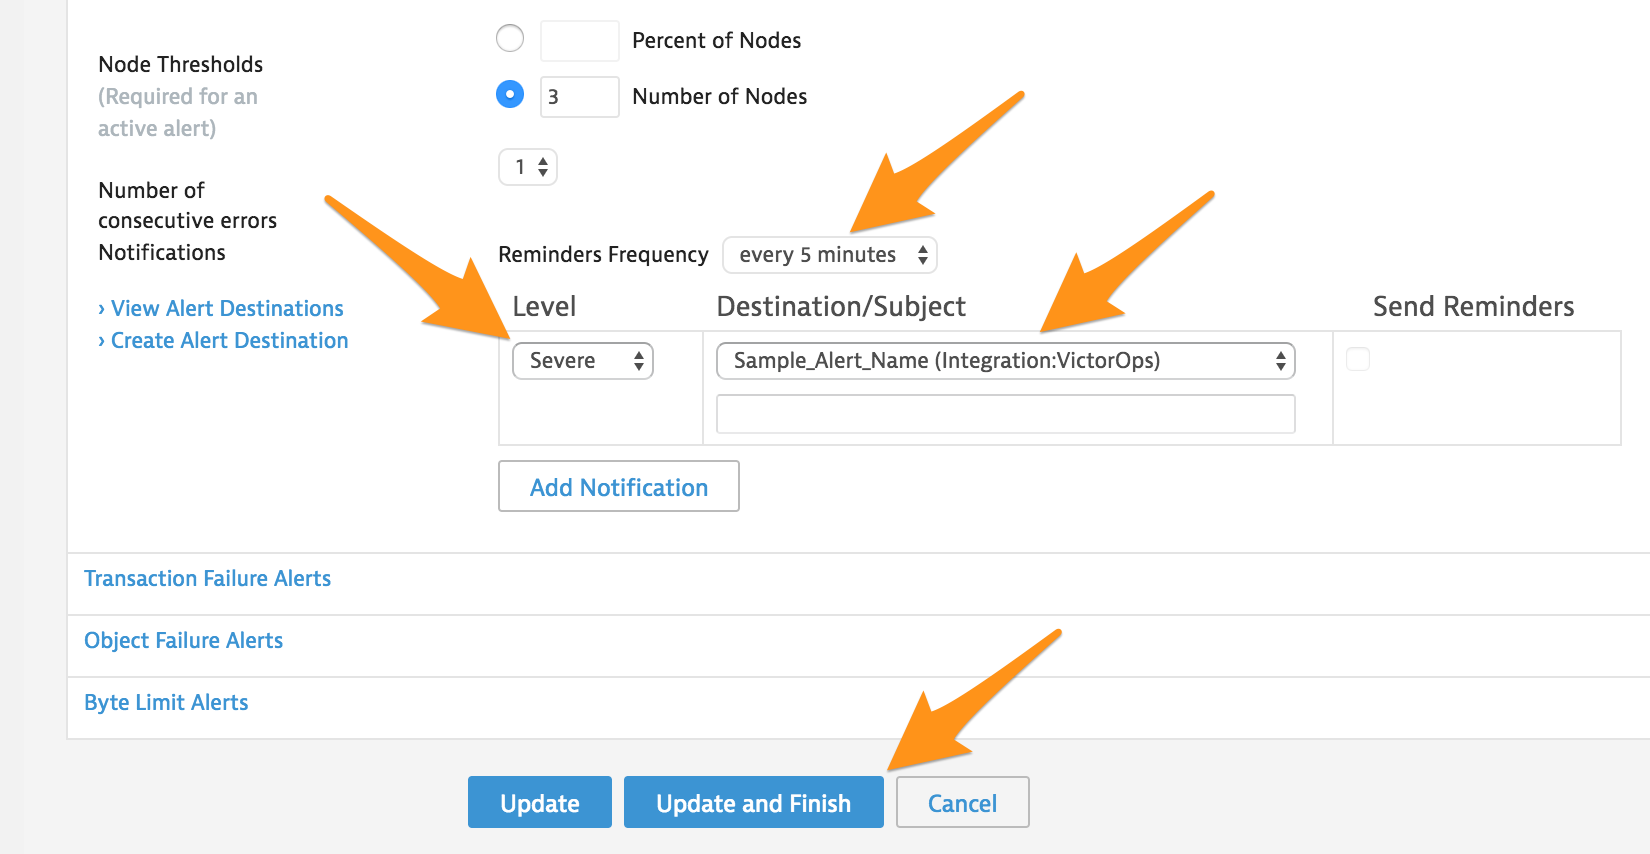
Set Reminders Frequency and Level` to the values you want, then set Destination/Subject to the Alert Destination that you created earlier. Select Update and Finish to complete the process or select Add Notification to add another notification with different settings.
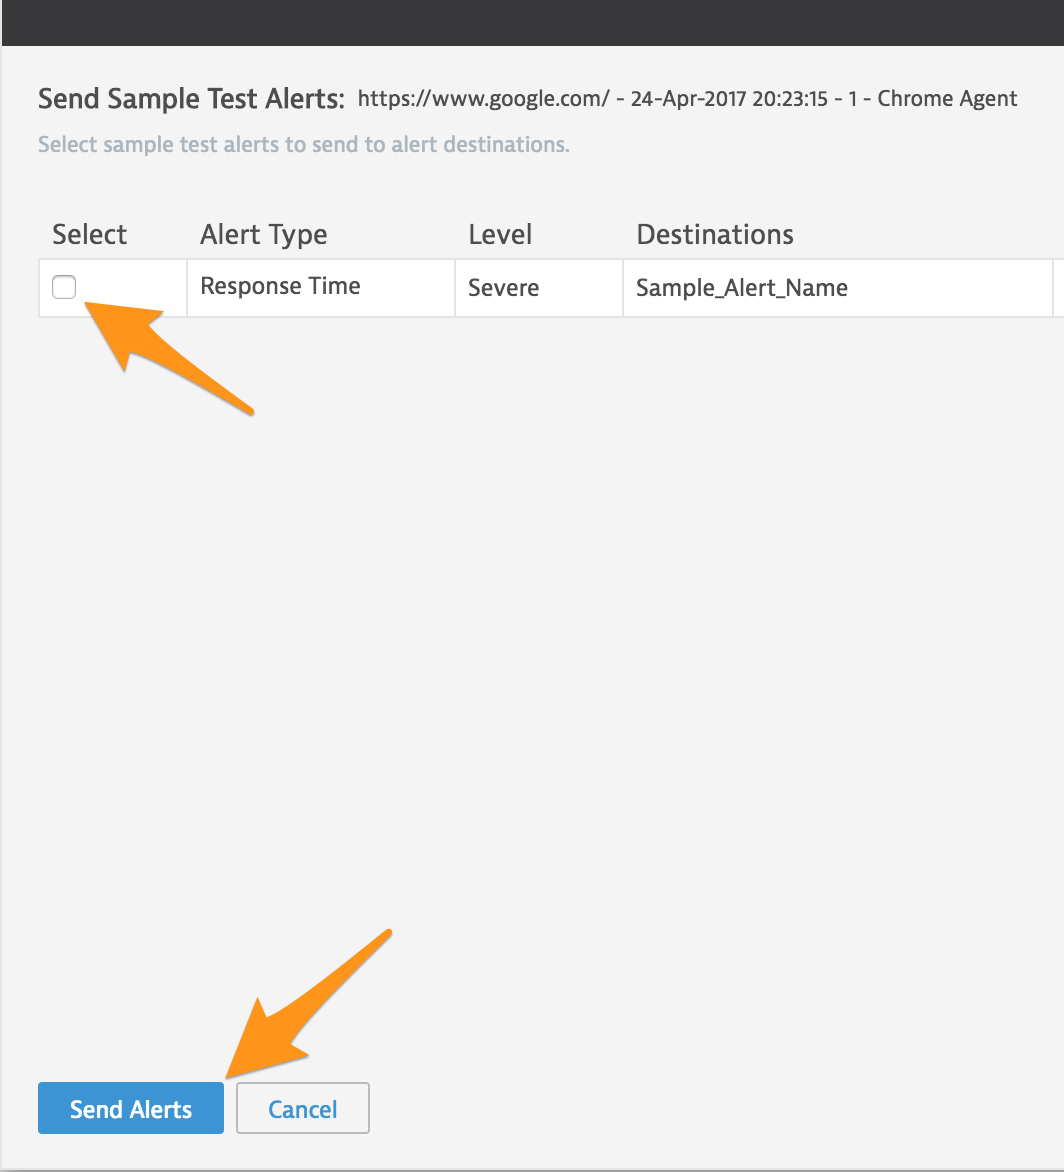
Select the Action dropdown for the test you just updated, the select .

Select the alert to test, then select Send Alerts.
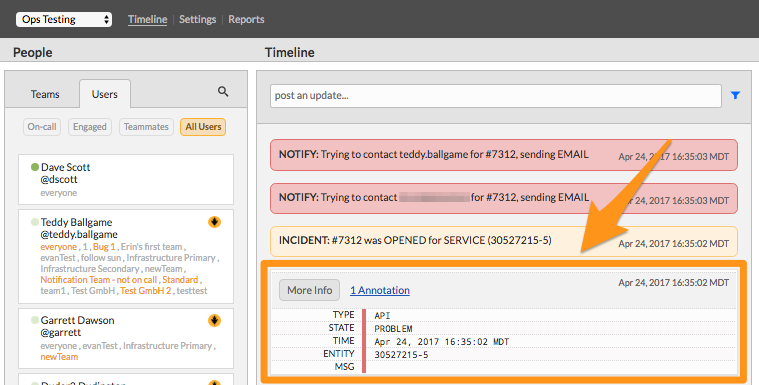
Confirm that you received the test alert in your Splunk On-Call timeline.
You have completed setting up this integration.