GitHub integration for Splunk On-Call 🔗
VictorOps’s delivery insights endpoint integration with GitHub ensures better visibility into development, delivery, and issues in production. You can send pull request information from GitHub repositories directly into the VictorOps timeline where your team can collaborate further. Leverage the power of GitHub data with the actionable alerting and collaborative features (i.e. Rules Engine, annotations, and chat) of VictorOps.
VictorOps, with the integrated respository information pulled from GitHub, improves collaboration when working through the full SDLC. Detailed context into production issues and better communication leads to continuous delivery and more effective incident management.
Improved Visibility and Collaboration Leads to Continuous Delivery
Delivery Insights functionality lets you more closely monitor the SDLC in real-time with GitHub repository data contextually displayed in the VictorOps timeline
Collaborate cross-functionally around software delivery, develop and resolve incidents quickly with a deep knowledge of recent changes in production, and communicate around contextual alerts
Work and communicate seamlessly through both VictorOps and GitHub to influence rapid development and incident remediation
The VictorOps / GitHub Application integration allows you to send important pull request information directly into the timeline from the repositories of your choice. The following is a quick guide showing how to install the integration.
Enable GitHub Integration in VictorOps 🔗
In VictorOps, click on Settings >> Alert Behavior >> Integrations
/_images/spoc/integrations.png
Then you’ll want to find the Github Integration
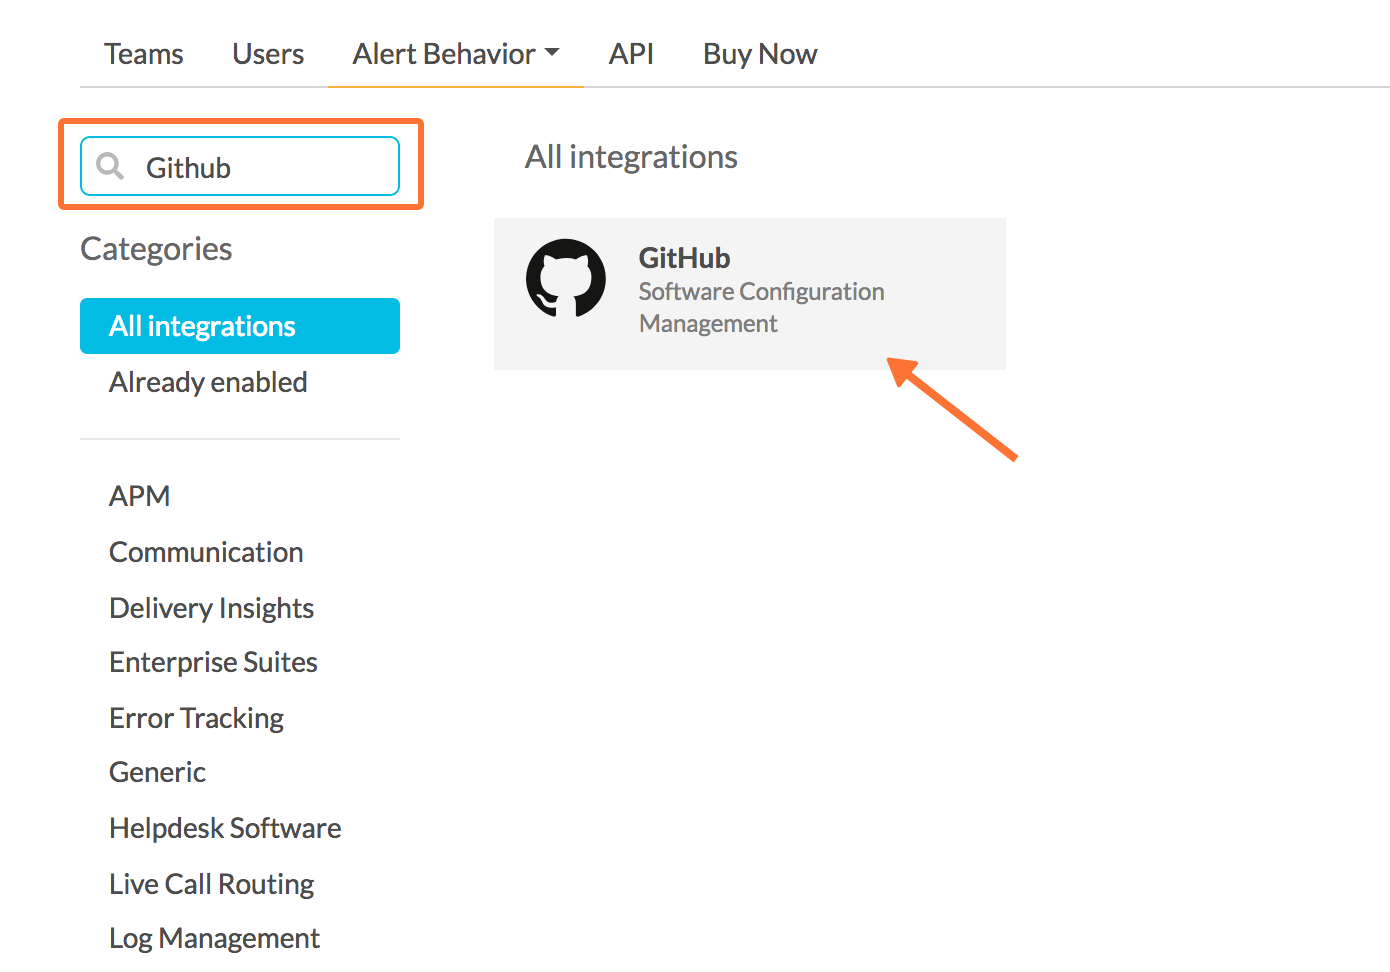
If the Delivery Insights endpoint integration has not been enabled, click the blue Enable button. Doing so will send you to the VictorOps application in GitHub.
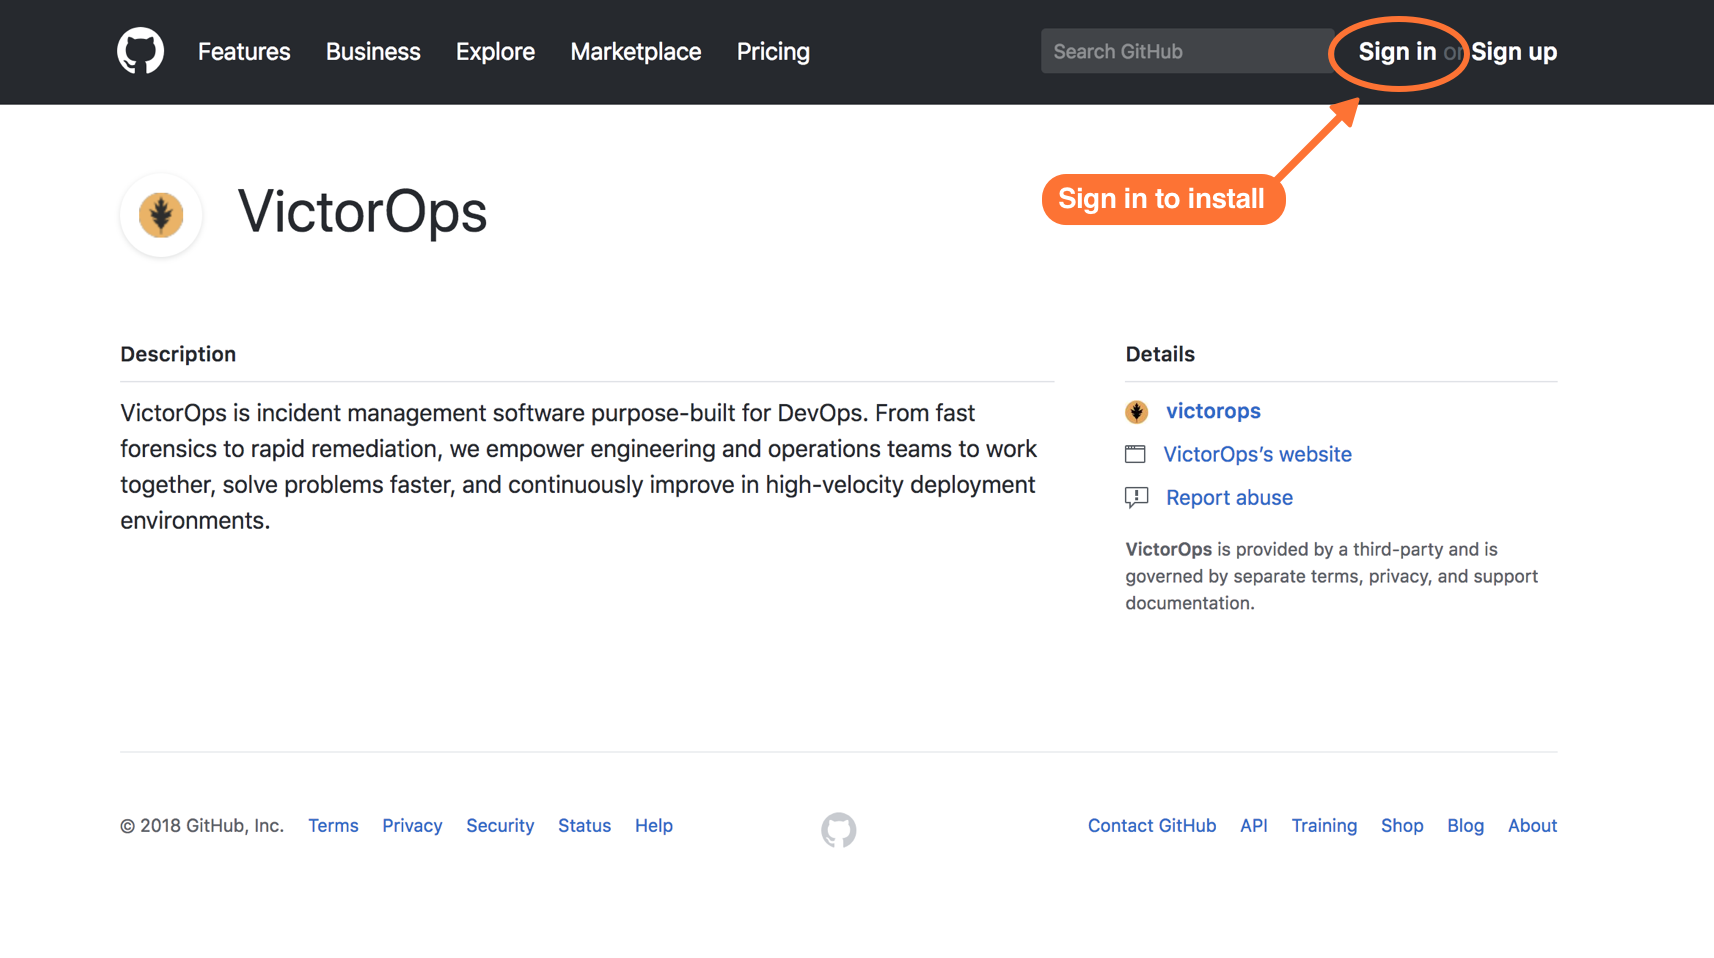
Connecting VictorOps in GitHub 🔗
First you’ll want to sign-in.
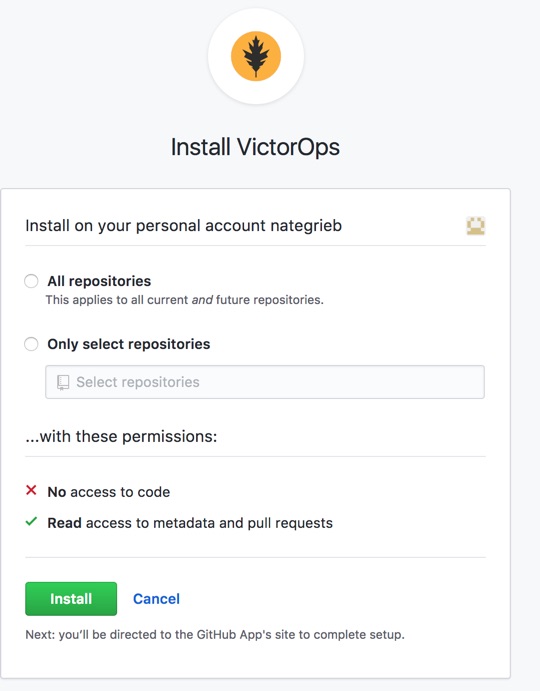
Next select Install.
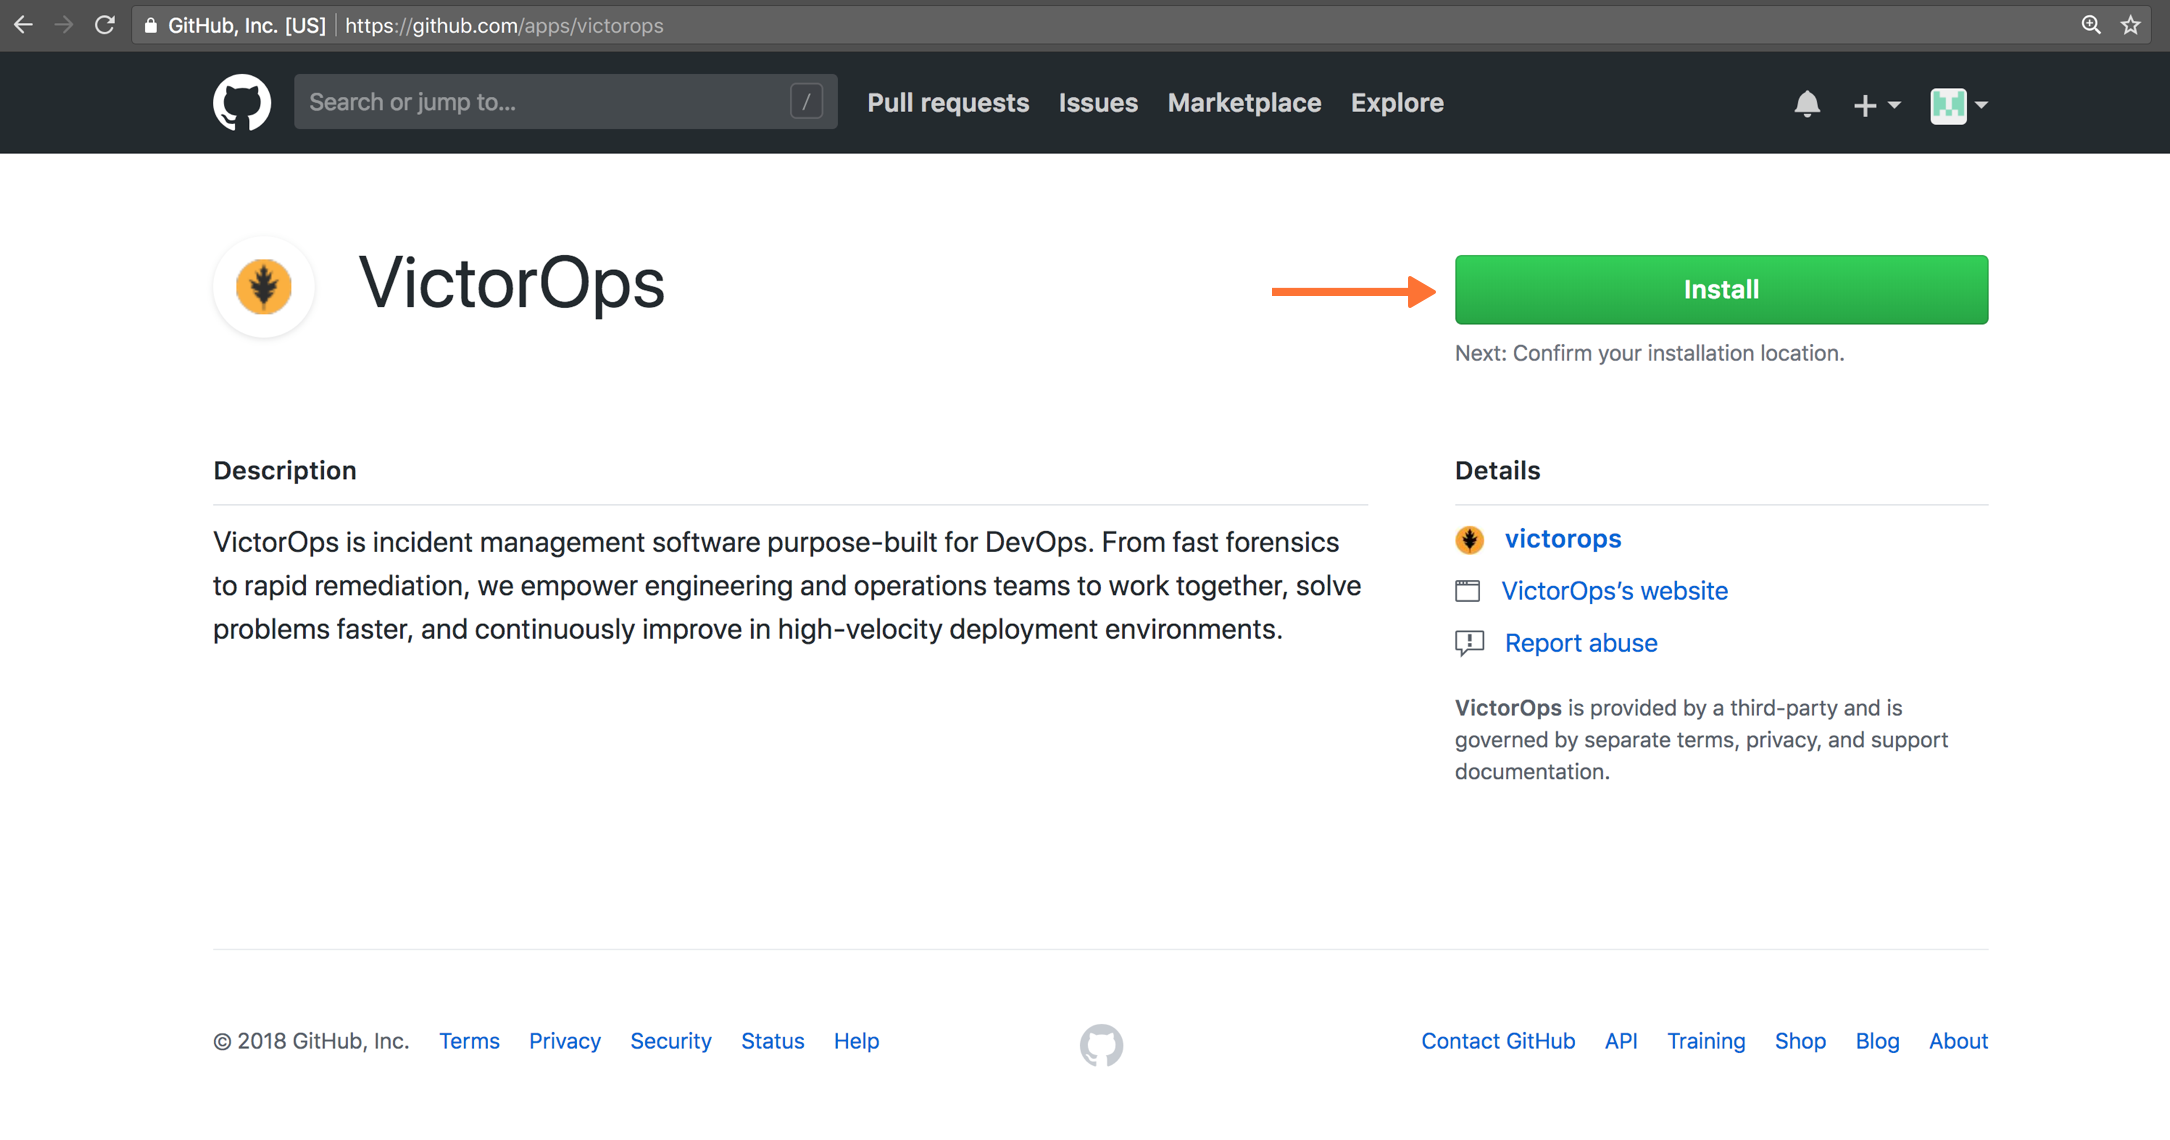
Next, choose the repositories you want to integrate with then select Install.
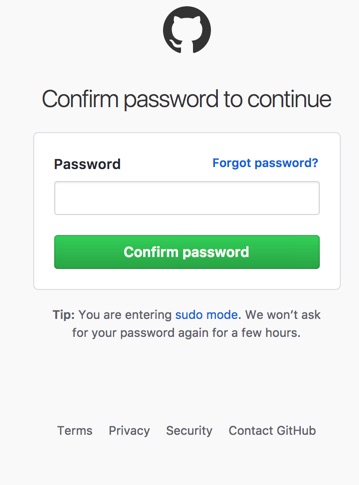
Confirm your password and the integration is complete.
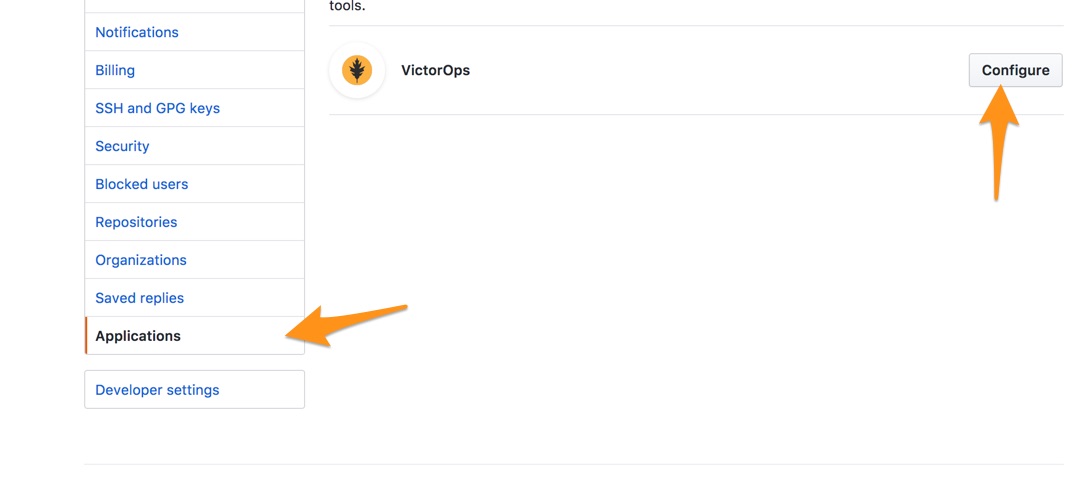
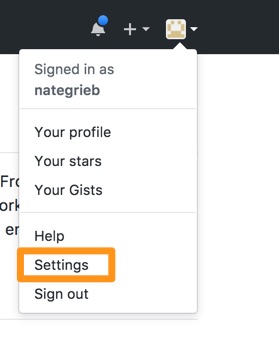
To adjust your application settings, such as the repository selection, select your user drop-down and then Settings in Github.
Next, select Application settings and on the VictorOps option select Configure.