パート3: 環境をデプロイして確認する 🔗
必要なサービス、Collectorコンポーネント、Splunkインスタンスを設定したので、ログ収集パイプラインをデプロイして検証します。チュートリアルの概要については、チュートリアル:Collectorを使用して、Splunk Enterpriseにコンテナログを送信します。 を参照してください。
ログコレクションサービスをデプロイする 🔗
次のステップは、パート1で作成したdocker-compose.ymlファイルを実行することです。
ターミナルから
log-collectionディレクトリに移動します。Siliconチップを搭載したmacOSユーザーの場合、
splunk/splunk画像のarm64バージョンがないため、以下のコマンドを実行する必要があります:export DOCKER_DEFAULT_PLATFORM=linux/amd64
docker-compose.ymlファイルで定義されたログ収集サービスを開始します。開始には1~2分かかります:docker-compose up -d
出力が次の例と一致することを確認してください。
[+] Running 5/5
✔ Network docker-tutorial_default  Created                                                                                                               0.0s
✔ Container splunk                 Healthy                                                                                                              77.1s
✔ Container otelcollector          Started                                                                                                              77.2s
✔ Container logging2               Started                                                                                                              77.5s
✔ Container logging1               Started                                                                                                              77.5s
ログコレクションパイプラインを確認する 🔗
次に、すべてが期待どおりに動作することを確認します。以下の手順に従って、Collectorがログを収集し、Splunk Enterpriseサービスに送信したことを確認します。
ウェブブラウザで
http://localhost:18000に移動します。次の認証情報を使用してSplunk Webにログインする:
ユーザー名:
adminパスワード:
changeme
左のナビゲーションメニューで、Search & Reporting を選択します。
検索バーで、
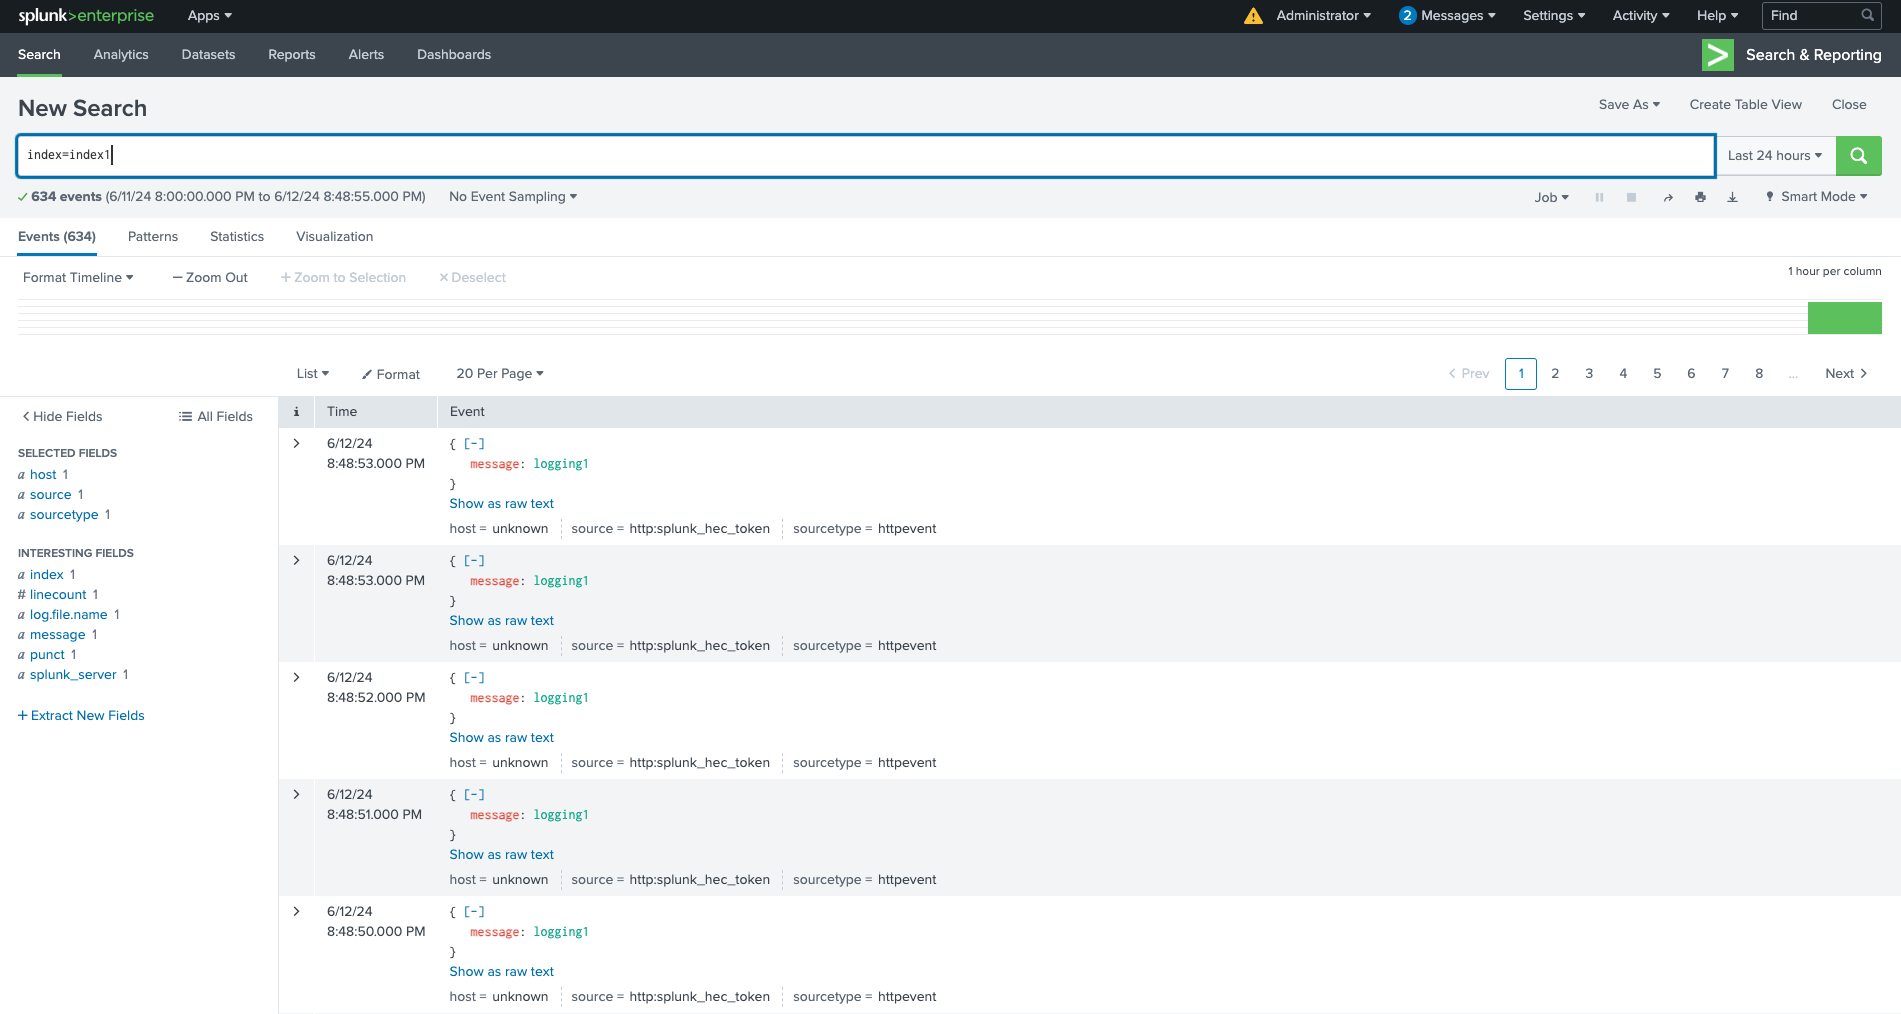
index1インデックスを検索し、logging1サービスからログを表示します:index=index1
検索結果は、
logging1サービスからのログのみがindex1インデックスに保存されていることを示しています:
検索バーで、
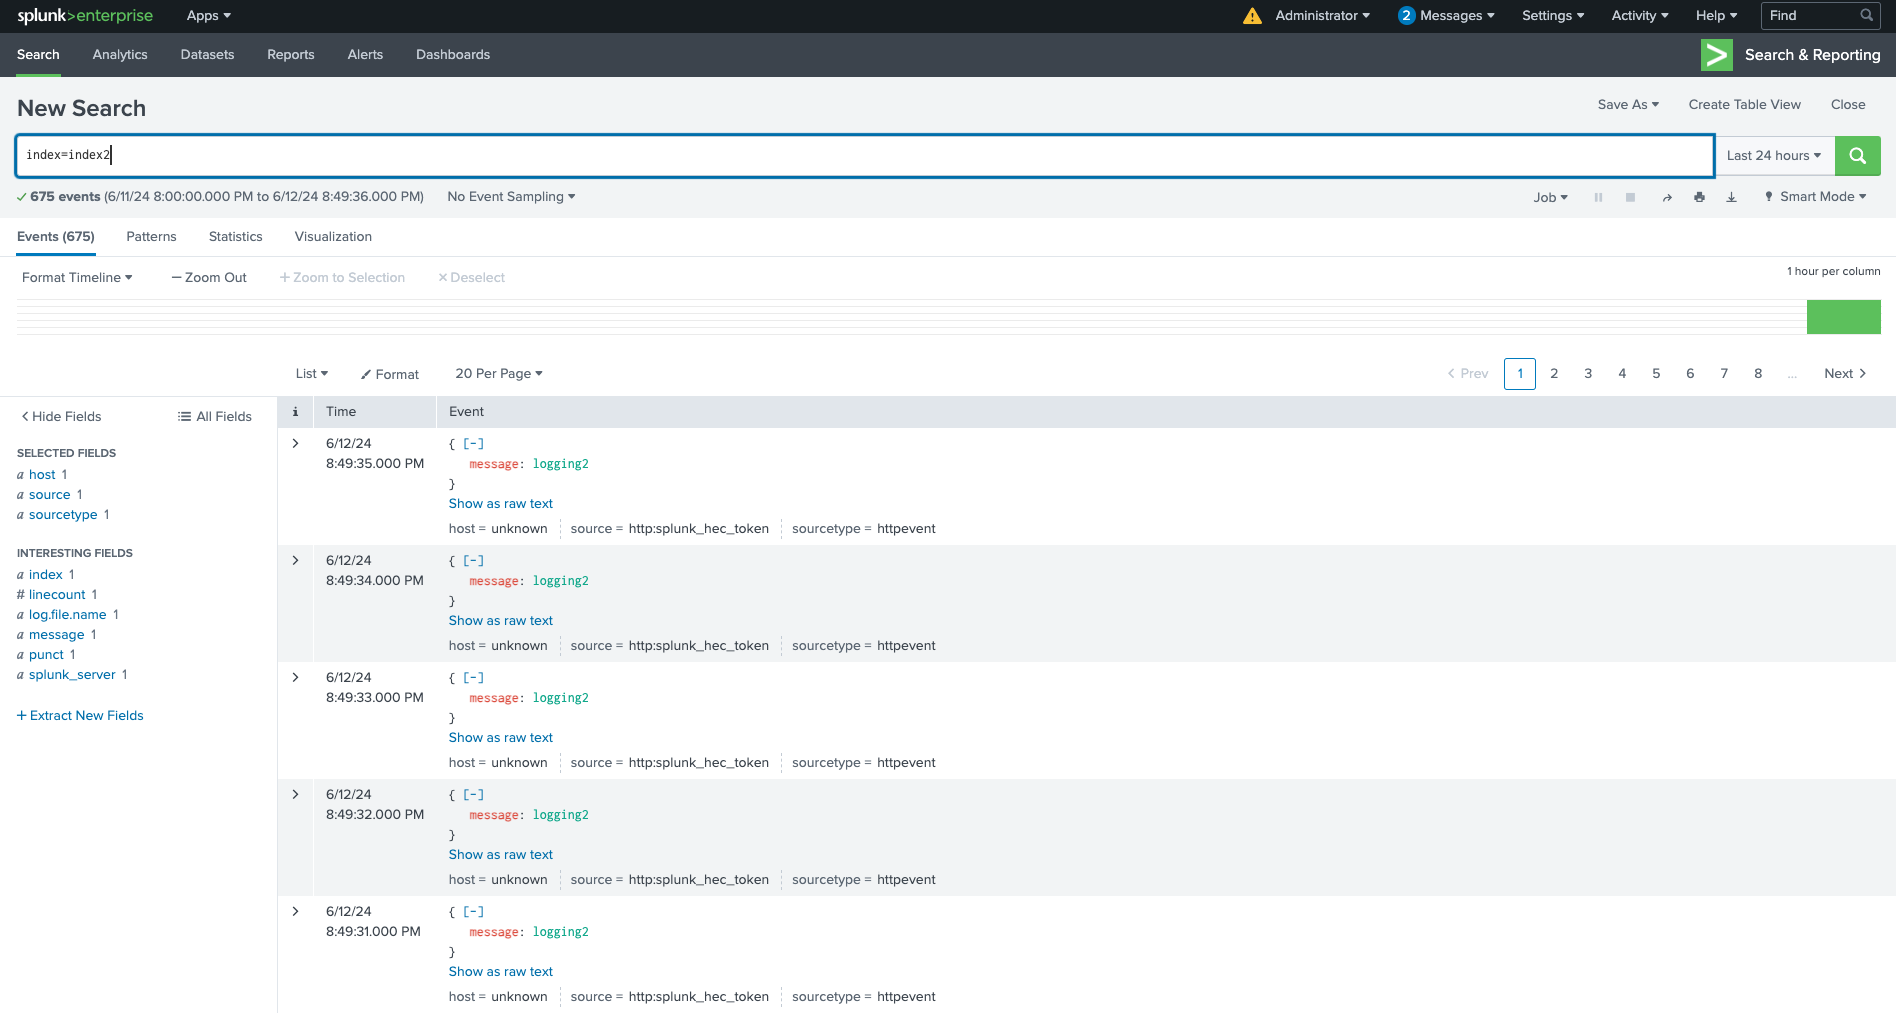
index2インデックスを検索し、logging2サービスからログを表示します:index=index2
検索結果は、
logging2サービスからのログのみがindex2インデックスに保存されていることを示しています:
ログ収集環境を終了するには、Docker Composeで実行中のサービスを停止します:
docker-compose down出力が次の例と一致することを確認してください。
[+] Running 5/5
✔ Container logging2               Removed                                                                                                              10.3s
✔ Container logging1               Removed                                                                                                              10.3s
✔ Container otelcollector          Removed                                                                                                               0.2s
✔ Container splunk                 Removed                                                                                                              10.9s
✔ Network docker-tutorial_default  Removed                                                                                                               0.1s
これでチュートリアルは終了です。Collectorを使用してコンテナログを処理し、Splunk Enterprise サーバーに送信するマルチコンテナ環境を設定しました。
さらに詳しく 🔗
本番スケールのSplunk Enterpriseデプロイについては、Splunk Operator for Kubernetes GitHubリポジトリを参照してください。
CollectorがSplunk Enterpriseとどのように統合できるかの他の例は、Splunk OpenTelemetry Collector GitHubリポジトリを参照してください。