パート3: 内蔵ディテクターを有効化してアラートを発する 🔗
Splunk Observability Cloudにデータが流れ、ナビゲーターやダッシュボードを使用してそのデータを探索できるようになったので、アラートを設定して、データの特定の状況について常に情報を得ることができます。
ディテクターを作成する 🔗
アラートを作成するには、まず、アラートさせたい条件についてデータを監視するディテクターを作成します。これらの条件が満たされると、ディテクターはアラートを発行します。
ディテクターの作成元とするチャートにアクセスします。この例では、Memory Used % チャートに基づいてディテクターを作成します。
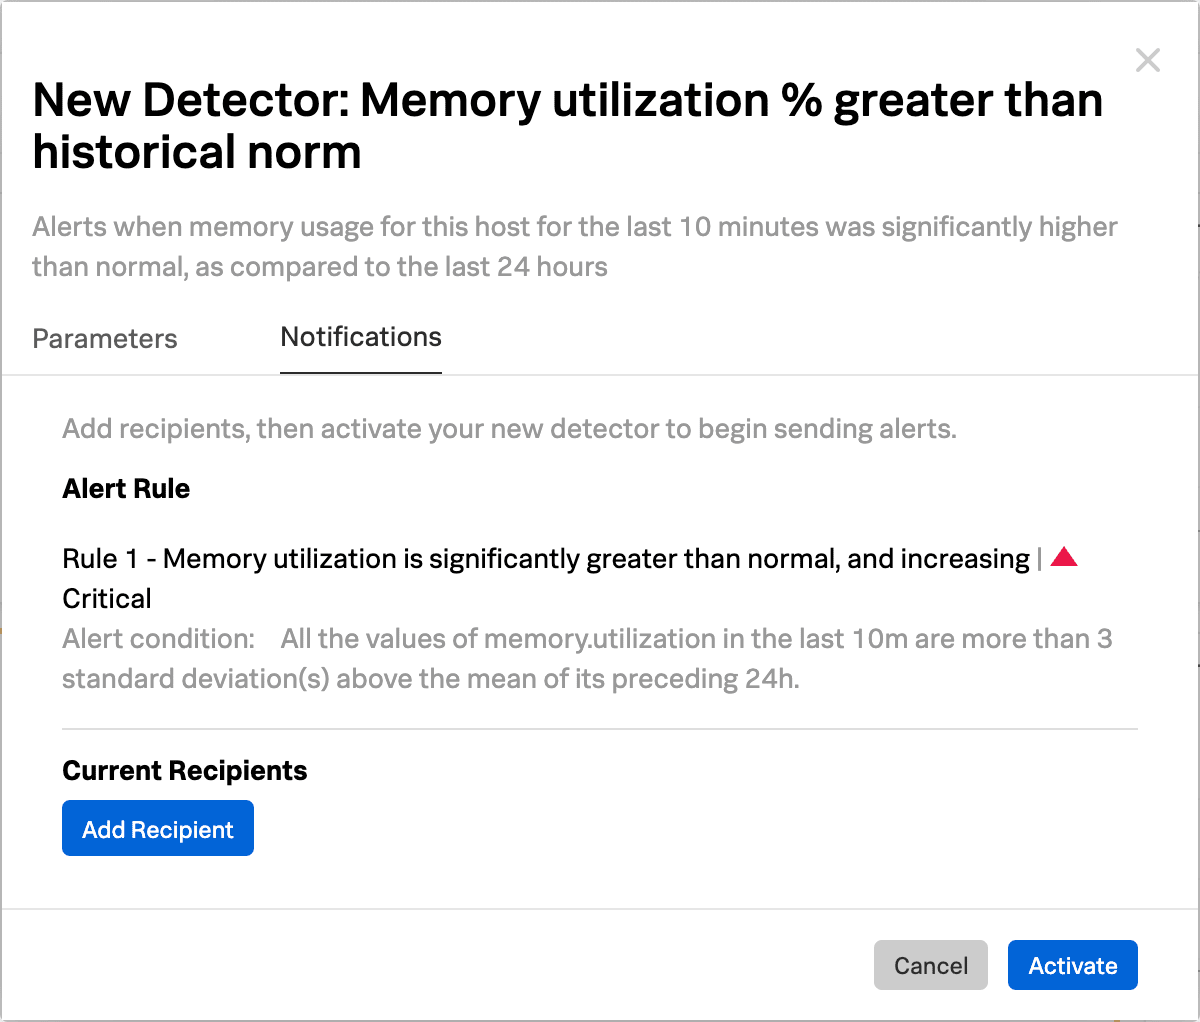
チャートの右上の Get Alerts アイコンを選択します。一部のチャートデータには、有用なアラート条件のディテクターを簡単に作成できるようにするための内蔵テンプレートが組み込まれています。例えば、Memory Used % チャートには、Memory utilization % greater than historical norm というディテクターテンプレートがあります。

このディテクターは、過去10分間のメモリ使用量が、過去24時間と比較して、通常よりも著しく多かった場合にアラートを送信します。
New Detector パネルが表示されます。Add Recipients を選択して、アラートの受信先とするメールアドレス、Splunk Observability Cloudチーム、またはWebhookを追加します。詳細は Splunk Observability Cloudでチームを作成および管理する および Splunk Observability Cloudを使用してウェブフックにアラート通知を送信する を参照してください。

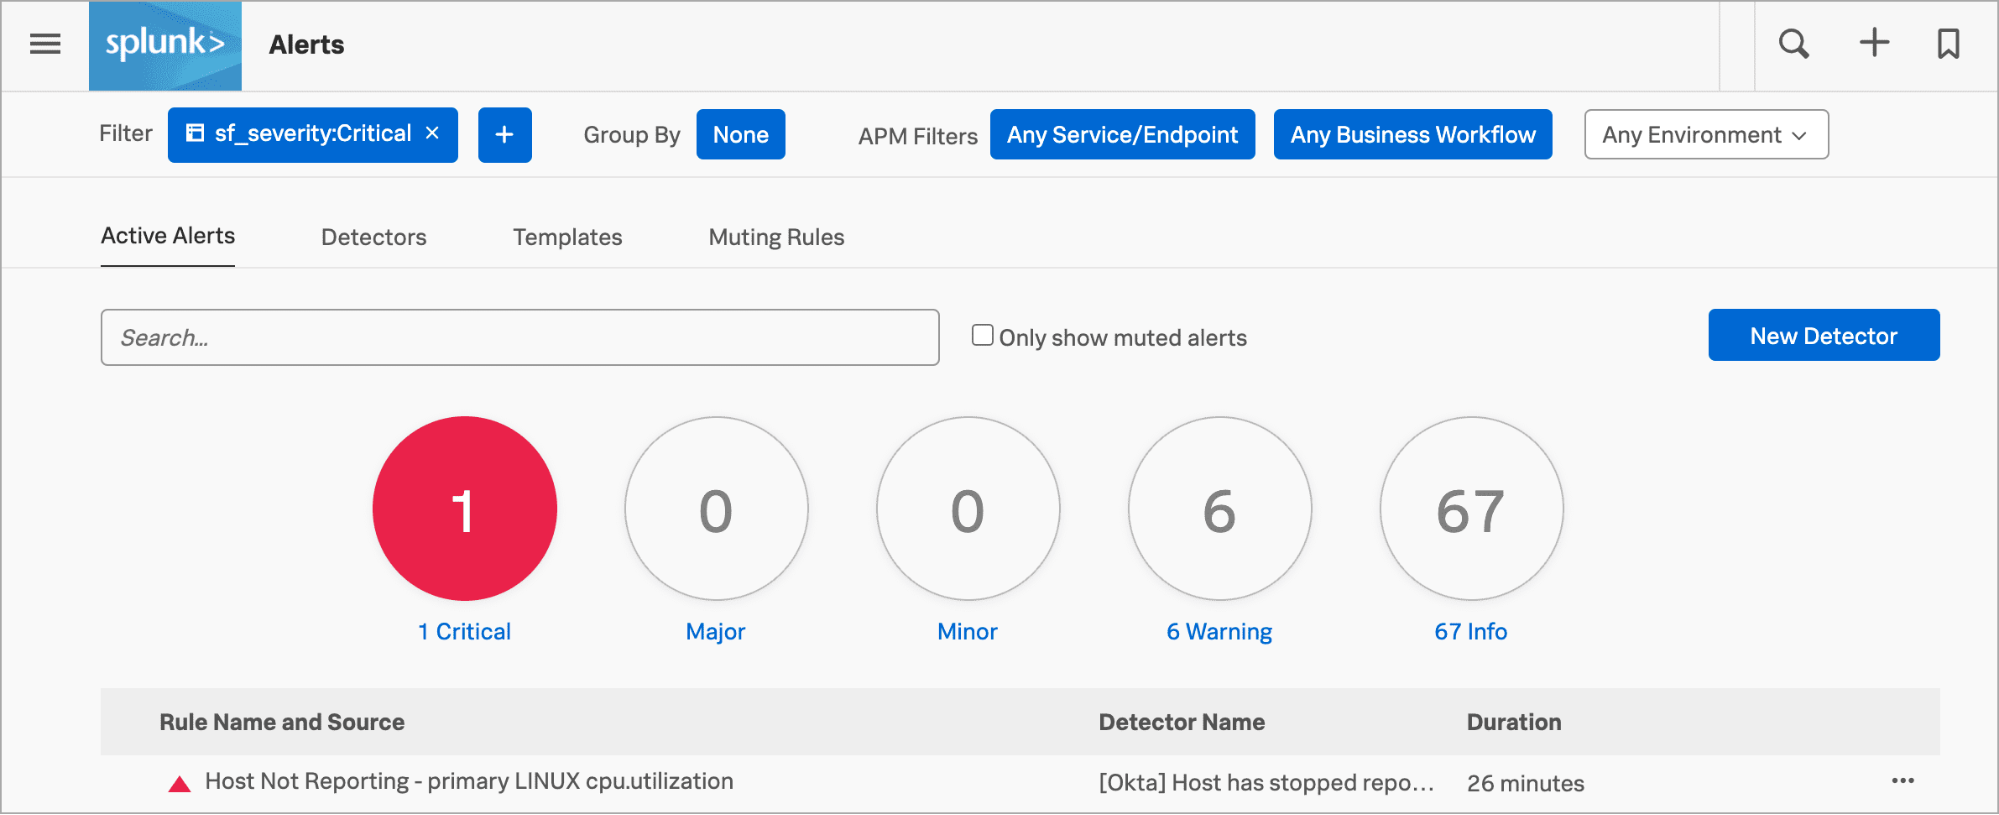
Activate を選択します。データの条件が一致すると、Splunk Observability Cloudは、指定された受信者に通知を送信し、[アラート]ページにアラートを表示します。

これでチュートリアルは終了です。Splunk Distribution of the OpenTelemetry CollectorをKubernetesクラスターでデプロイし、クラスターデータを表示して、アラートを発するディテクターを作成しました。
さらに詳しく 🔗
アラートとディテクターの詳細については、Splunk Observability Cloudのアラートおよびディテクターの概要 を参照してください。
ダッシュボードやチームの管理など、このチュートリアルのコンセプトの詳細については、Splunk Observability Cloudの概要 を参照してください。