エスカレーションポリシーでのWebhookの使用 🔗
Webhookは、Splunk On-Callから独自のアプリケーションへのコールバックを指定する方法であり、チームのエスカレーションポリシーに追加することで、インシデントの詳細を受信し、希望する方法で処理することができます。エスカレーションポリシーの詳細については、エスカレーションポリシーをセットアップする を参照してください。
これらの使い方の例をいくつか挙げます:
サーバープロセスに関連するインシデントが発生すると、自動的にバウンスします。
Splunk On-Callインシデントを独自のサービスダッシュボードに統合します。
最新の停止状況ページを維持します。
Webhookのコンテンツタイプ:application/x-www-form-urlencoded
はじめに 🔗
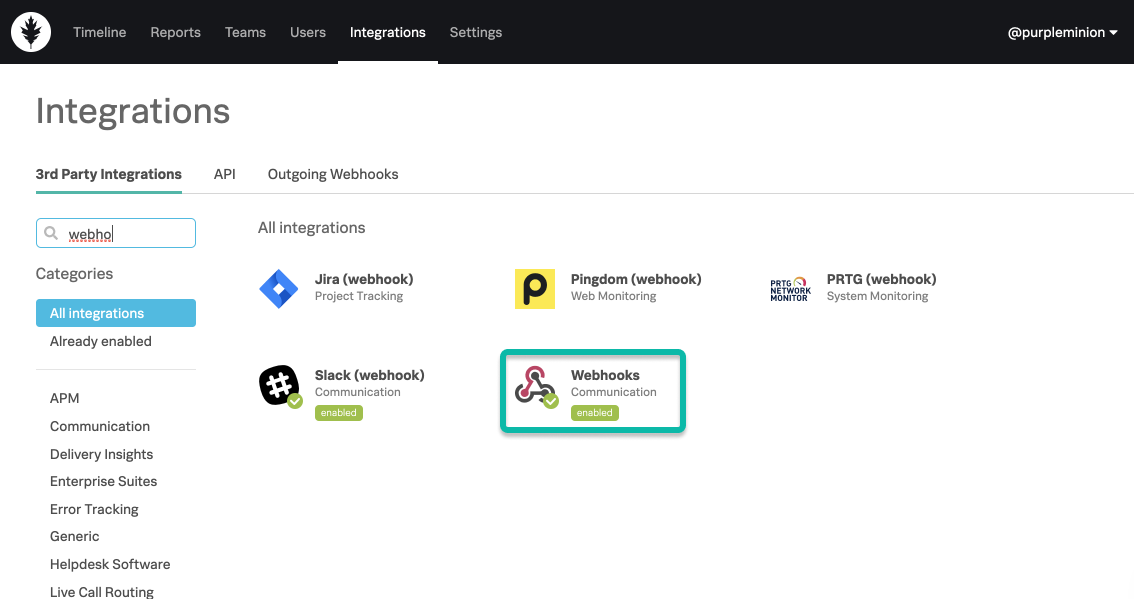
開始するには、Splunk On-Callタイムラインから Integrations に移動し、Webhooksを選択します。
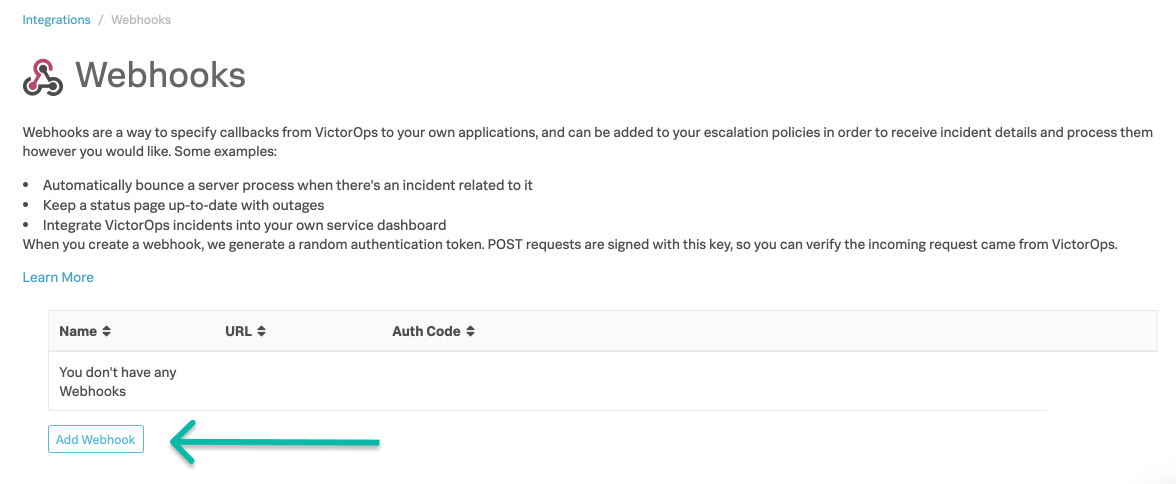
Webhookの名前とURLの入力を求められます。 送信すると、認証コードが生成されます。
Webhookリクエストの認証 🔗
Webhookを作成すると、安全でランダムな認証トークンが生成されます。POSTリクエストはこの鍵で署名されるため、Splunk On-Callからのリクエストであることを確認できます。
Splunk On-CallからアプリケーションにPOSTリクエストが届いていることを認証するには、以下の手順を実行します:
WebhookのURLを、Splunk On-Callで表示されるのと同じ文字列で作成します。これには、末尾のスラッシュも含まれます。
リクエストのPOST変数をキーでアルファベット順に並べ替えます。
各POST変数のキーと値を、区切り文字なしでURL文字列に追加します。
Webhookの認証キーを使用して、結果の文字列のバイナリハッシュをMAC-SHA1で作成します。
バイナリ署名をBase64エンコードします。
リクエスト内のX-VictorOps-Signatureキーと出力を比較し、一致すれば、リクエストの発信元はSplunk On-Call (旧VictorOps)です。
SSL証明書チェーンの検証 🔗
Webhookが安全な接続を使用する場合(すなわち、URLが 」 https:// 「で始まる場合)、受信側のエンドポイントは、公認の認証局によって署名された有効なSSL証明書を使用する必要があります。
この推奨は、SSL Labs Best Practices に基づいて実施されました。
Webhookエスカレーションステップ 🔗
Webhookがチームのエスカレーションポリシーの一部である場合、インシデントがエスカレーションされると、サービスはHTTP POSTリクエストを受信します。リクエストには以下の情報が含まれます:
POST本文:
インシデント: Splunk On-Callでのインシデントの識別子。
概要:インシデントの簡単な説明。
メッセージ:インシデントに関するメッセージ。
HTTPヘッダー
X-Victorops-Signature: Splunk On-Call (旧VictorOps)のWebhookの認証キーに基づく署名。
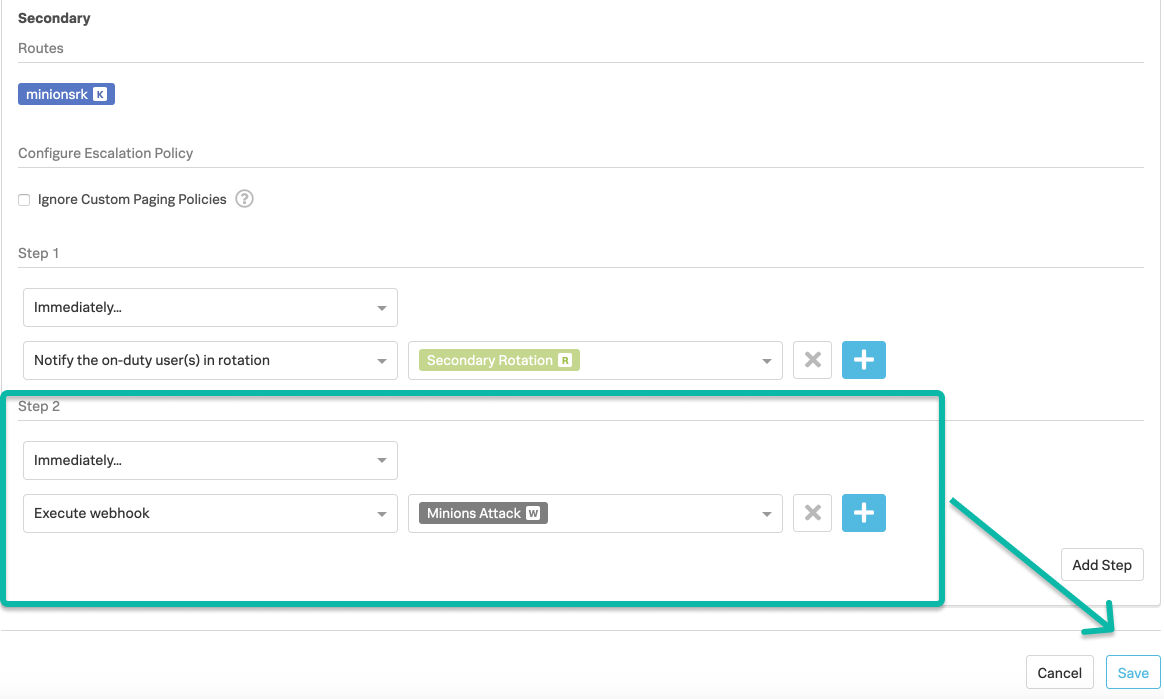
Webhookがあれば、それをエスカレーションポリシーに追加することができます。
エスカレーションとカスタム発信Webhookの違い 🔗
カスタム発信Webhookの詳細については、Splunk On-CallのカスタムアウトバウンドWebhook を参照してください。
参照用サンプルScalaコード 🔗
import javax.crypto.Mac
import javax.crypto.spec.SecretKeySpec import javax.xml.bind.DatatypeConverter
def generateSignature(key: String, url:String, postData: Map[String, String]) = {
   val contents =postData.toList.sorted.foldLeft(url) { case (s, (key, value)) =>s”\ :math:`s`\ key$value” }
   val mac = Mac.getInstance(“HmacSHA1”)
   mac.init(new SecretKeySpec(key.getBytes, “HmacSHA1”))
   DatatypeConverter.printBase64Binary(mac.doFinal(contents.getBytes(“utf-8”)))
}