Splunk On-CallのCheckMKインテグレーション 🔗
要件 🔗
対応するCheckmkのバージョン:Checkmk Raw、Checkmk Enterprise
必須Splunk On-Callバージョン:Starter、Growth、エンタープライズ
注釈
CheckMK用Splunk On-Callプラグインは、従来のNagios Core CheckMKとのみ互換性があります。このプラグインは新しいCheckMK Micro Core (CMC)とは互換性がありません。
Splunk On-Callを設定する 🔗
Integrations、Generic REST endpoint の順に移動します。
REST endpoint URL をクリップボードにコピーします。
組織IDとキーを取得する 🔗
CheckMKの設定を完了するには、Splunk On-Callの組織IDとキーも必要です。
組織IDを取得するには、Splunk On-Callタイムラインにアクセスしてください。組織IDはURLの末尾です。たとえば、URLが
https://portal.victorops.com/client/buttercup-gamesの場合、組織IDはbuttercup-gamesとなります。Splunk On-CallのNagiosインテグレーションを選択することで、組織キーを見つけることができます。タイムラインから Integrations を選択し、次に Nagios/Nagios XI を選択します。
CheckMK を設定する 🔗
CheckMKで通知を作成します。
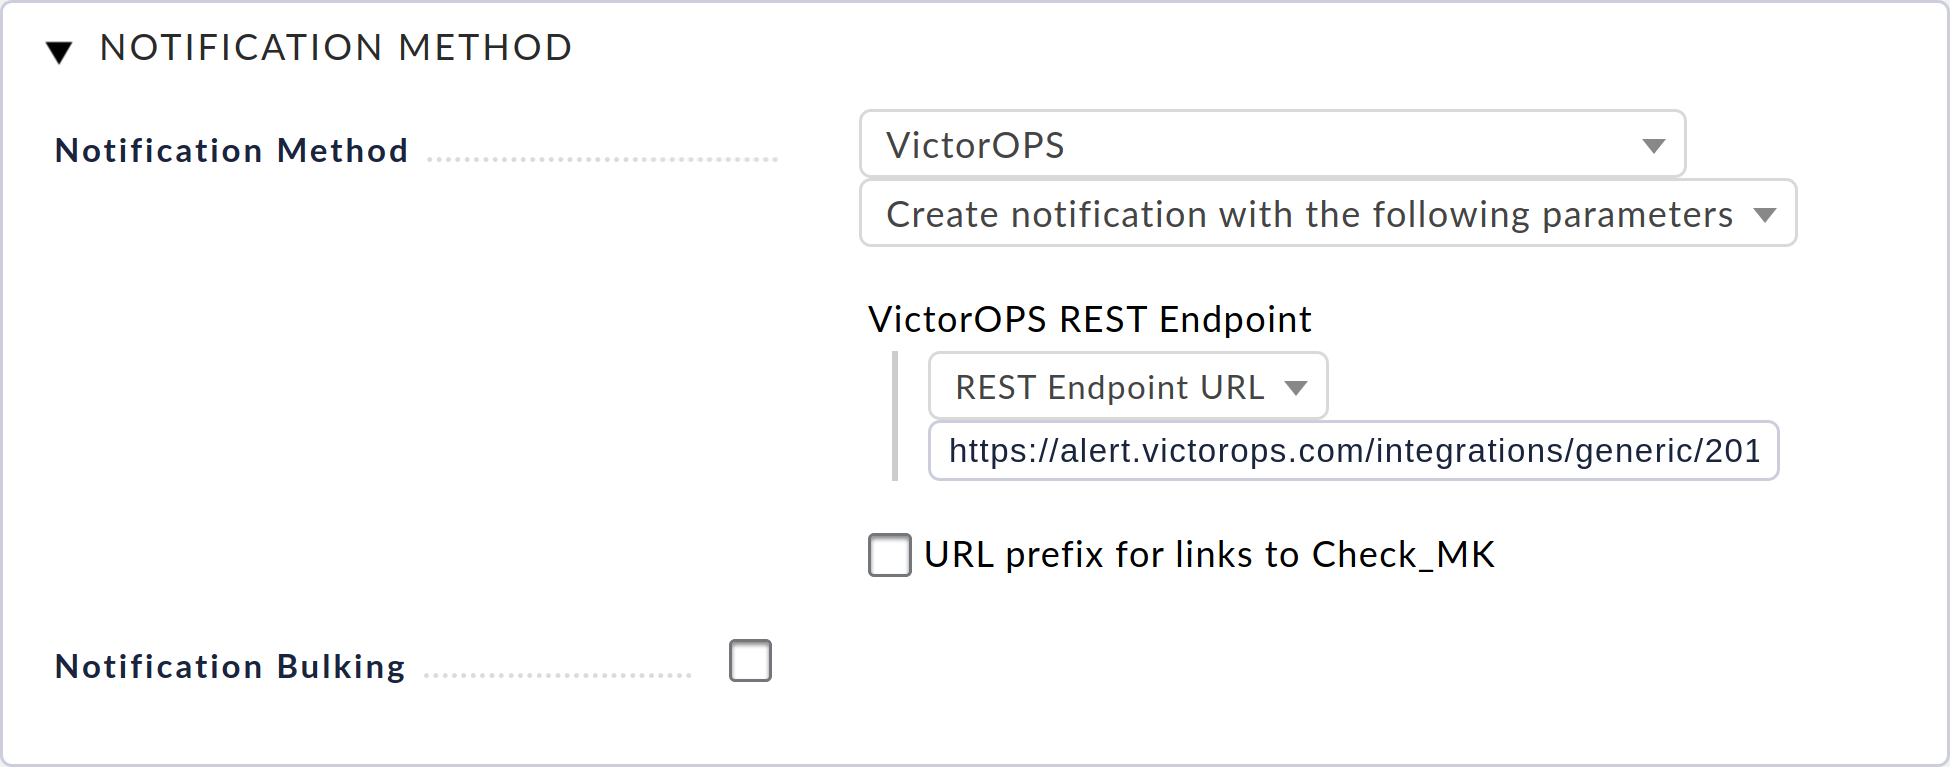
Notification Method には、VictorOps を選択します。
ドロップダウンメニューで選択された REST Endpoint URL を選択します。
以前にSplunk On-CallからコピーしたRESTエンドポイントURLを VictorOPS REST URL フィールドに入力します。
統合とテストの詳細については、https://docs.checkmk.com/latest/en/notifications_splunkoncall.html を参照してください。
レガシーCheckMK(Nagios Core)プラグインのインストール 🔗
プラグインをインストールする 🔗
システムによっては、これらのコマンドでsudoを使う必要がある可能性があります。
以下のコマンドを実行します:
wget https://github.com/victorops/monitoring_tool_releases/releases/download/victorops-nagios-1.4.20/victorops-nagios_1.4.20_all.deb
以下のコマンドを実行します:
dpkg -i <path_to_file>
dpkgを使いたくない場合は、以下を実行することもできます。
sudo apt install <path_to_file>
以下のコマンドを実行します:
wget https://github.com/victorops/monitoring_tool_releases/releases/download/victorops-nagios-1.4.20/victorops-nagios-1.4.20-1.noarch.rpm
以下のコマンドを実行します。
rpm -i <path_to_file>
CheckMK を設定する 🔗
サイト名で次のコマンドを実行して、Nagiosと環境設定ファイルのコピーを作成し、サイトのNagiosディレクトリにそれらへのシンボリックリンクを作成します:
/opt/victorops/nagios_plugin/omd_check_mk/install.sh <yoursitename>
このコマンドを実行して、設定ファイルを編集します:
vi /opt/victorops/nagios_plugin/conf/env.<yoursitename>.sh
ファイルを更新し、組織IDと組織キーに前回取得した値を設定します。フェイルセーフのメールとモニター名を指定することもできます。
ローカルホストがNagiosインスタンスで」localhost」として設定されていない場合は、/opt/victorops/nagios_plugin/nagios_conf/victorops..cfgを編集して、52行目のサービスホスト名を変更する必要があります。次のコマンドを実行して、設定ファイルを編集します:
vi /opt/victorops/nagios_plugin/nagios_conf/victorops.mysite.cfg
Nagiosの設定を確認する
/omd/sites/;/bin/nagios -v /omd/sites//tmp/nagios/nagios.cfg
omdインスタンスを再起動します。Splunk On-CallサービスがNagiosホストのダッシュボードに表示されます。Splunk On-Callサービスは、ホストのCheckmkサービスステータスにも表示されます。ログは/var/log/victoropsで確認できます。
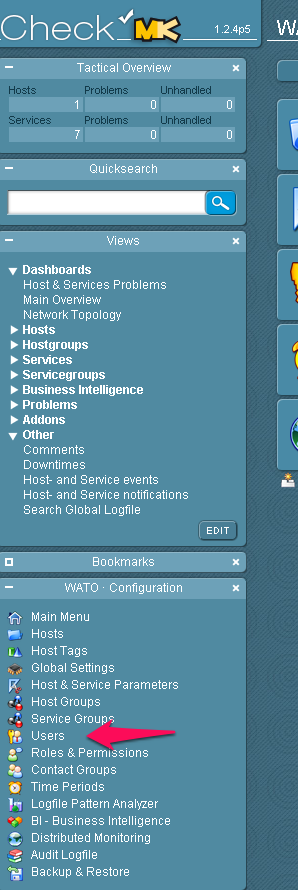
次に、CheckMKからコンタクト設定を行う必要があります。Users を選択します。
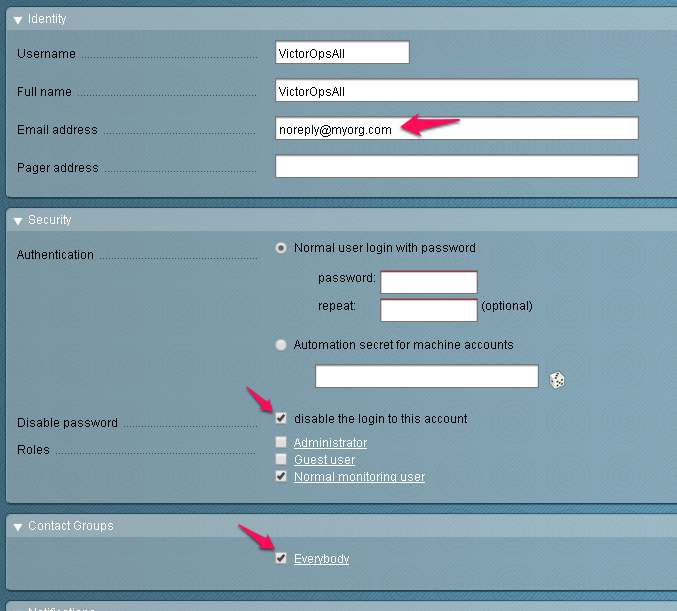
New User を選択します。

ユーザーを設定します。メールが送信されない場合でも、メールは必要です。このユーザーのログインを無効にし、ユーザーを連絡先グループに追加します。
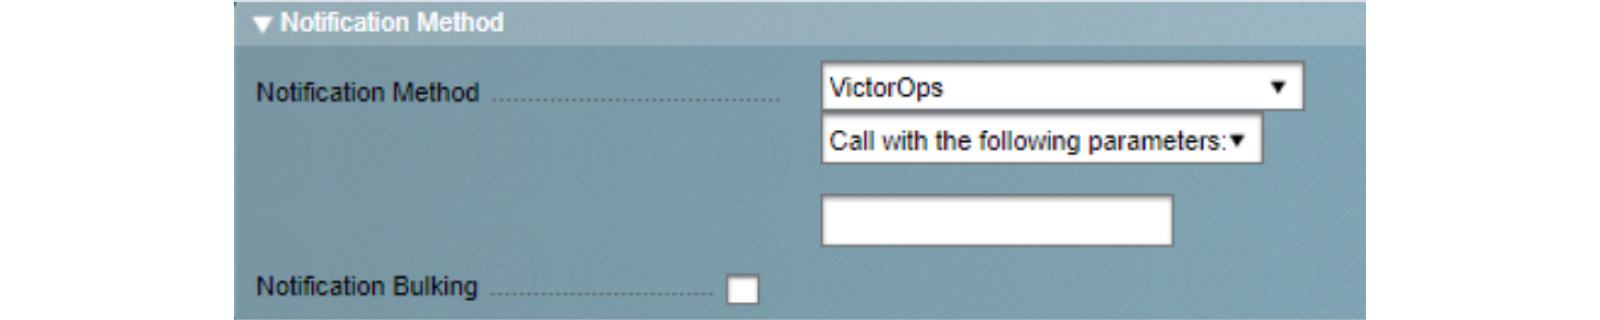
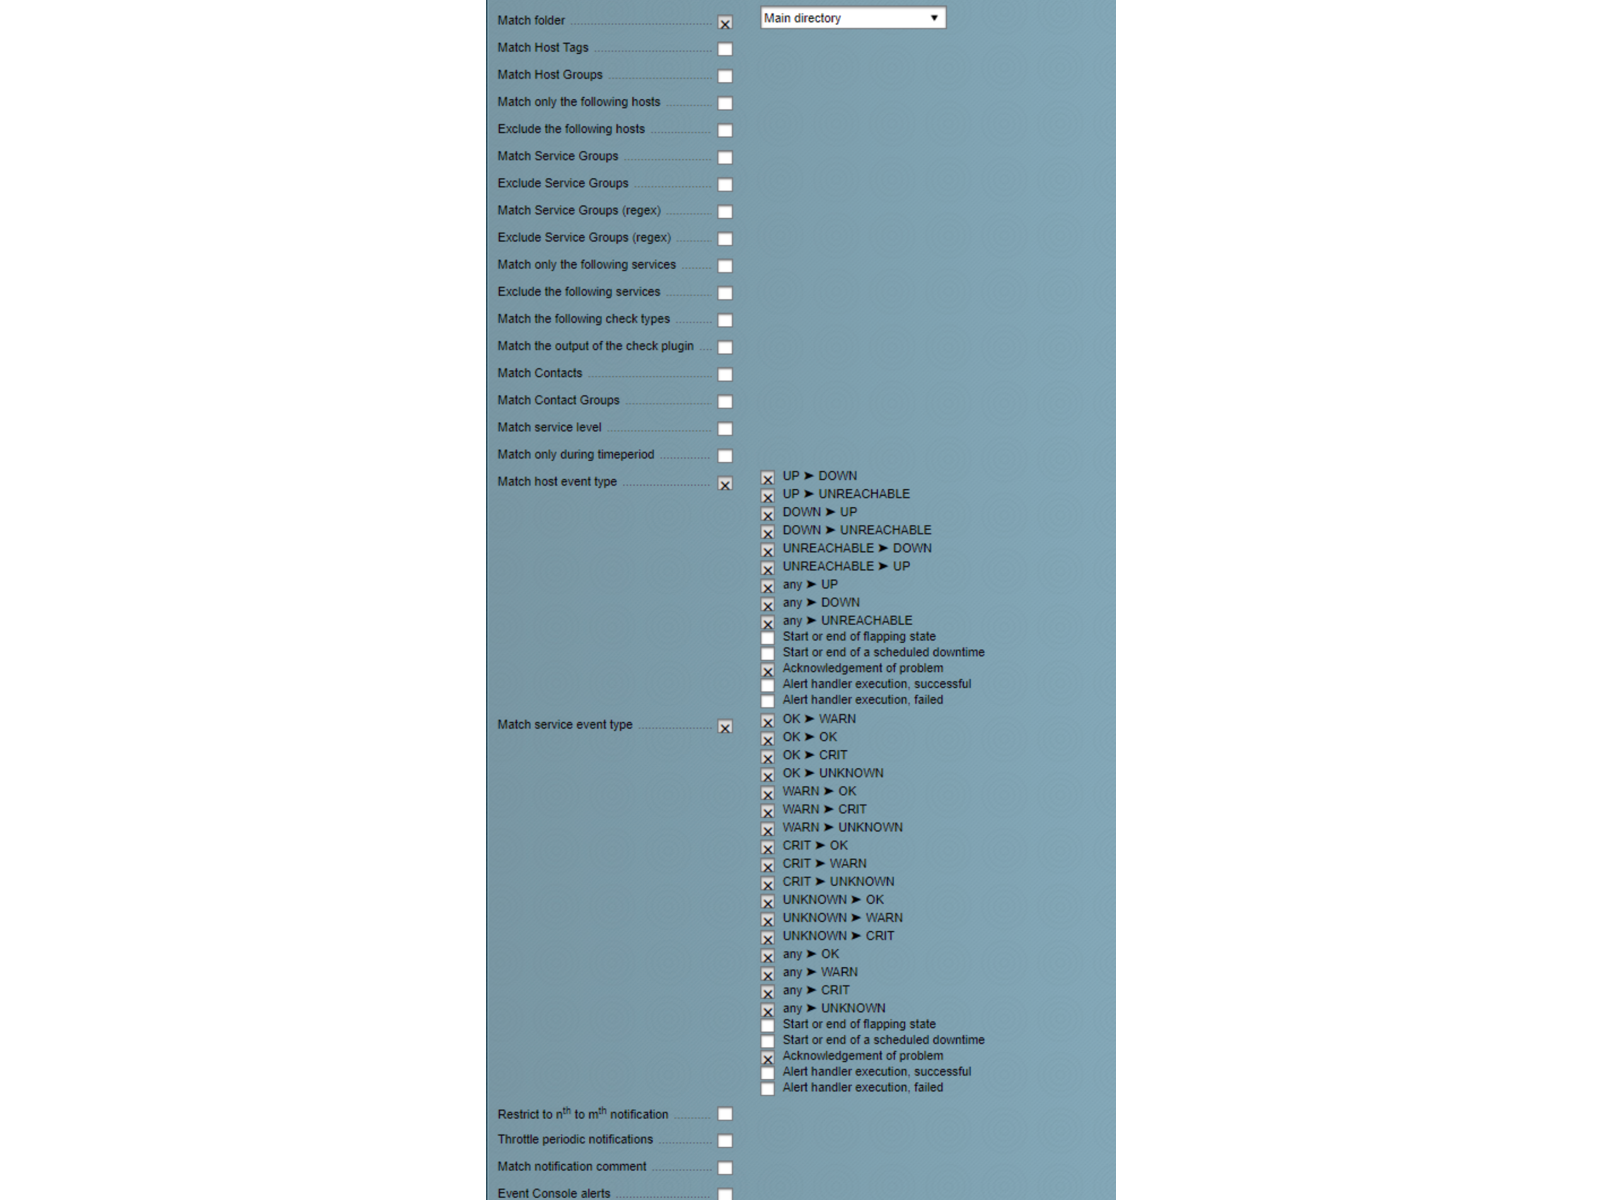
次の画像に示すように、ユーザーの通知をオンにし、VictorOps と Call with the following parameters の通知方法を設定します:
以下のように、ホストとサービスのフラッピングとダウンタイムイベントを無効にします。Splunk On-Callはこれらの状態を表しません。
CheckMKまたはNagiosのカスタム通知を使用してテスト通知を送信します。ただし、Splunk On-Callフォワーダーサービスは通常のメカニズムでは通知しないので、このサービスで本番通知を送信するのは避けてください。