Splunk On-CallのStatusCastインテグレーション 🔗
StatusCastのインテグレーションにより、Splunk On-Callインシデントに基づいてStatusCastインシデントを自動的に作成および更新できます。次のガイドでは、セットアップ手順を説明します。
要件 🔗
このインテグレーションは以下のバージョンのSplunk On-Callと互換性があります:
エンタープライズ
Splunk On-Callで発信Webhookをセットアップする 🔗
Splunk On-Callで Integrations、Outgoing Webhooks に移動し、Add Webhook を選択します。これにより、セットアップの一部として2つの別々の発信Webhookが作成されます。
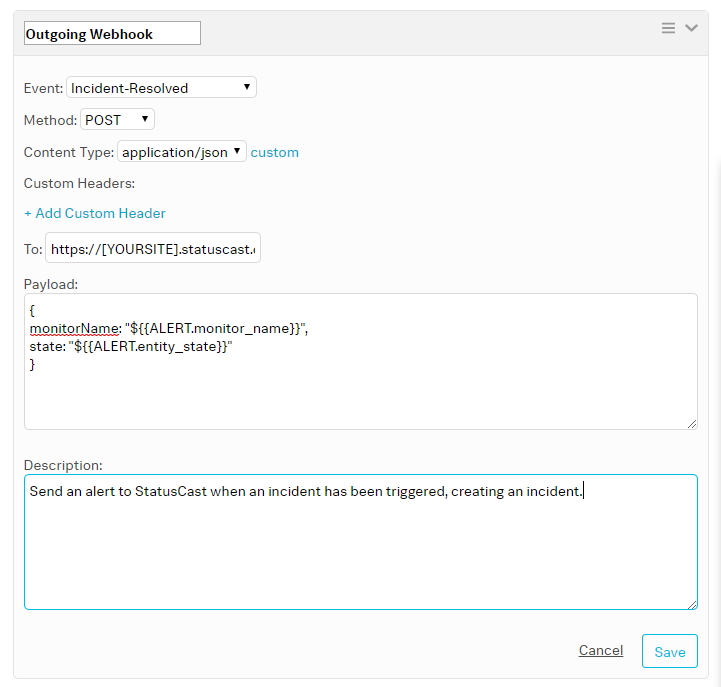
以下の項目を入力してください:
Event: 最初の発信Webhookのセットアップ中に、フィールドを に設定します。2番目の発信Webhookでは、フィールドを に設定します。
Method: に設定します。
Content Type: に設定します。
To:
https://<yourapp>.statuscast.com/webhook/victoropsに設定してください。URLの<yourapp>を自分のステータスページ名に置き換えてください。Payload: ペイロードはStatusCastに、どのリソースが影響を受け、現在のステータスがどうなっているかを伝えます。例:
{

   monitorName: "${{ALERT.monitor_name}}",
   state: "${{ALERT.entity_state}}"

}
モニター名はStatusCastのテンプレートに対応しています。必要に応じて、リストされたプロパティ名を保持しながら、ペイロード値をカスタマイズします。monitorName プロパティは、StatusCastの対応するテンプレートにマッピングされます。
前のステップを繰り返し、今度は Event の値 で、別の発信Webhookを作成します。
StatusCastの設定 🔗
セットアップを完了するには、以下の手順に従ってStatusCastアカウントを設定します:
管理ポータルにログインし、Monitors セクションに移動します。ここで、StatusCastに自動的にインシデントを作成させたいSplunk On-Callアカウントの各モニターのエントリを作成できます。
を選択し、Choose Provider メニューから を選択します:

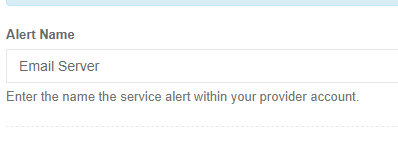
モニターの Alert Name を入力します。これはアラートを発したモニター名に対応します。
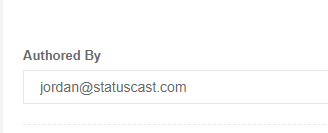
誰がインシデントの著者であるかを定義する、Authored by 値を入力します。ページが作者を非表示に設定されている場合、作者は非表示のままになります。
その他のインシデント設定には、Type、Affected components、Subject、Message があります。これらはインシデントを作成するときに得られる一般的なオプションと同じです。このプロセスの詳細については、StatusCast公式ドキュメントの How do I post a new incident or status を参照してください。
インシデント設定が入力された状態で、投稿するインシデントのワークフローを定義します:
Notify theses employees:このタイプのインシデントが作成されたときにStatusCastが通知する従業員を選択します。複数の従業員を選択することができます。
Wait time: インシデントを作成する前にStatusCastが待機する時間です。これは、数分で解決されるインシデントをバッファリングするために使用されます。モニタリングサービスに既にこの機能が組み込まれている場合、この値を`0`に設定すると、StatusCastはインシデントを受信したときに投稿します。
Combine alerts: モニタリングサービスが複数のリクエストを送信する場合、冗長なインシデントが報告されないように、それらを組み合わせることができます。
Auto-publish: このオプションを選択すると、インシデントが自動的に公開され、すべての登録者に通知されます。このオプションがオフの場合、従業員は、StatusCastにログインして Dashboard 内でアクティベートするか、通知メールに返信して手動で投稿をアクティベートする必要があります。
Auto-close: これを選択すると、モニタリングサービスから更新が送信されたときに、インシデントがクローズされます。これを選択すると、Closing Comment を入力して投稿することもできます。
すべてのコンフィギュレーションを設定したら、Submit` を選択して設定を保存します。