Splunk On-CallのOutlyerインテグレーション 🔗
Outlyerは、クラウド、SaaS、マイクロサービス、IoTのデプロイを実行するDevOpsおよび運用チームのためのモニタリングサービスです。クラウドスケール以上の監視を必要とする今日のダイナミックな環境のために設計されたこのサービスは、監視を容易にし、ユーザーにより良いサービスを提供することに集中できるようにします。次のガイドでは、このインテグレーションについて説明します。
In Splunk On-Call 🔗
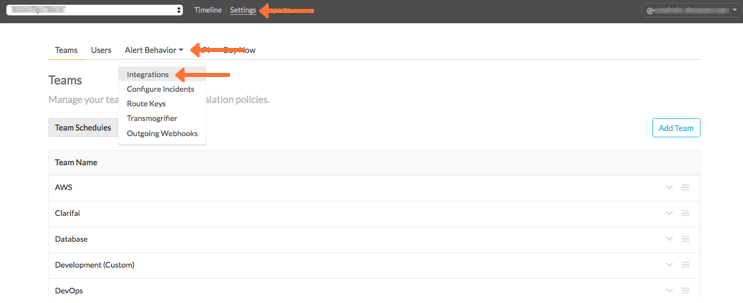
Splunk On-Call Webポータルから、Settings を選択し、Alert Behavior を選択し、Integrations を選択します。
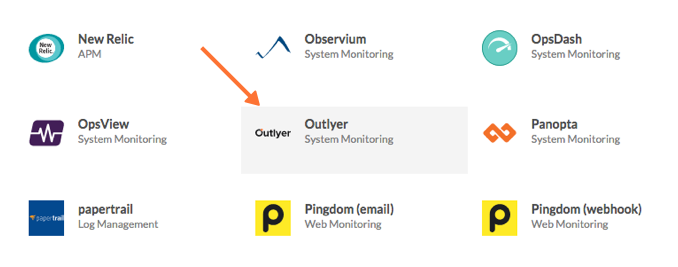
Outlyer インテグレーションオプションを選択します。
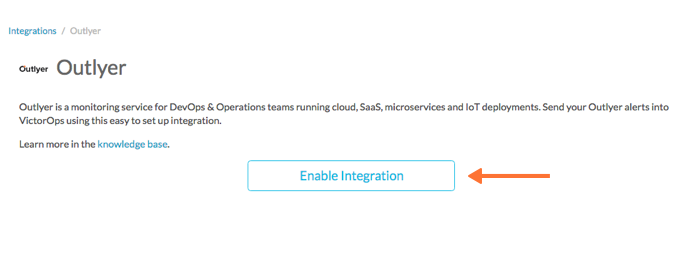
Enable Integration を選択します。
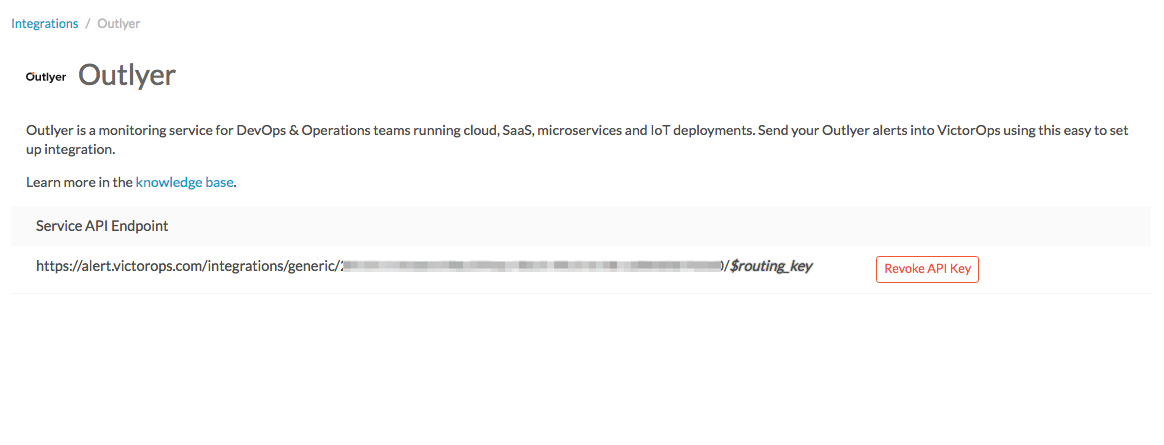
Service API Endpoint をクリップボードにコピーします。」$routing_key」セクションを、実際に使用するルーティングキーに置き換えてください。
注釈
VictorOpsでルートキーを表示または設定するには、Alert Behavior を選択し、次に Route Keys を選択します。
In Outlyer 🔗
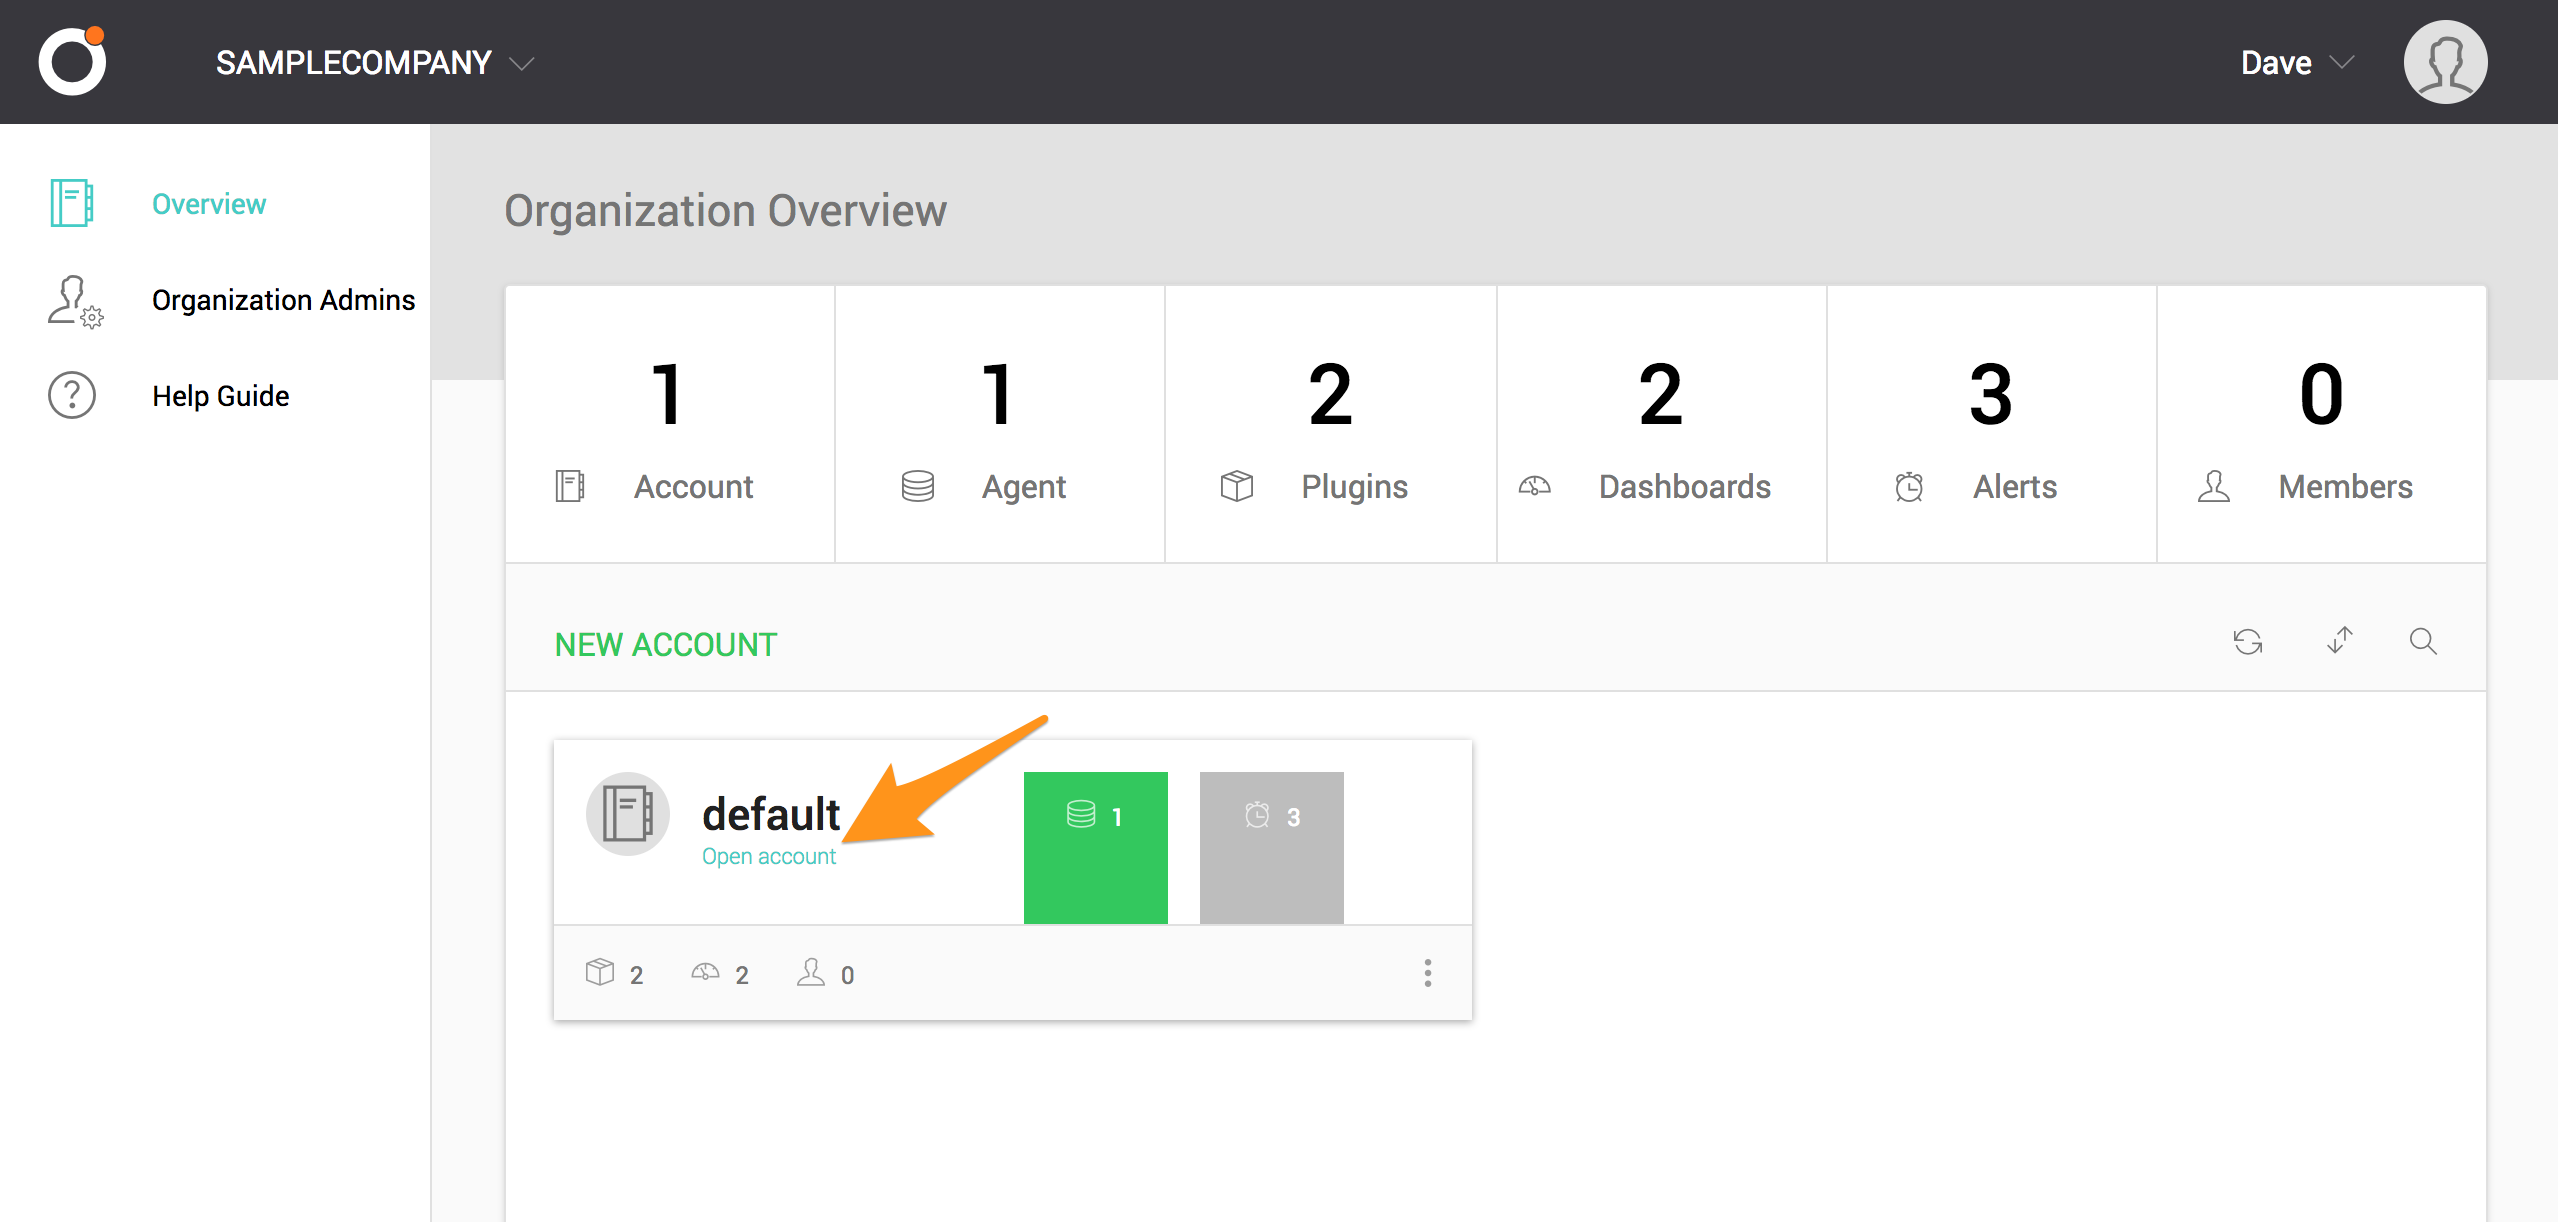
OutlyerのWebインターフェイスから、インテグレーションに使用するアカウントを選択します。
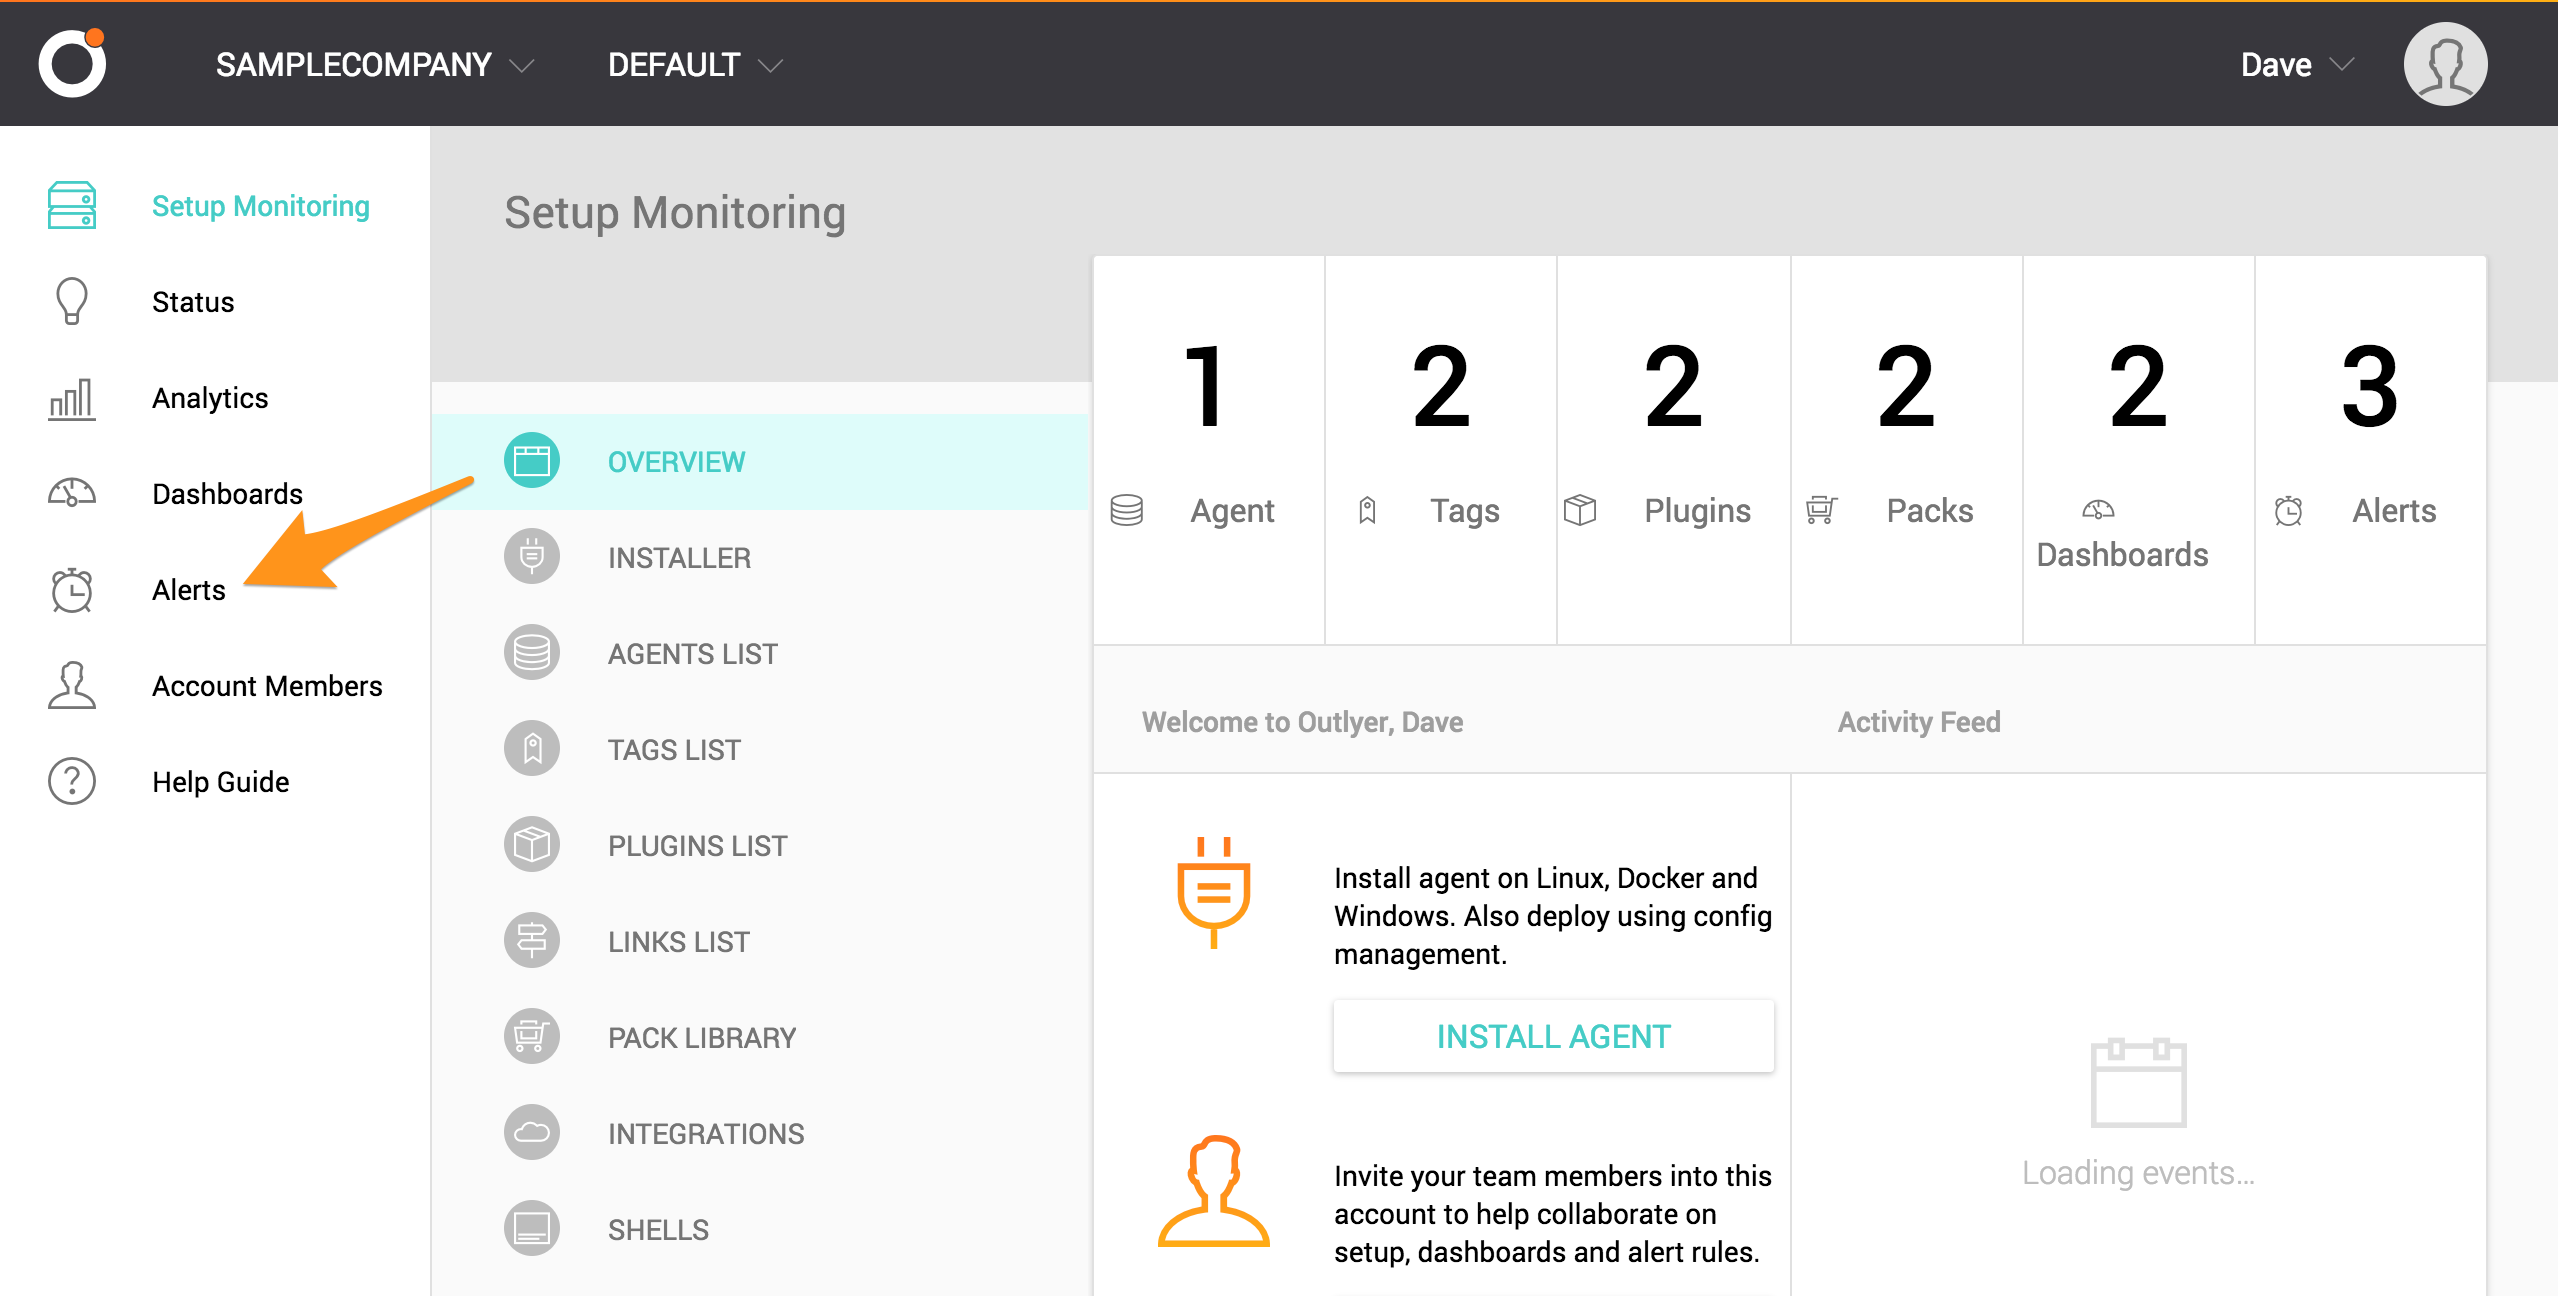
サイドバーから Alerts を選択します。
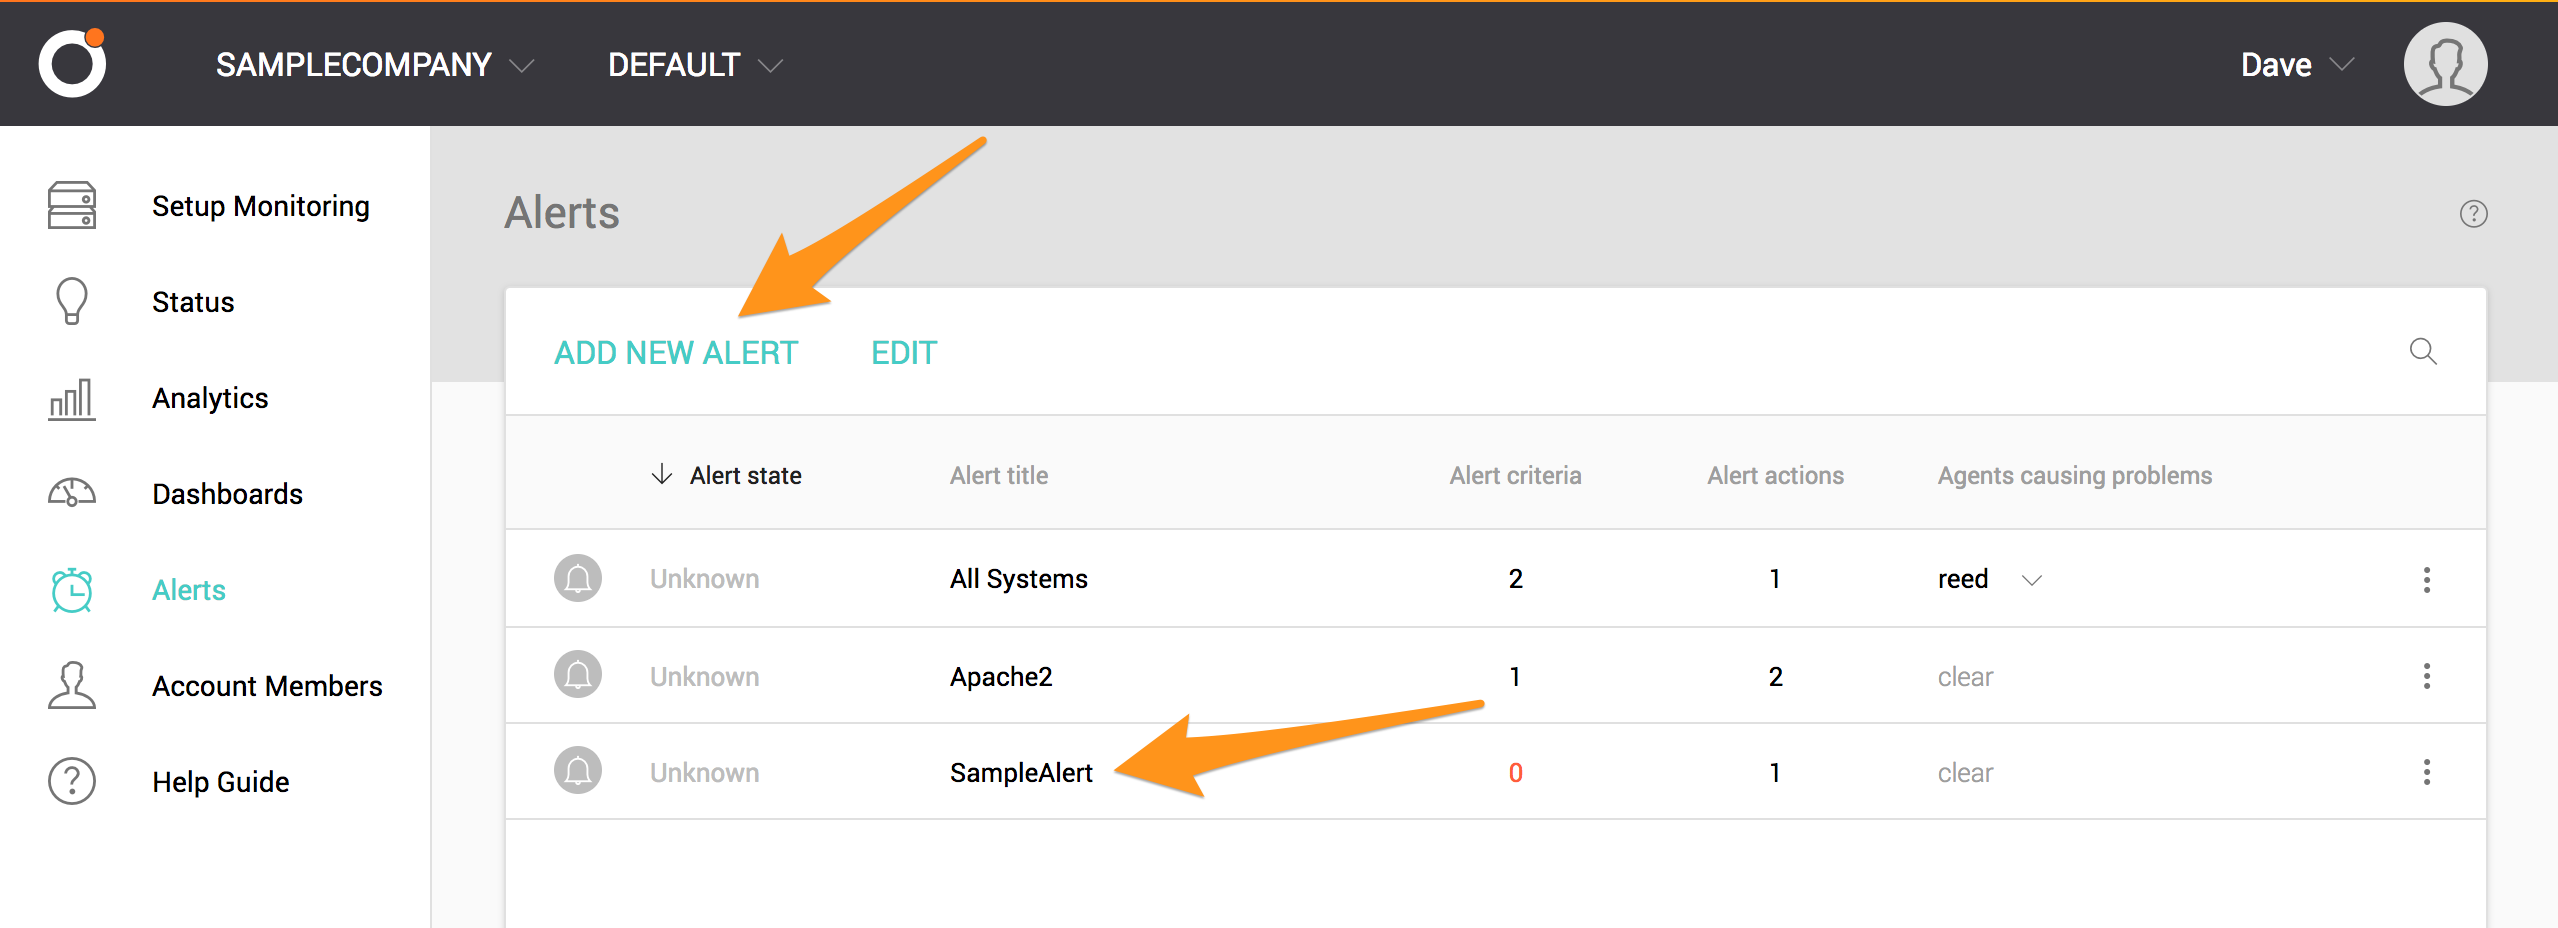
統合するアラートを作成する必要がある場合は、既存のアラートを選択するか、ADD NEW ALERT を選択します。
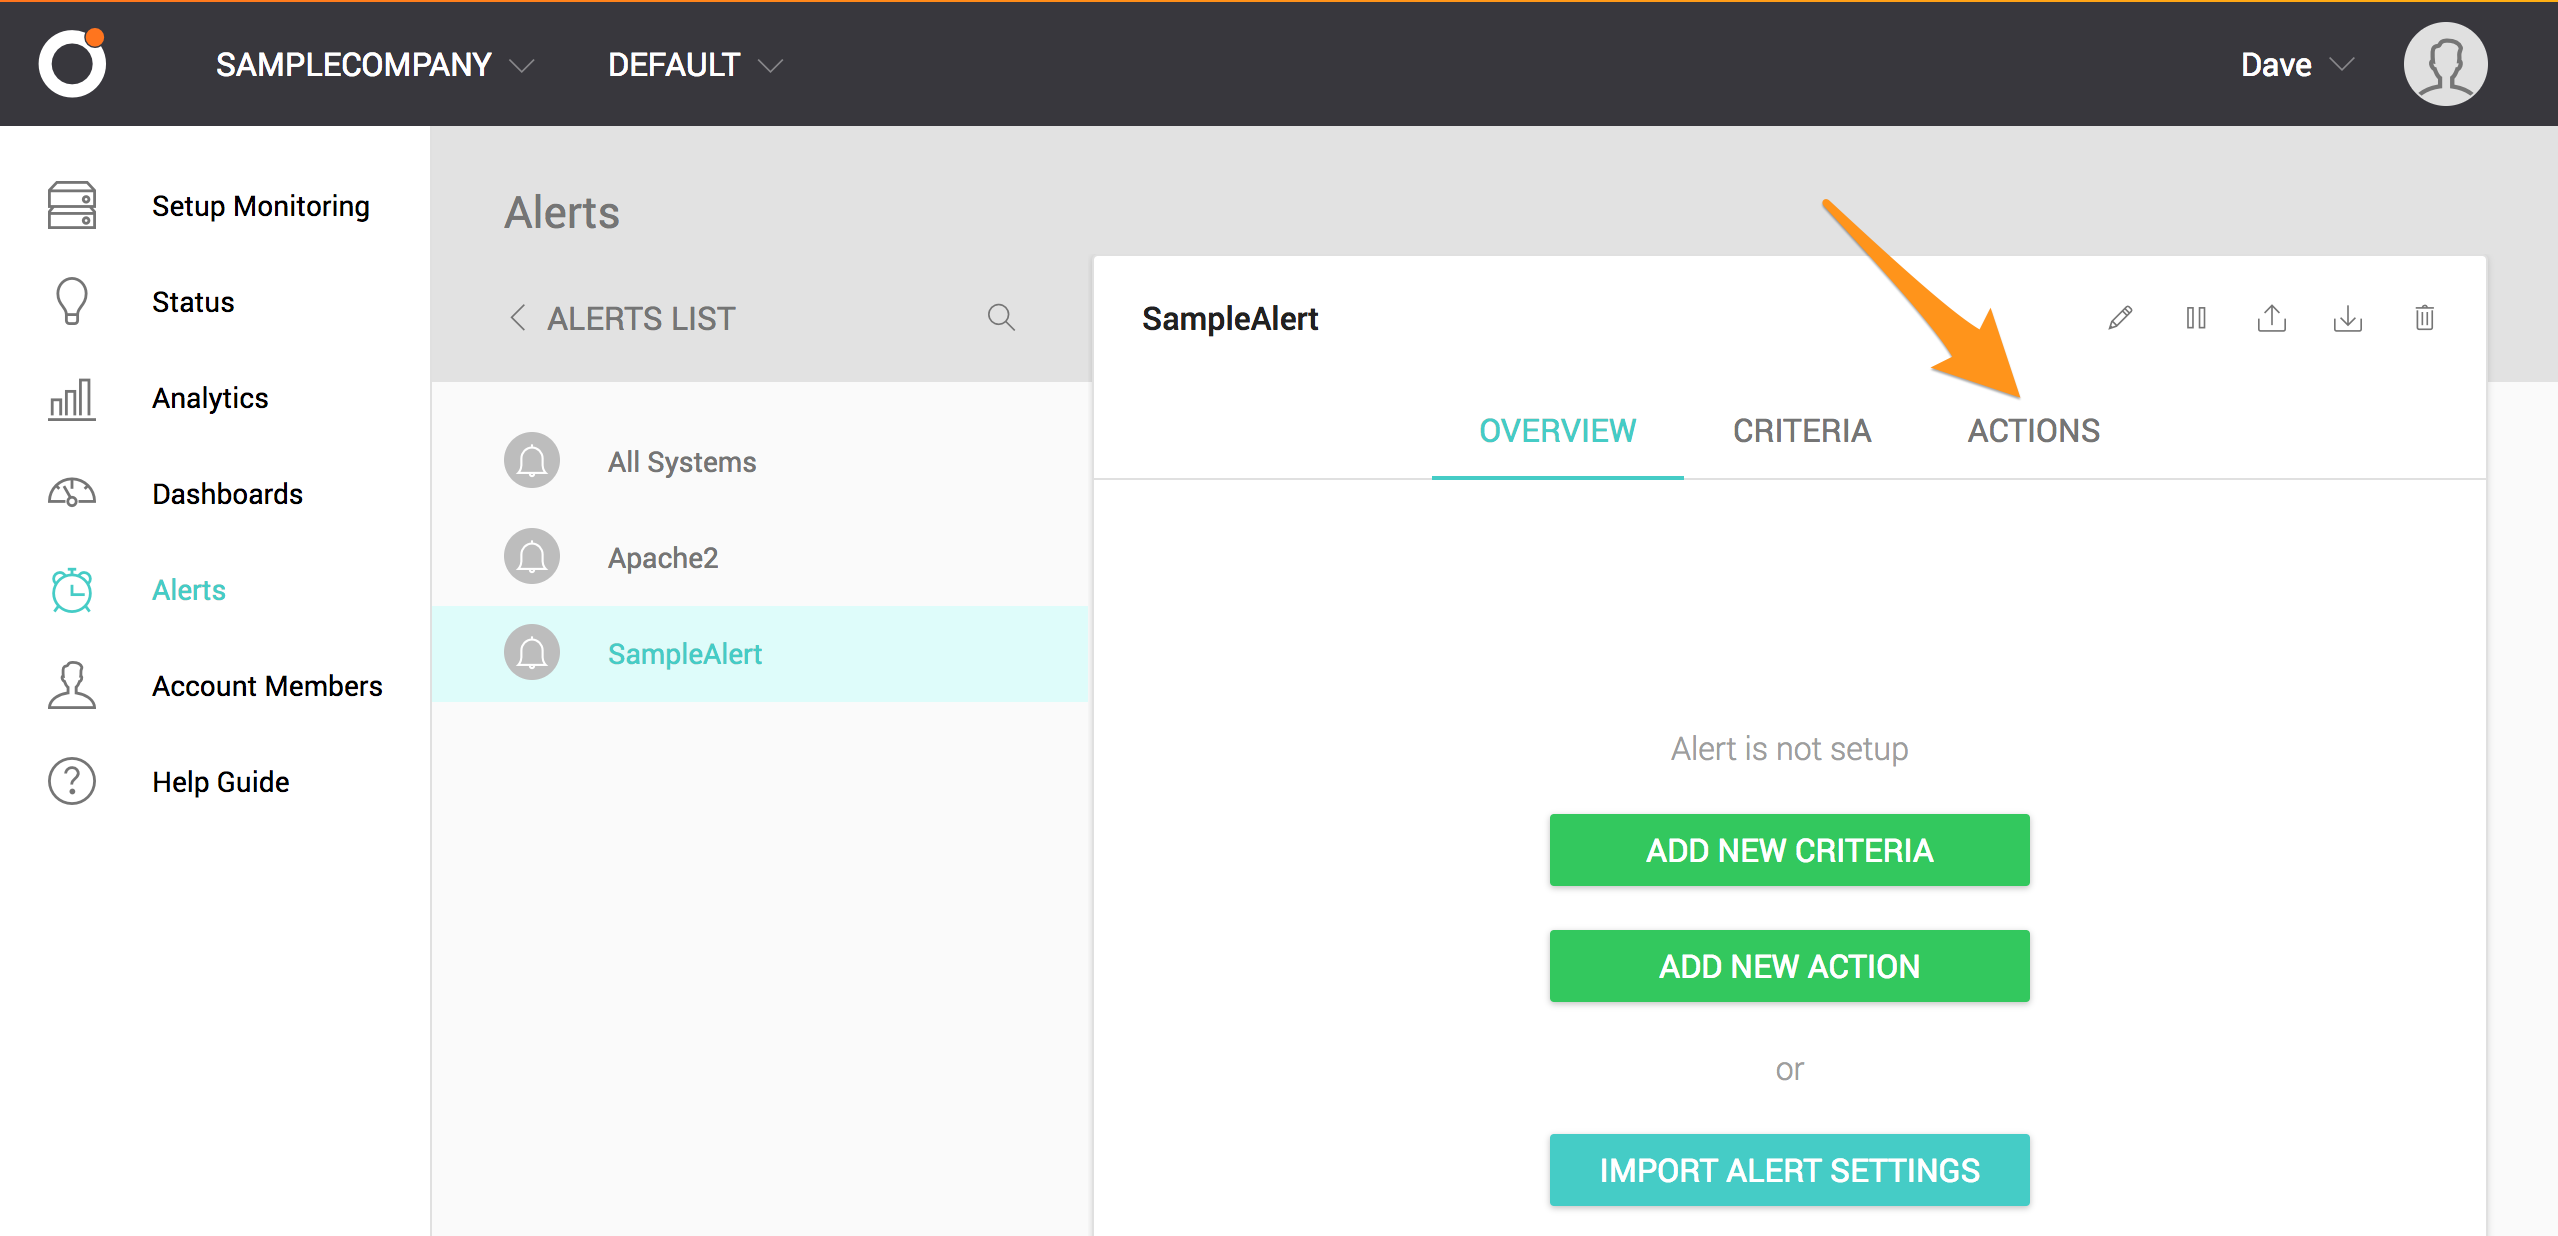
ACTIONS を選択します。
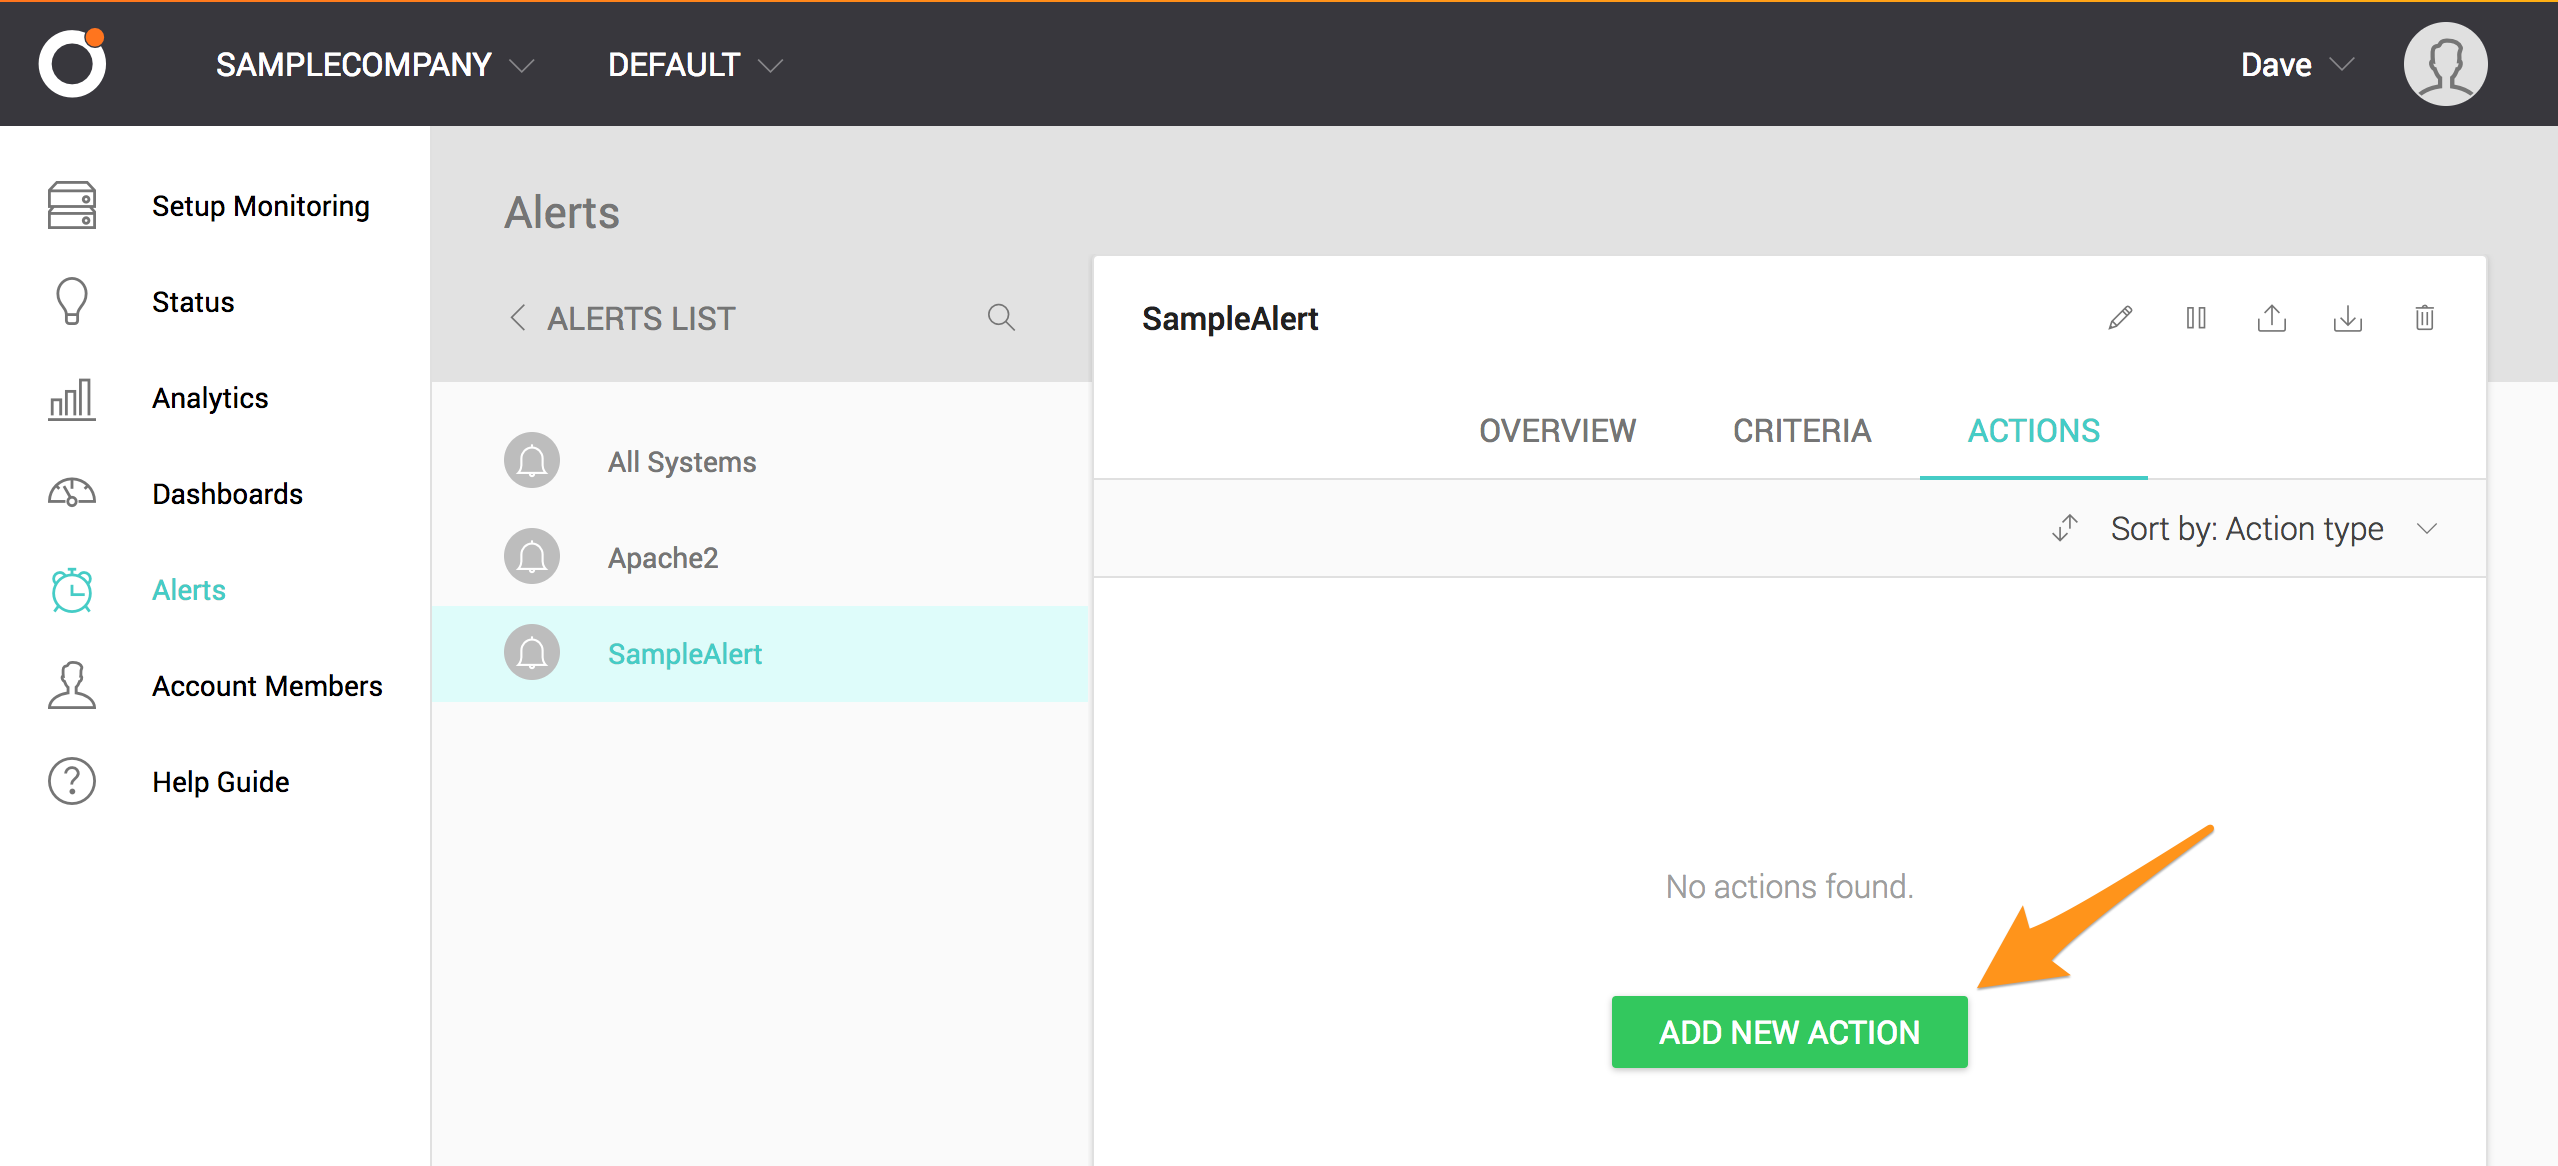
ADD NEW ACTION を選択します。
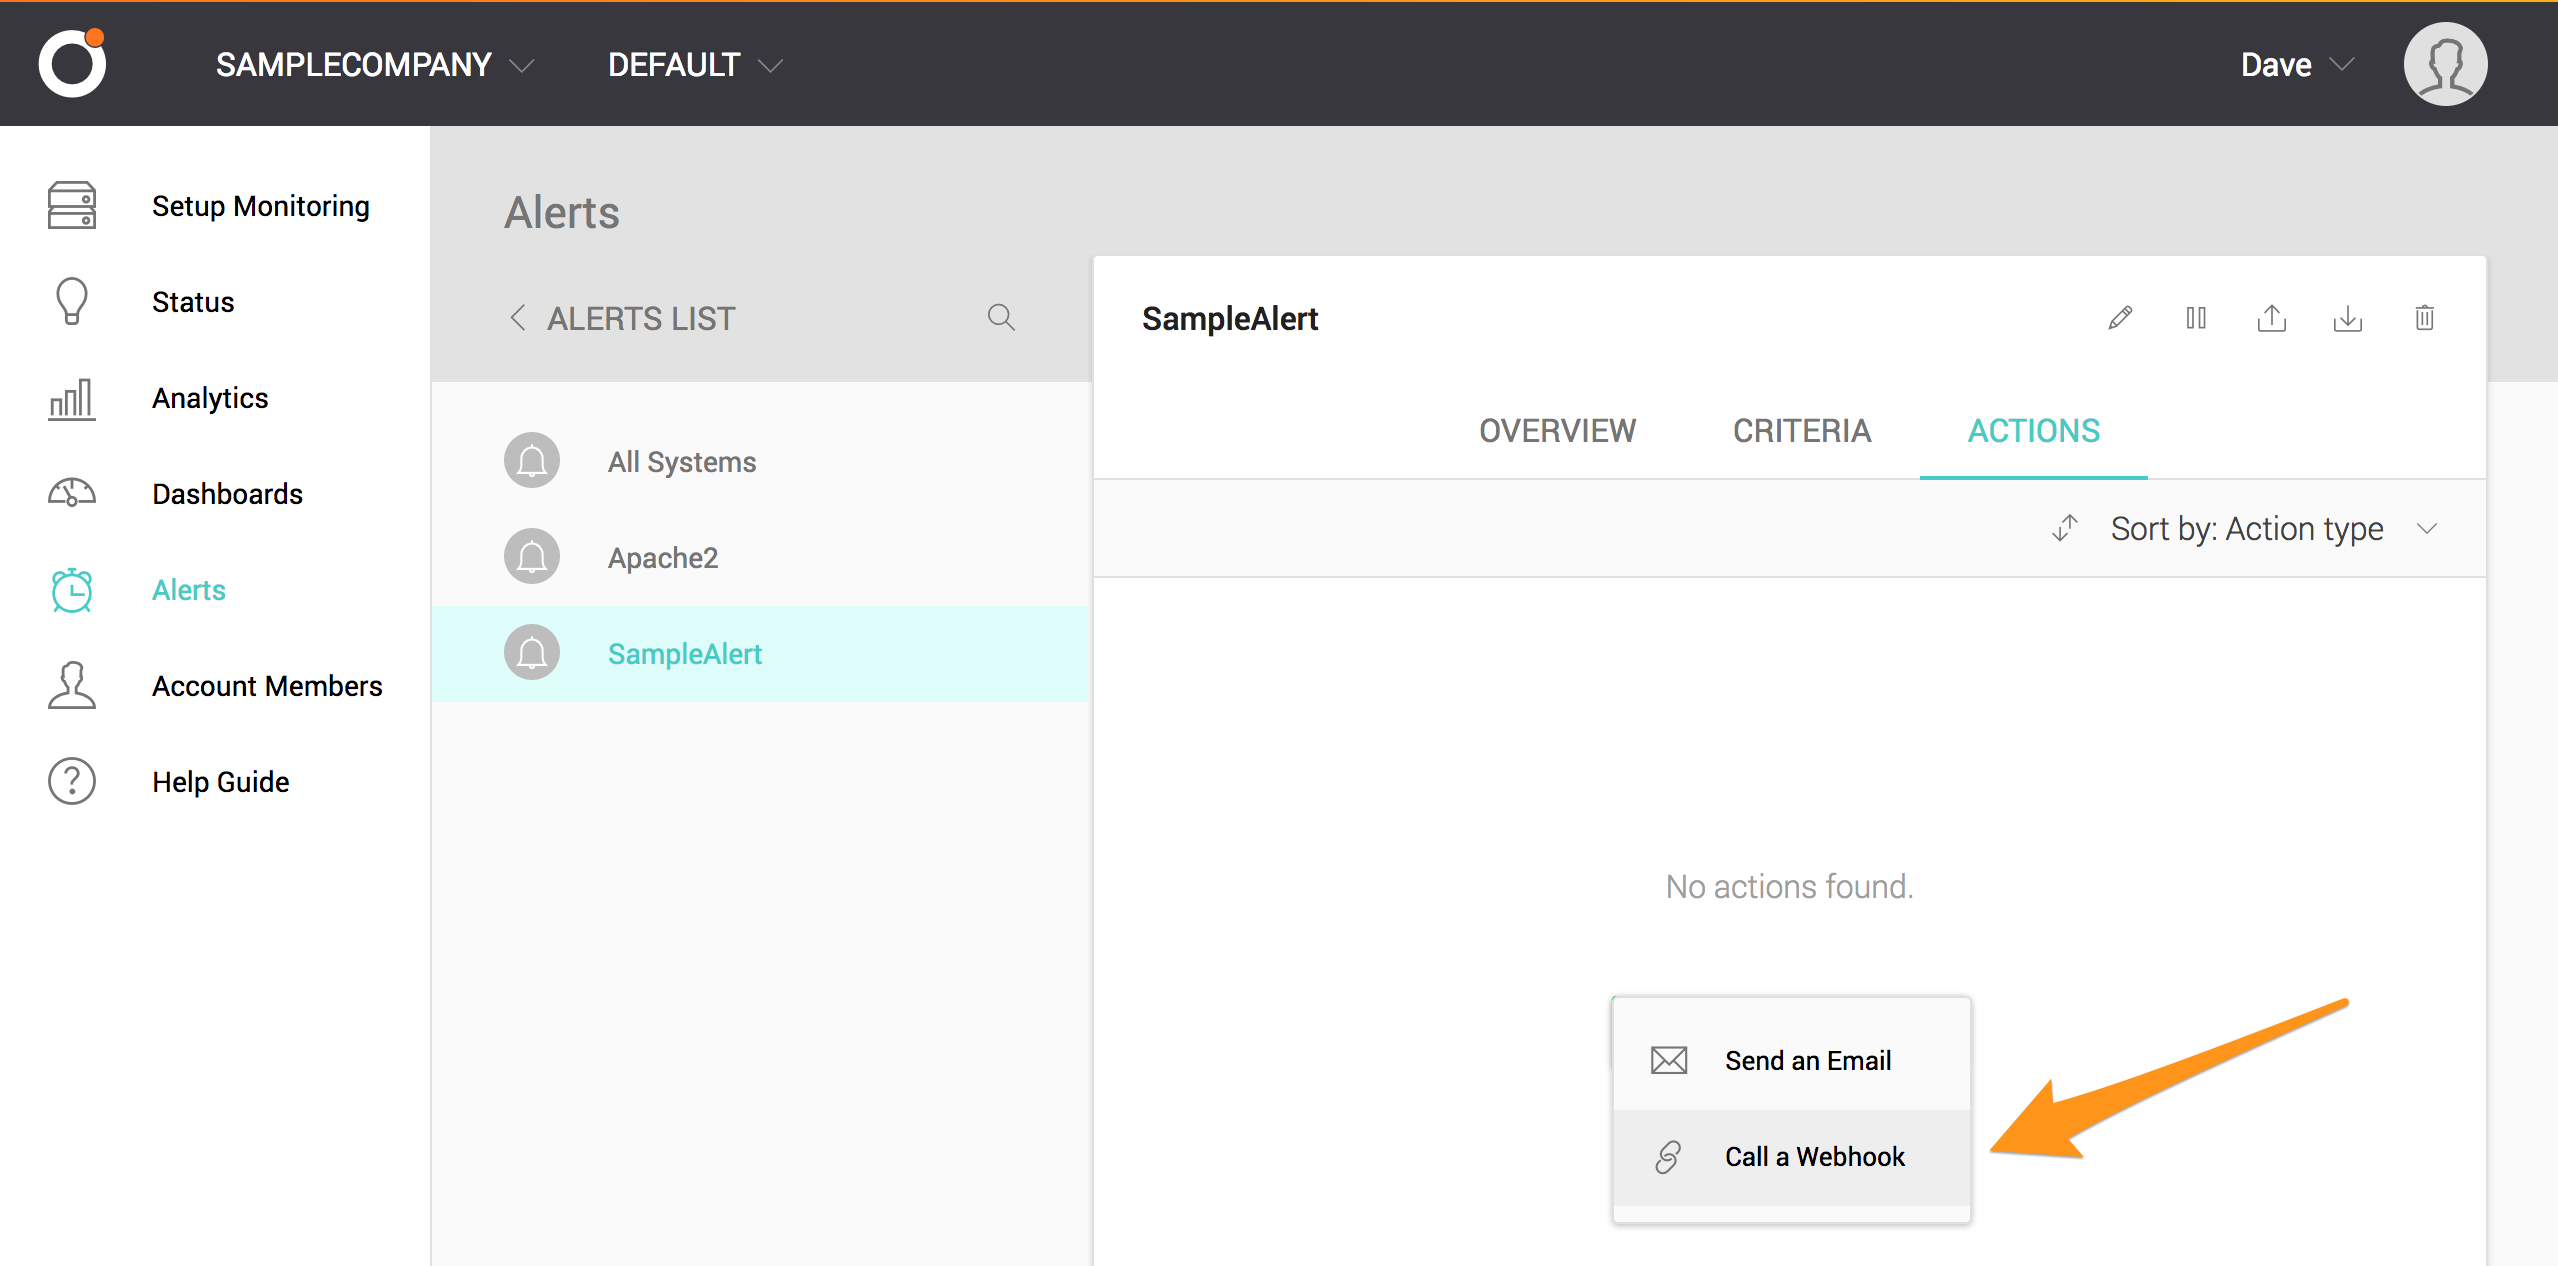
ドロップダウンメニューから Call a Webhook を選択します
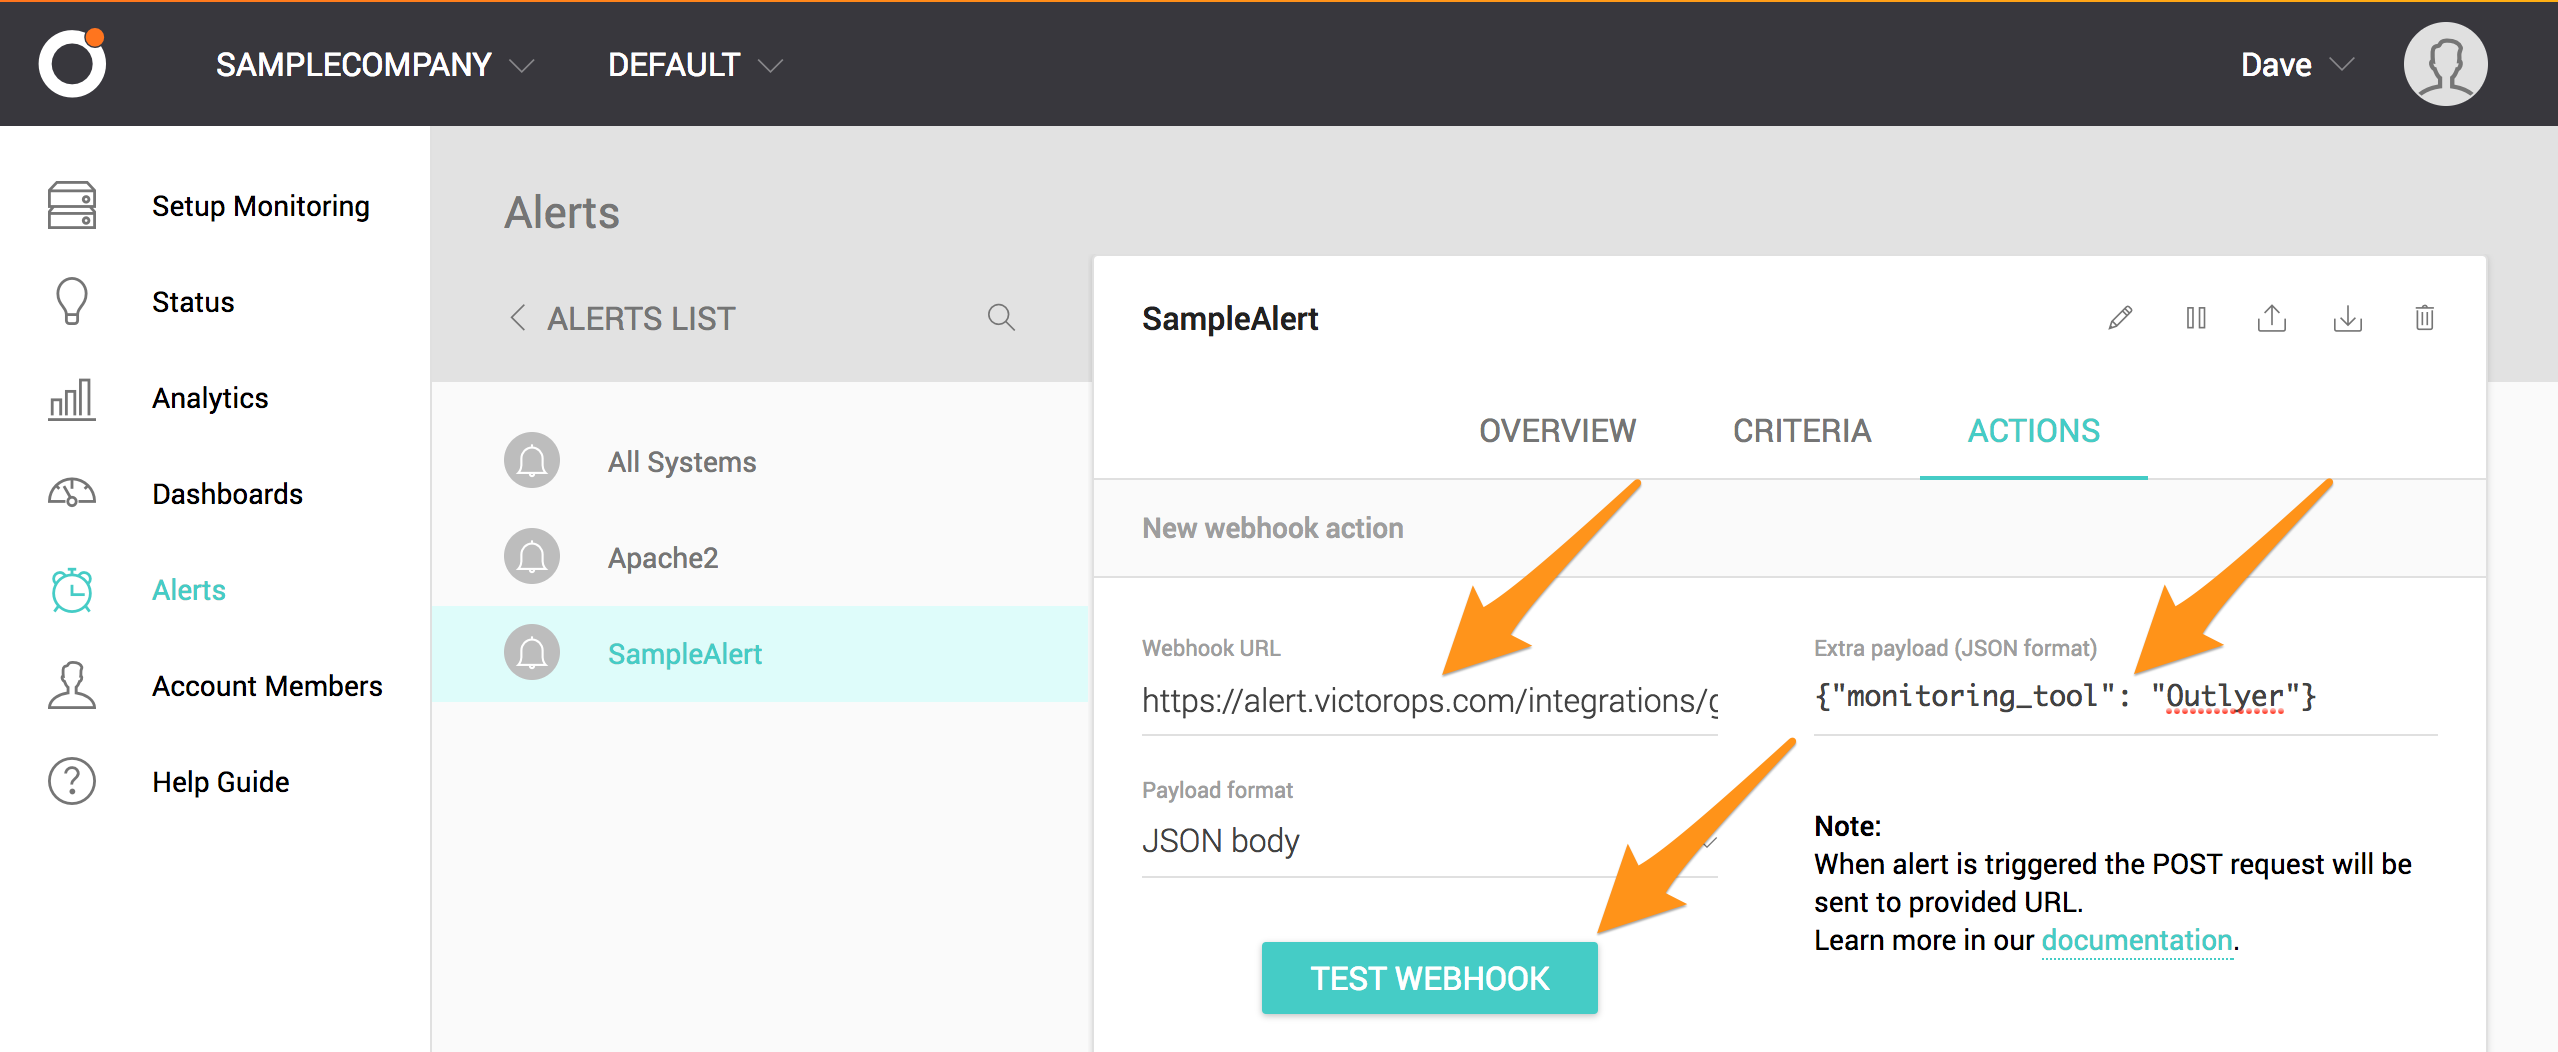
「Webhook URL」フィールドにSplunk On-CallインテグレーションページからコピーしたOutlyer用の「通知先URL」を貼り付け、「Extra payload」フィールドの中括弧内に "monitoring_tool": "Outlyer" と入力します。最後に、TEST WEBHOOK を選択します。
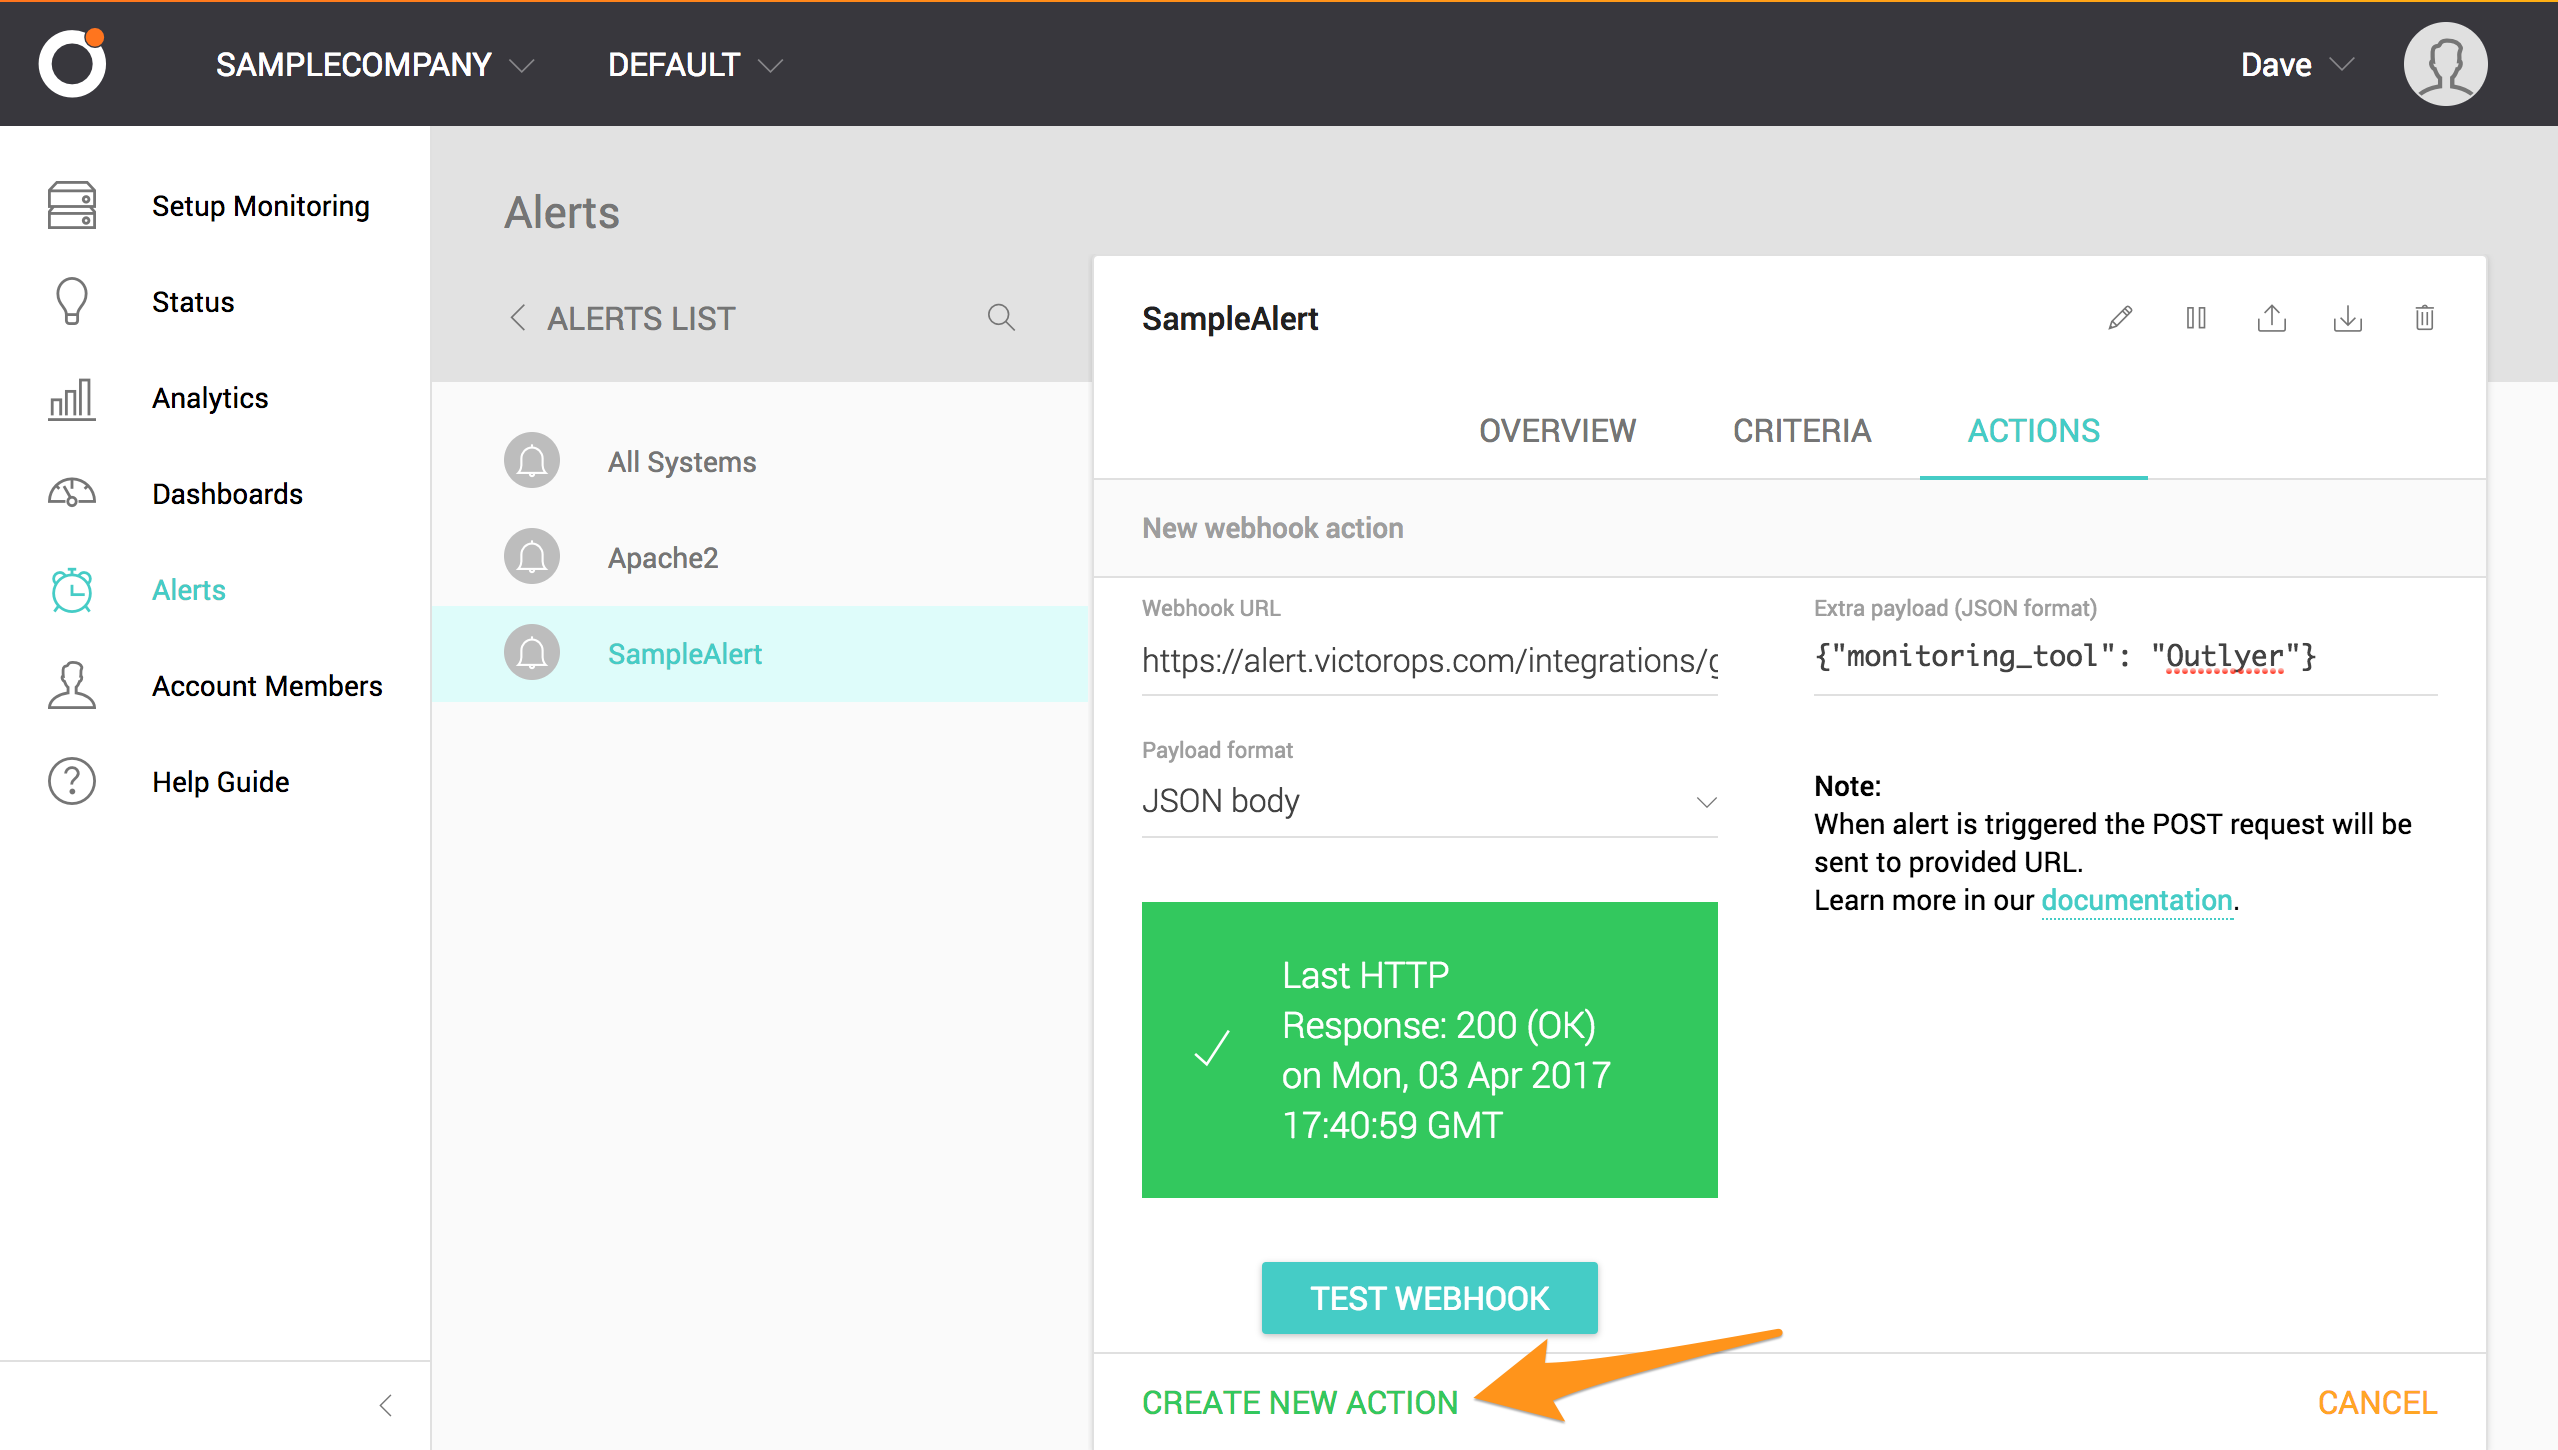
テストは緑色の「Response:200(OK)」メッセージを返します。CREATE NEW ACTION を選択します。
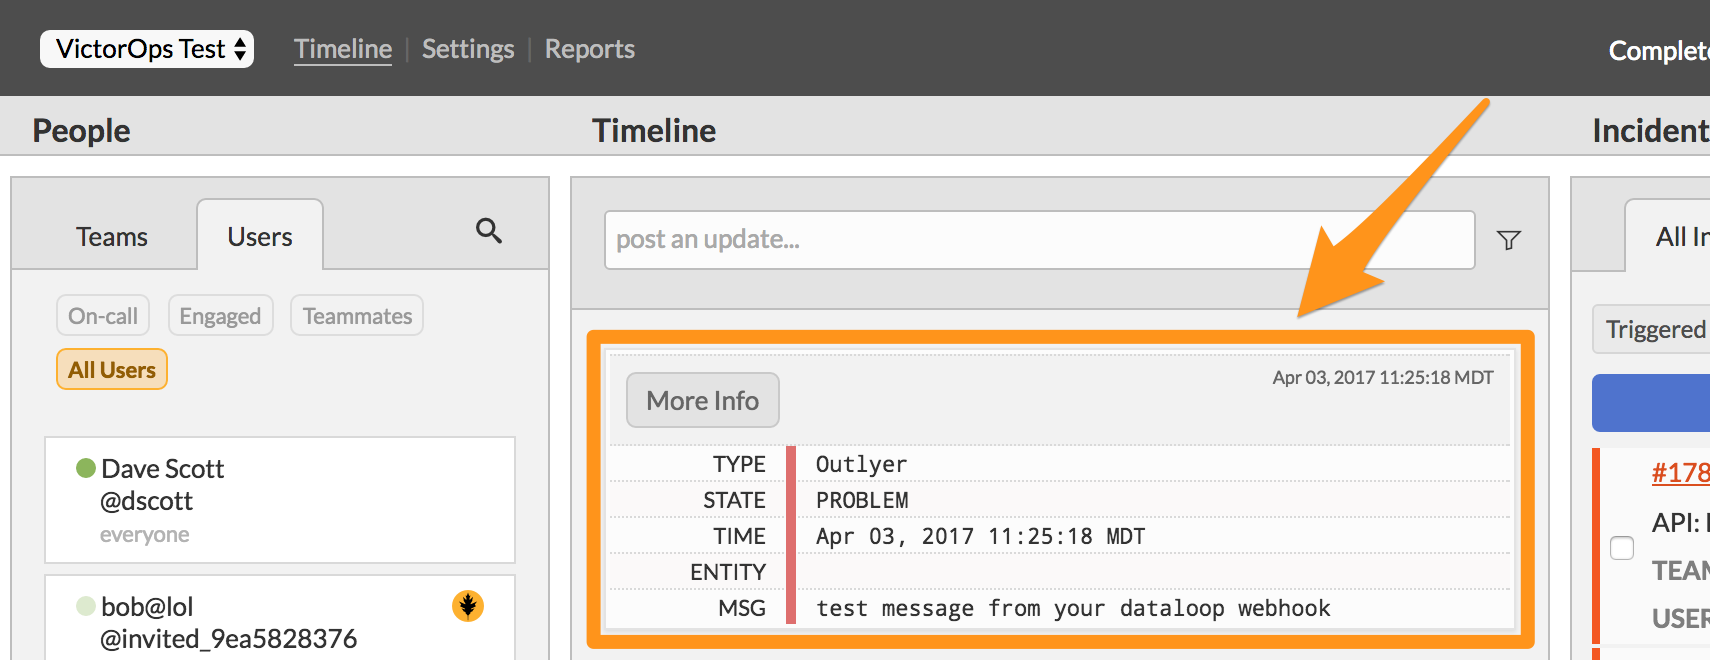
Splunk On-Callで通知を確認します。
これでこのインテグレーションの設定は完了です。ご不明な点がございましたら、VictorOpsサポート までご連絡ください。