Splunk On-CallのDynatrace Synthetic Monitoringインテグレーション 🔗
Dynatrace Synthetic Monitoringは、すべての主要なデスクトップおよびモバイルブラウザを使用して、世界中の何千もの場所からカスタマージャーニーをシミュレートします。次のガイドでは、このインテグレーションについて説明します。
In Splunk On-Call 🔗
Splunk On-Call Webポータルから、Settings を選択し、次に Alert Behaviors を選択します。最後に、インテグレーション を選択します。
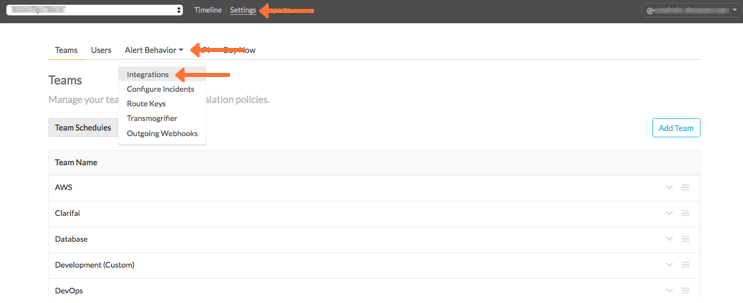
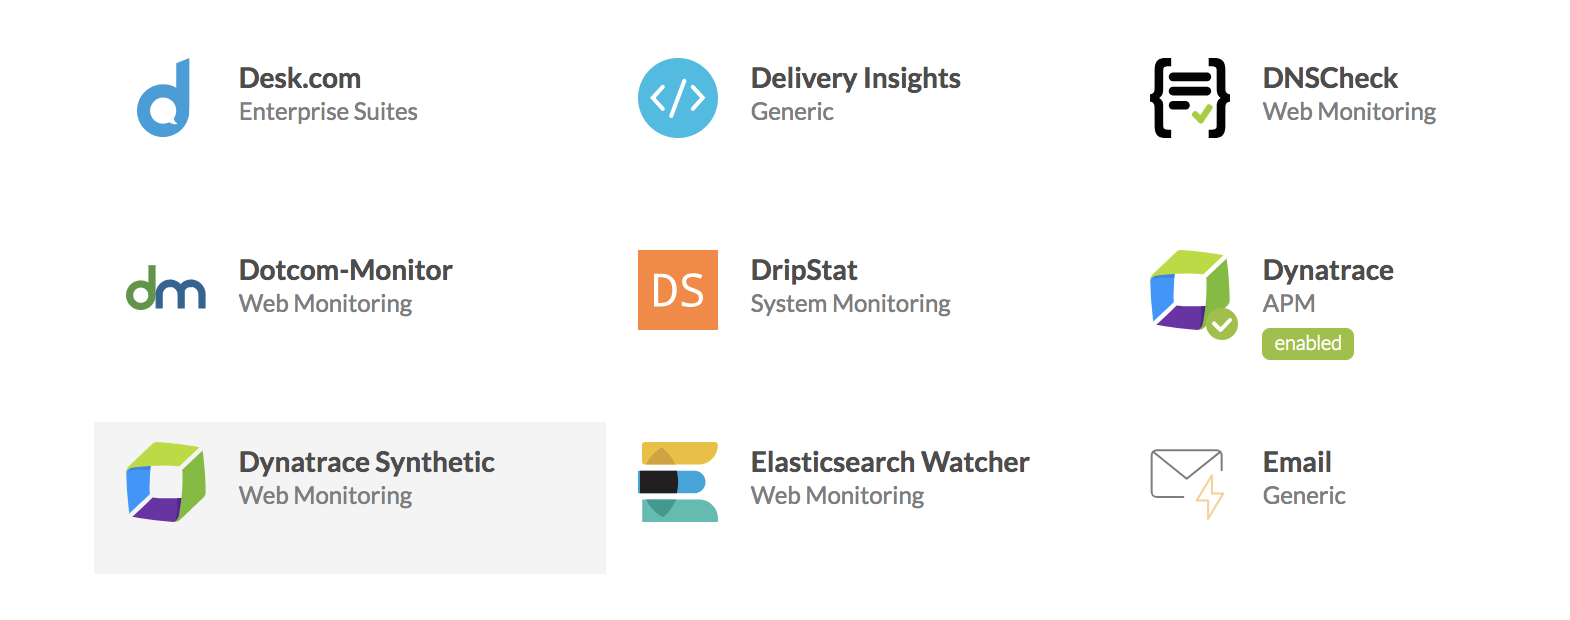
Dynatrace Synthetic インテグレーションオプションを選択します。
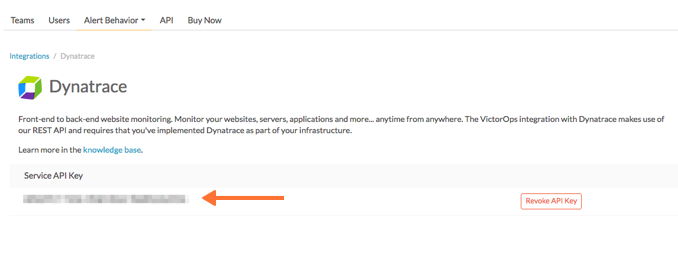
Service API Key をクリップボードにコピーします。
In Dynatrace Synthetic Monitoring 🔗
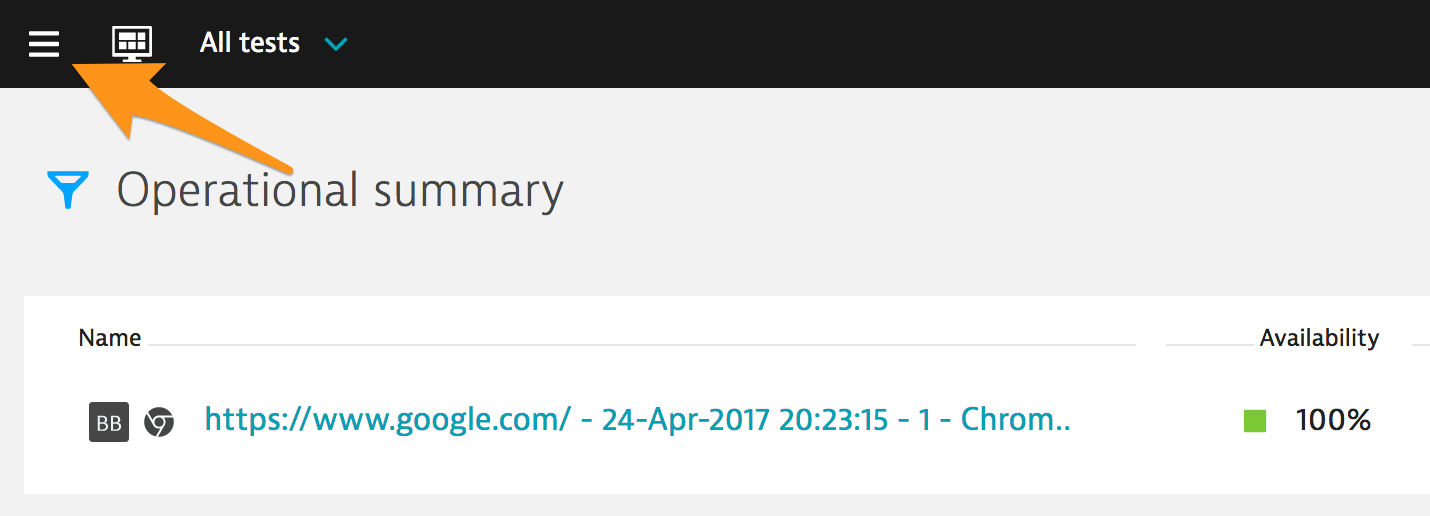
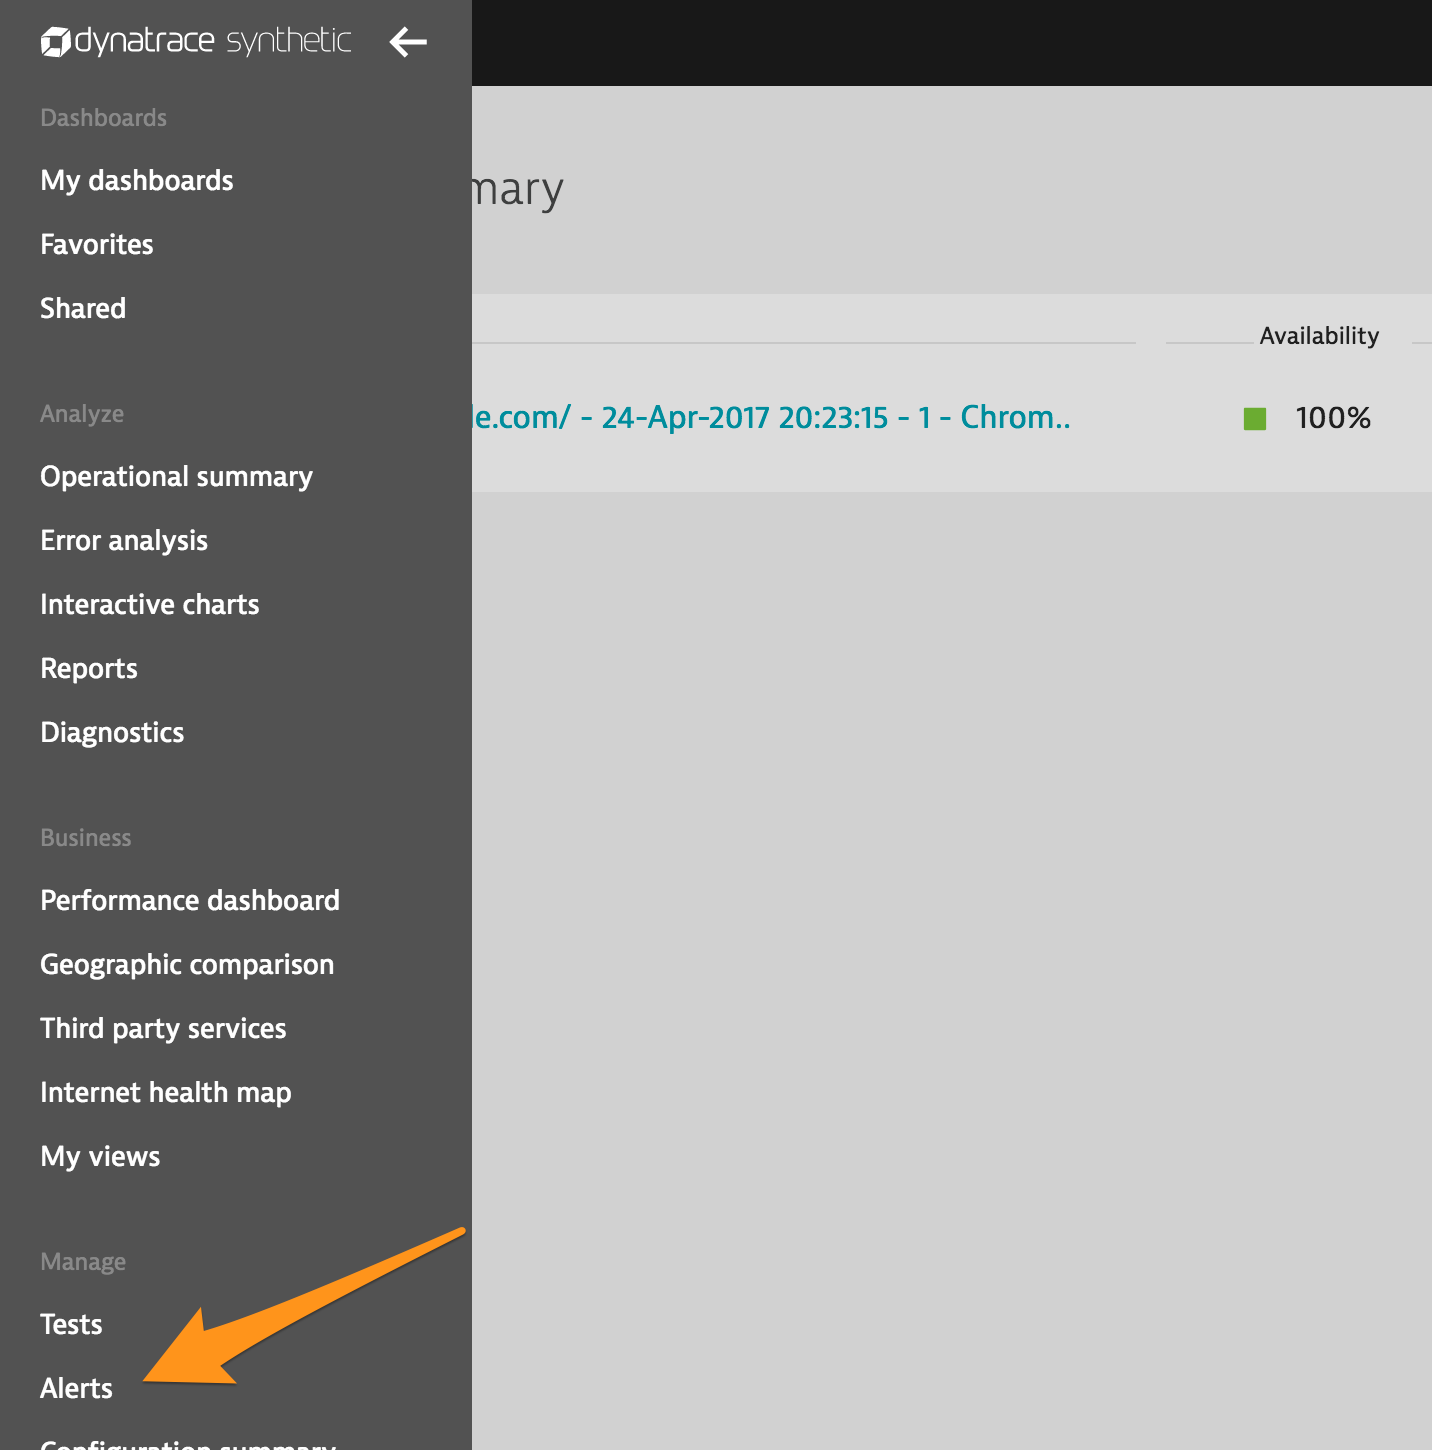
Dynatrace Synthetic Monitoring Webインターフェイスから、左上のメニューアイコンを選択し、ドロップダウンから Alerts を選択します。
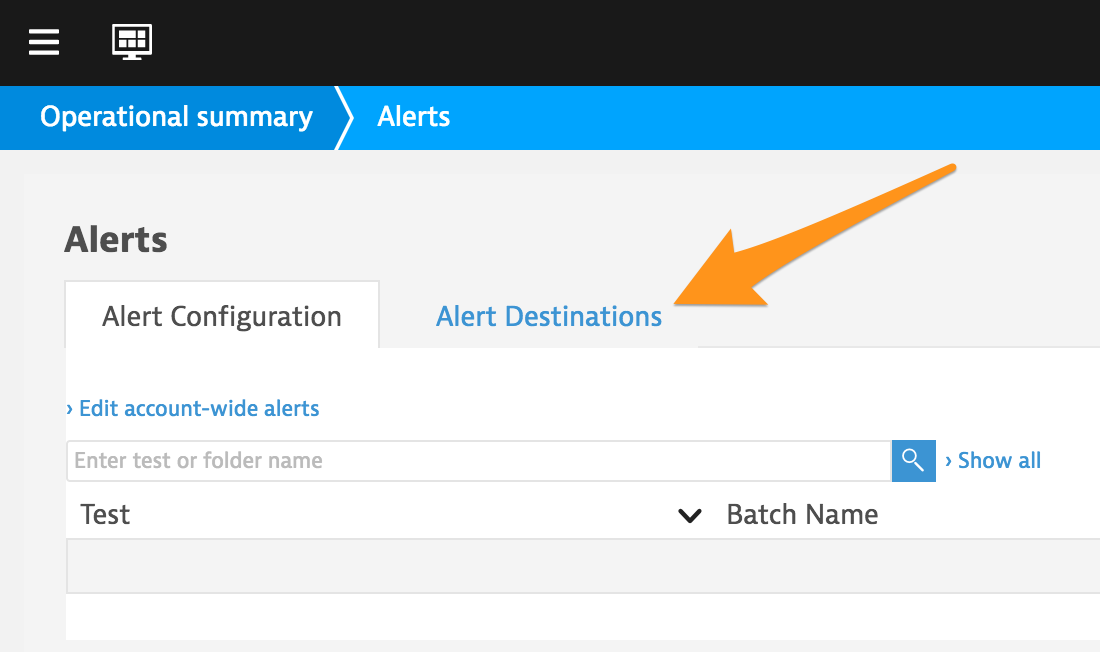
Alert Destinations を選択します。
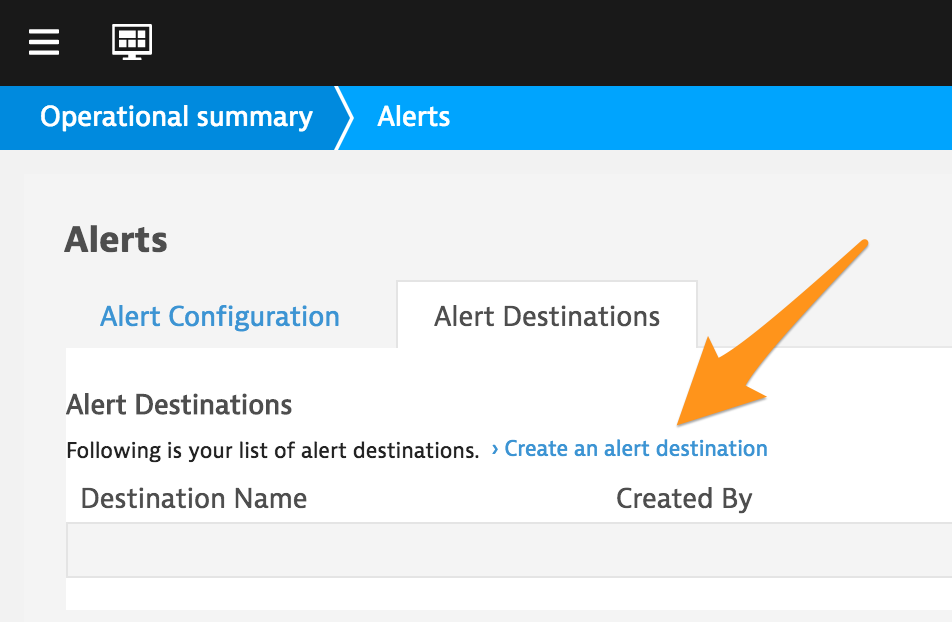
Create an alert destination を選択します。
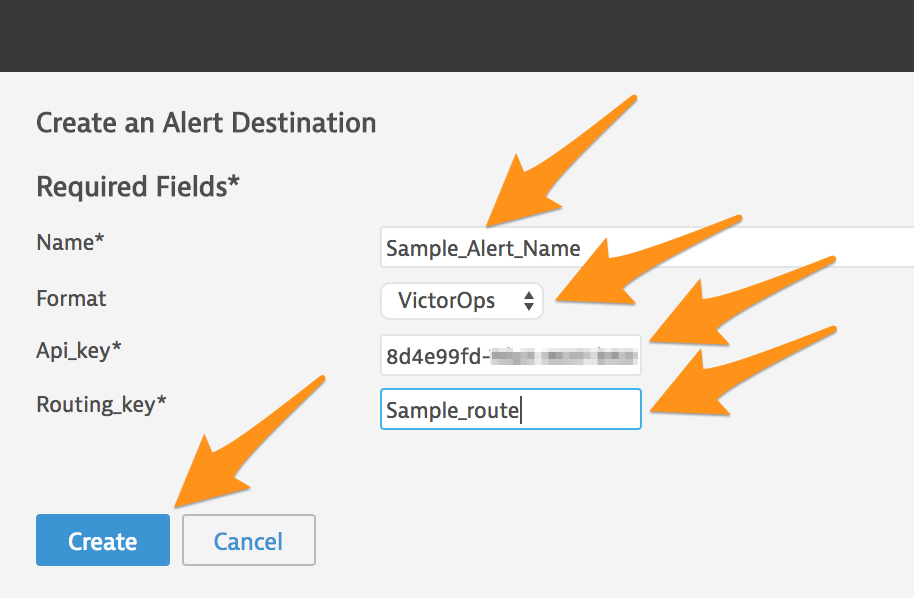
Format` メニューから :strong:` VictorOps ` を選択し、Name` および Routing_key に適切な値を入力します。In VictorOps (Splunk On-Call)セクションからAPIキーを貼り付けます。
Create を選択します。
Alert Configuration タブを選択します。
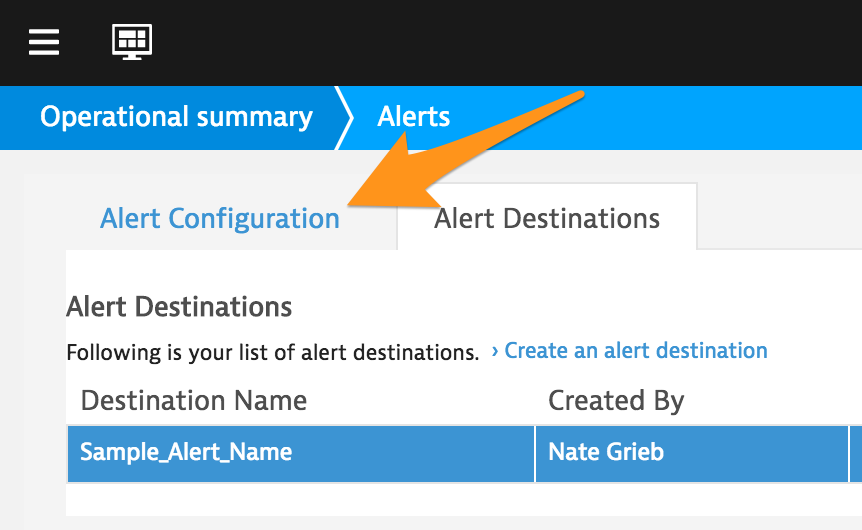
アラートを関連付けたいテストについて、Action を選択し、ドロップダウンメニューから Edit を選択します。

Test Level Alerts タブまたは Step Level Alerts タブのいずれかを選択し、タブの左側から設定したいアラートの種類を選択します。

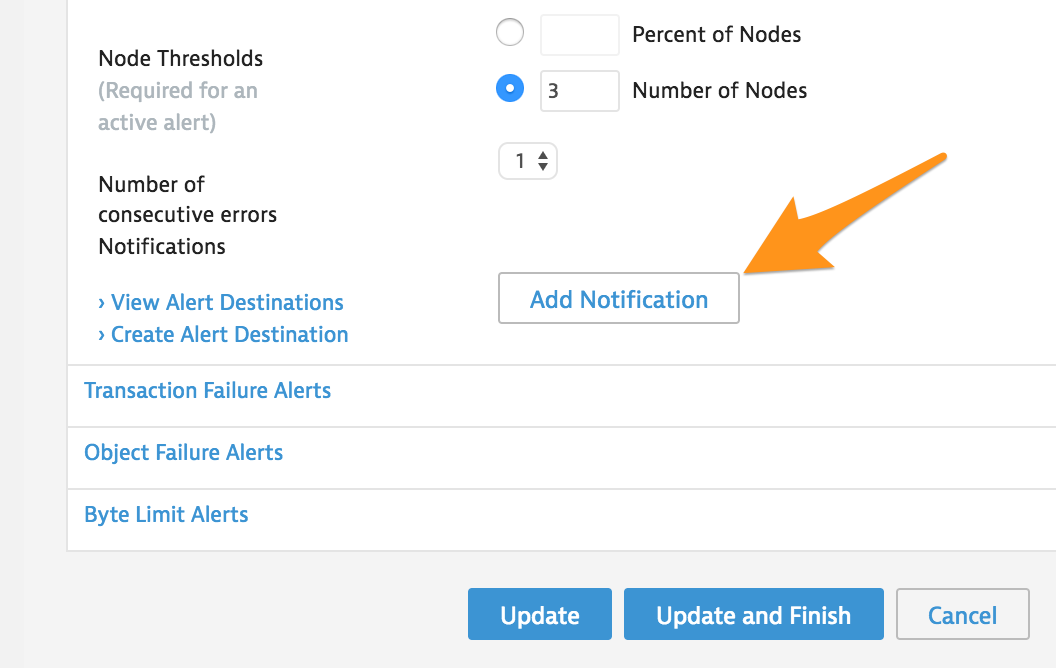
#. For testing, make sure to have set to On. You can change the Activation setting after testing if you want. Configure the alert settings how you want, then select Add Notification near the bottom of the page.
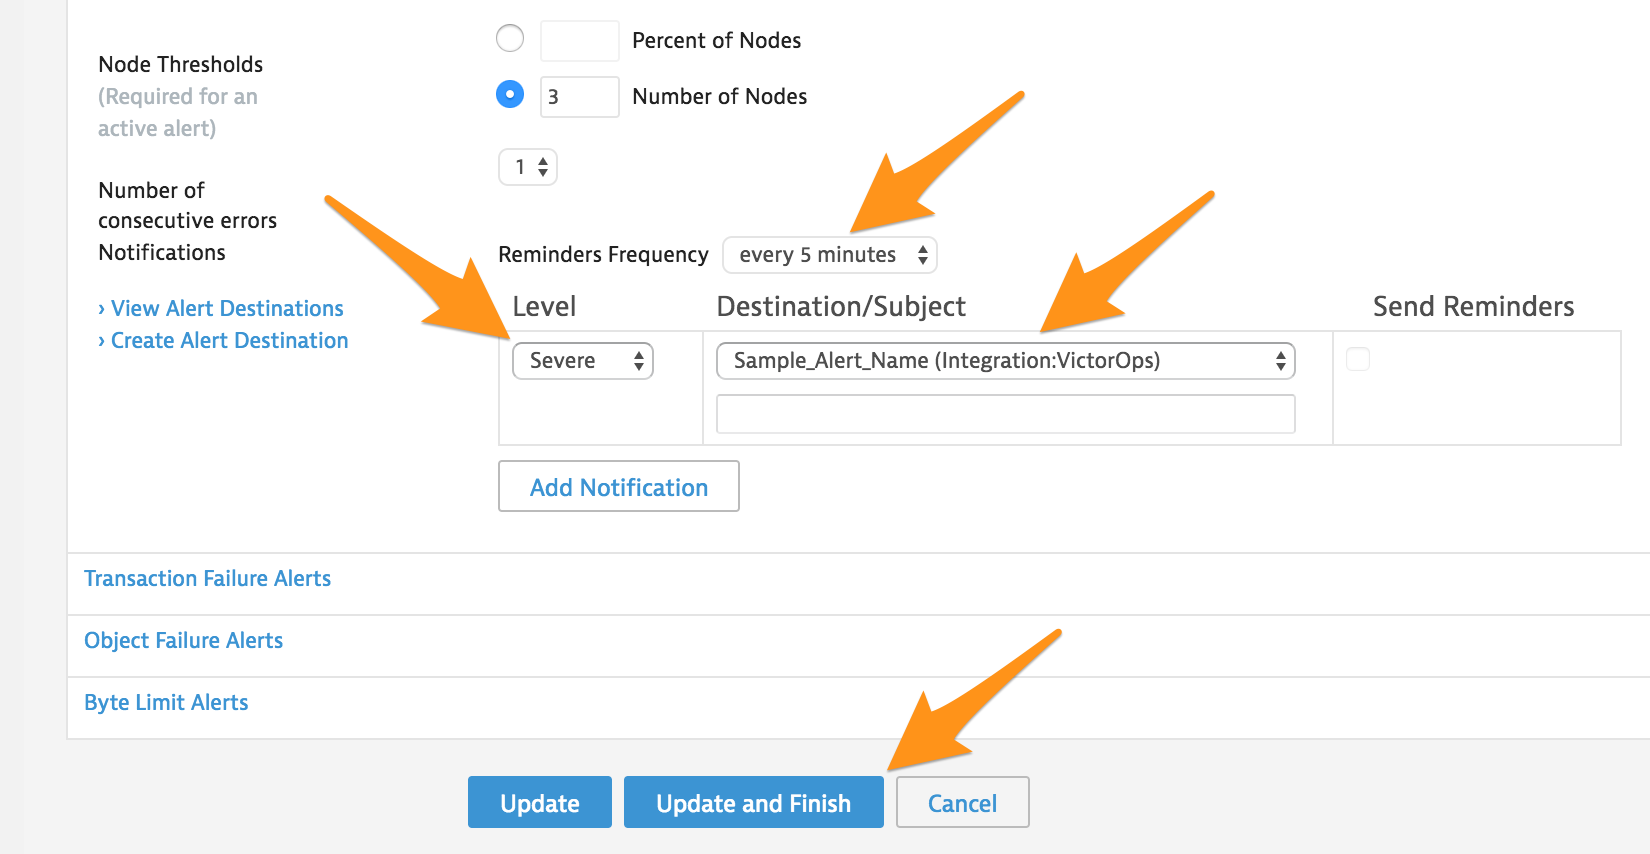
Reminders Frequency と Level` を希望の値に設定し、Destination/Subject を先ほど作成したアラート送信先に設定します。Update and Finish を選択してプロセスを完了するか、Add Notification を選択して異なる設定で別の通知を追加します。
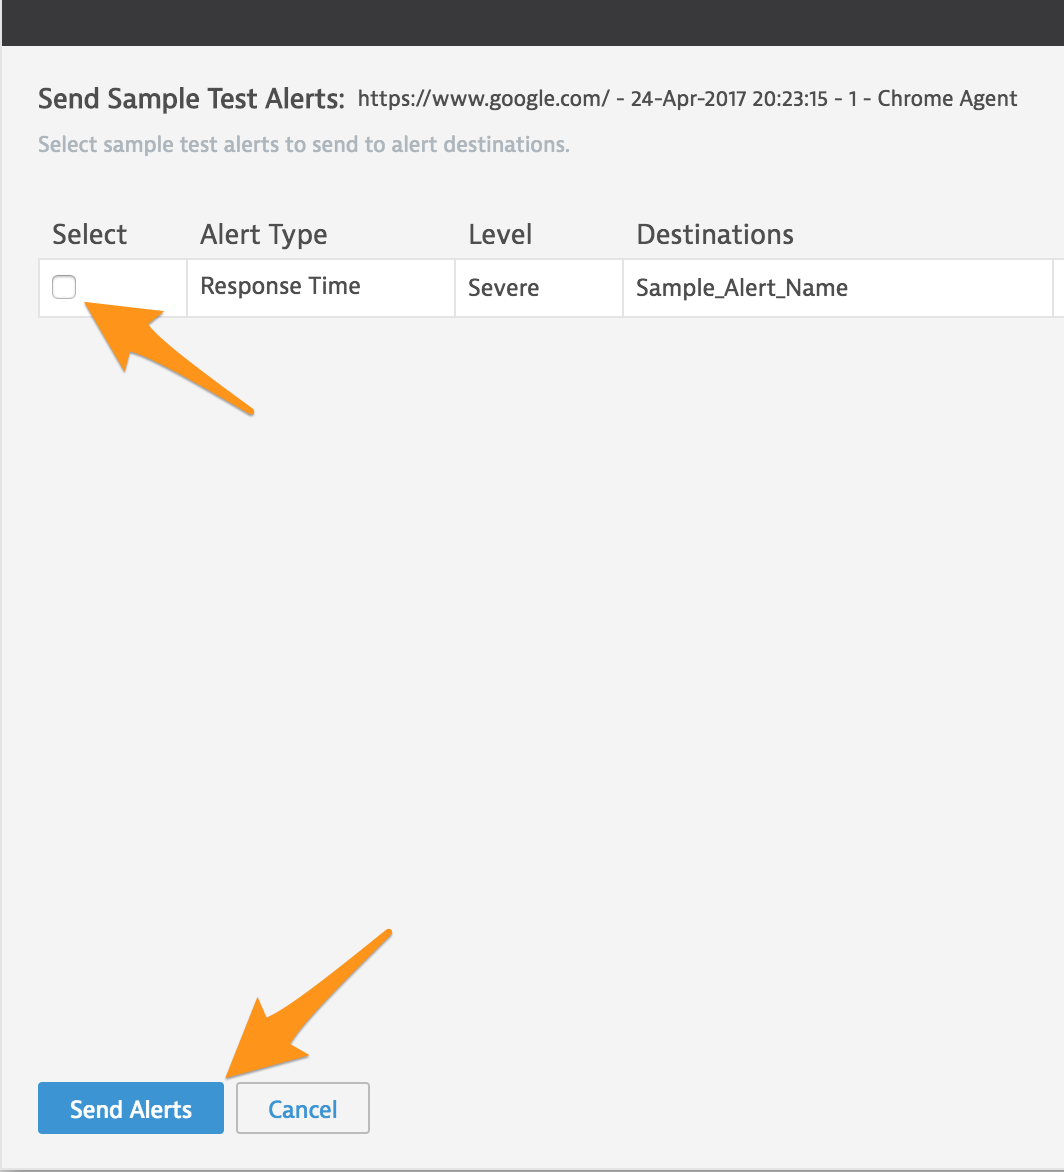
先ほど更新したテストの Action ドロップダウンを選択し、 を選択します。

テストするアラートを選択し、Send Alerts を選択します。
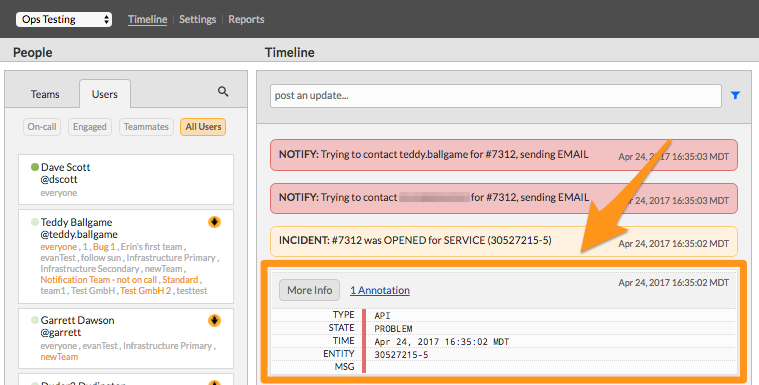
Splunk On-Callタイムラインでテストアラートを受信したことを確認します。
これでインテグレーションの設定は完了です。