Splunk On-CallのConnectWise Automateインテグレーション 🔗
ConnectWise Automate(旧LabTech)は、技術者の非効率性を排除し、ITサービスを自動化して、プロアクティブなITサービスデリバリを習得するための強力なリモート監視および管理ソリューションです。次のガイドでは、このインテグレーションについて説明します。
In VictorOps
VictorOps Webポータルから、設定 >> アラート動作 >> インテグレーション を選択します。
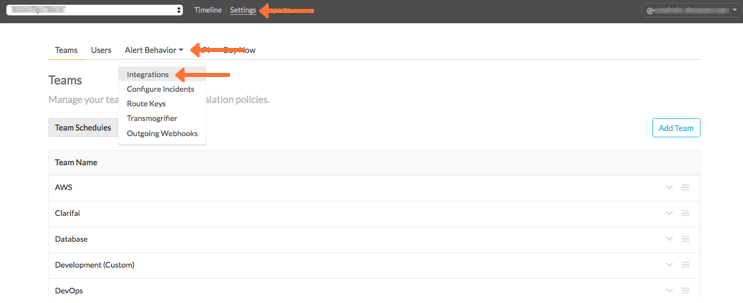
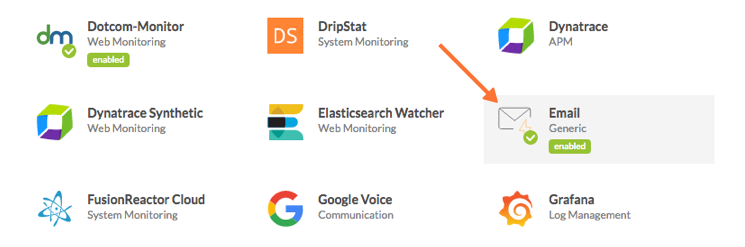
メール インテグレーションオプションを選択します。
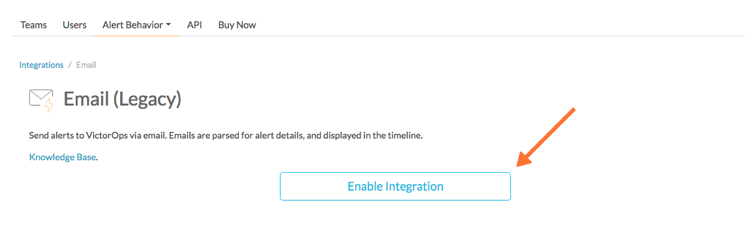
インテグレーションを有効にする をクリックします。
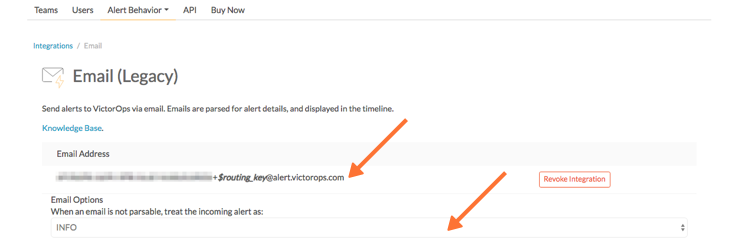
メールアドレス**をクリップボードにコピーします。必ず、」$routing_key」セクションを使用する実際のルーティングキーに置き換えてください。(VictorOpsでルートキーを表示または設定するには、**アラート動作、次に**ルートキー**をクリックします)。「メールオプション」ドロップダウンメニューから、メールが解析できない場合のアラートの分類方法を選択します。
In ConnectWise Automate 🔗
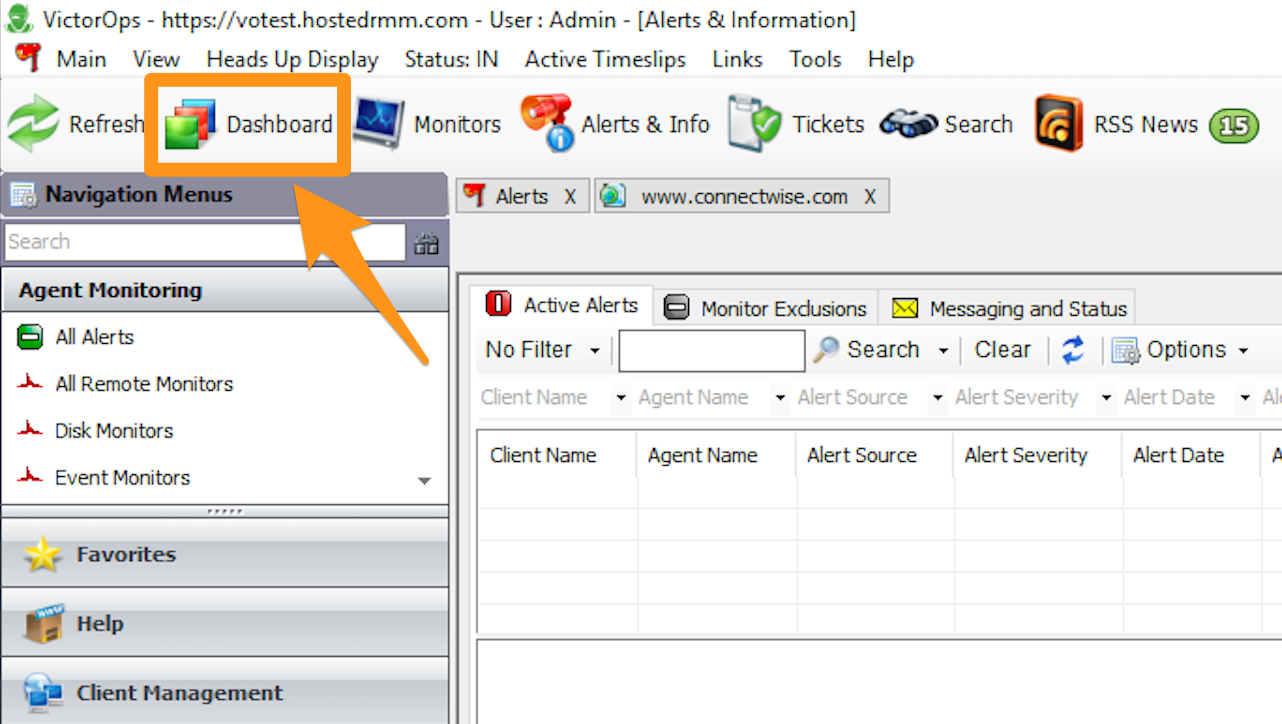
ConnectWise Automate Control Centerから、ダッシュボード を選択します。
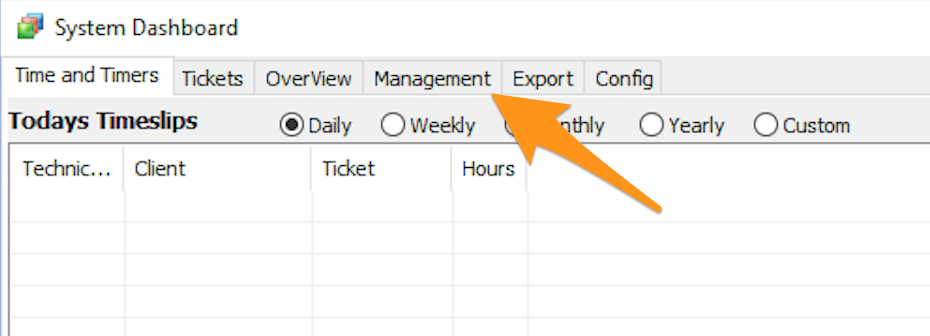
システムダッシュボード から 管理 を選択します。
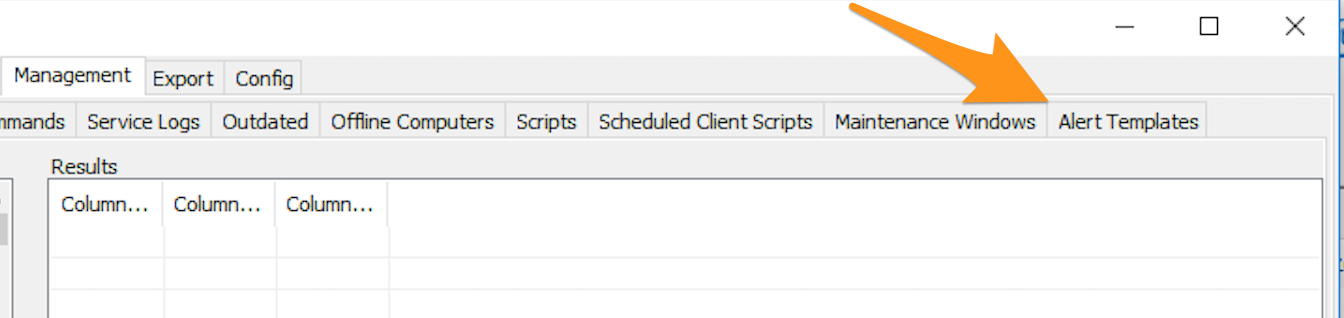
アラートテンプレート タブを選択します。
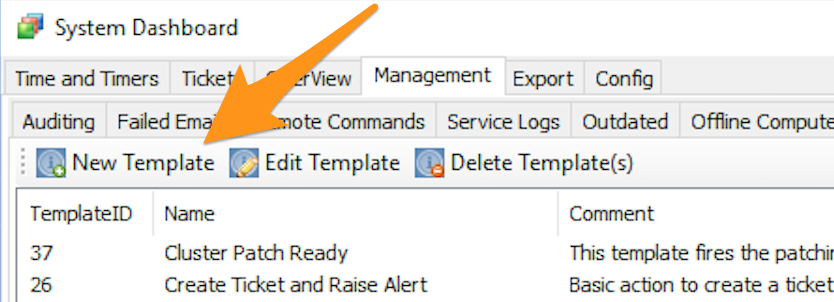
新しいテンプレート をクリックします。
「名前」フィールドにアラートテンプレートの名前を入力し、Add Alerts をクリックします。

新しいアラート をクリックします。

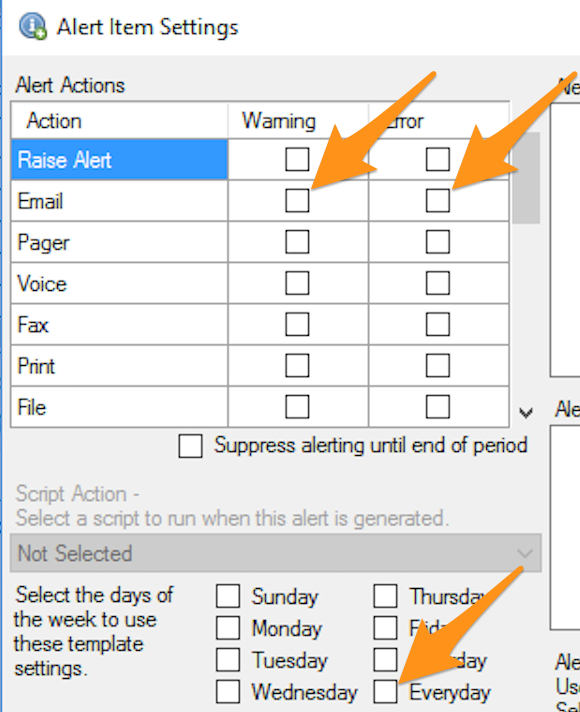
「アラートアクション」の「メール」「警告」と「エラー」にチェックを入れ、「Select the days of the week to use these template settings」の隣の「Everyday」にチェックを入れます。
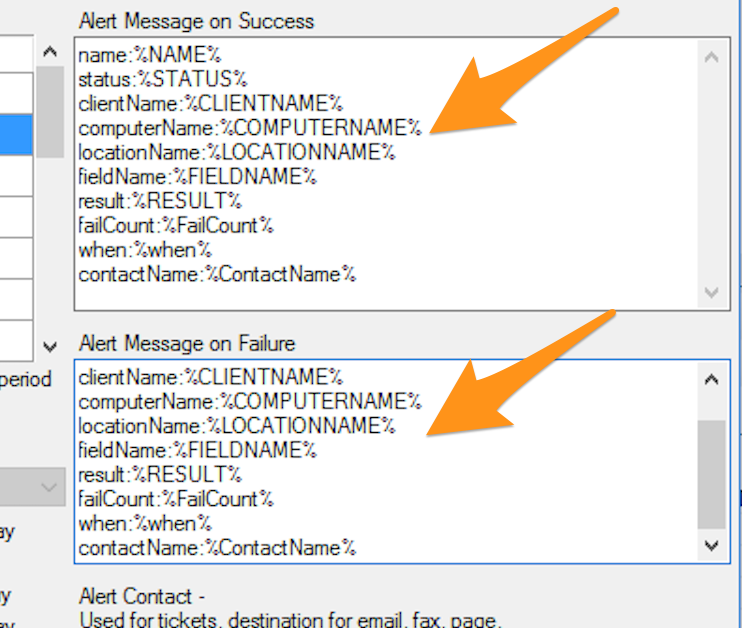
以下のコードを「成功時のアラートメッセージ」と「失敗時のアラートメッセージ」フィールドに貼り付けます。
name:%NAME% status:%STATUS% clientName:%CLIENTNAME% computerName:%COMPUTERNAME% locationName:%LOCATIONNAME% fieldName:%FIELDNAME% result:%RESULT% failCount:%FailCount% when:%when% contactName:%ContactName%
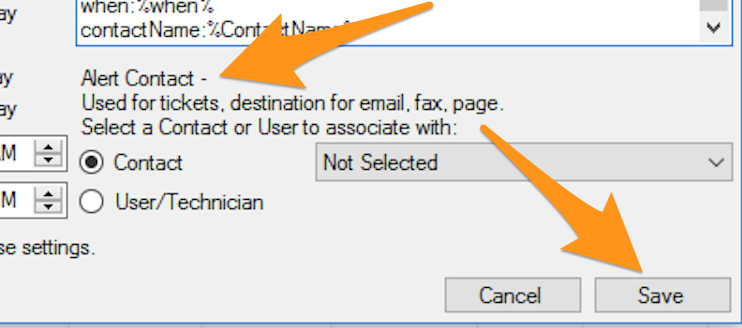
このアラートを関連付けたい「アラート連絡先」オプションを選択し、保存 をクリックします。
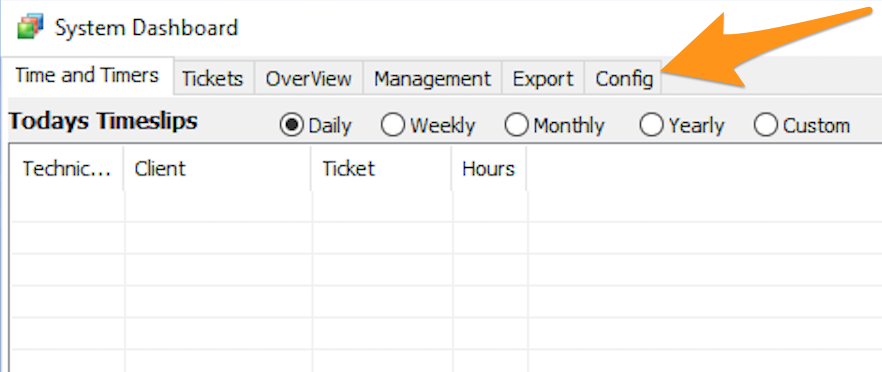
「システムダッシュボード」ウィンドウに戻るまでウィンドウを閉じ、設定 タブを選択します。
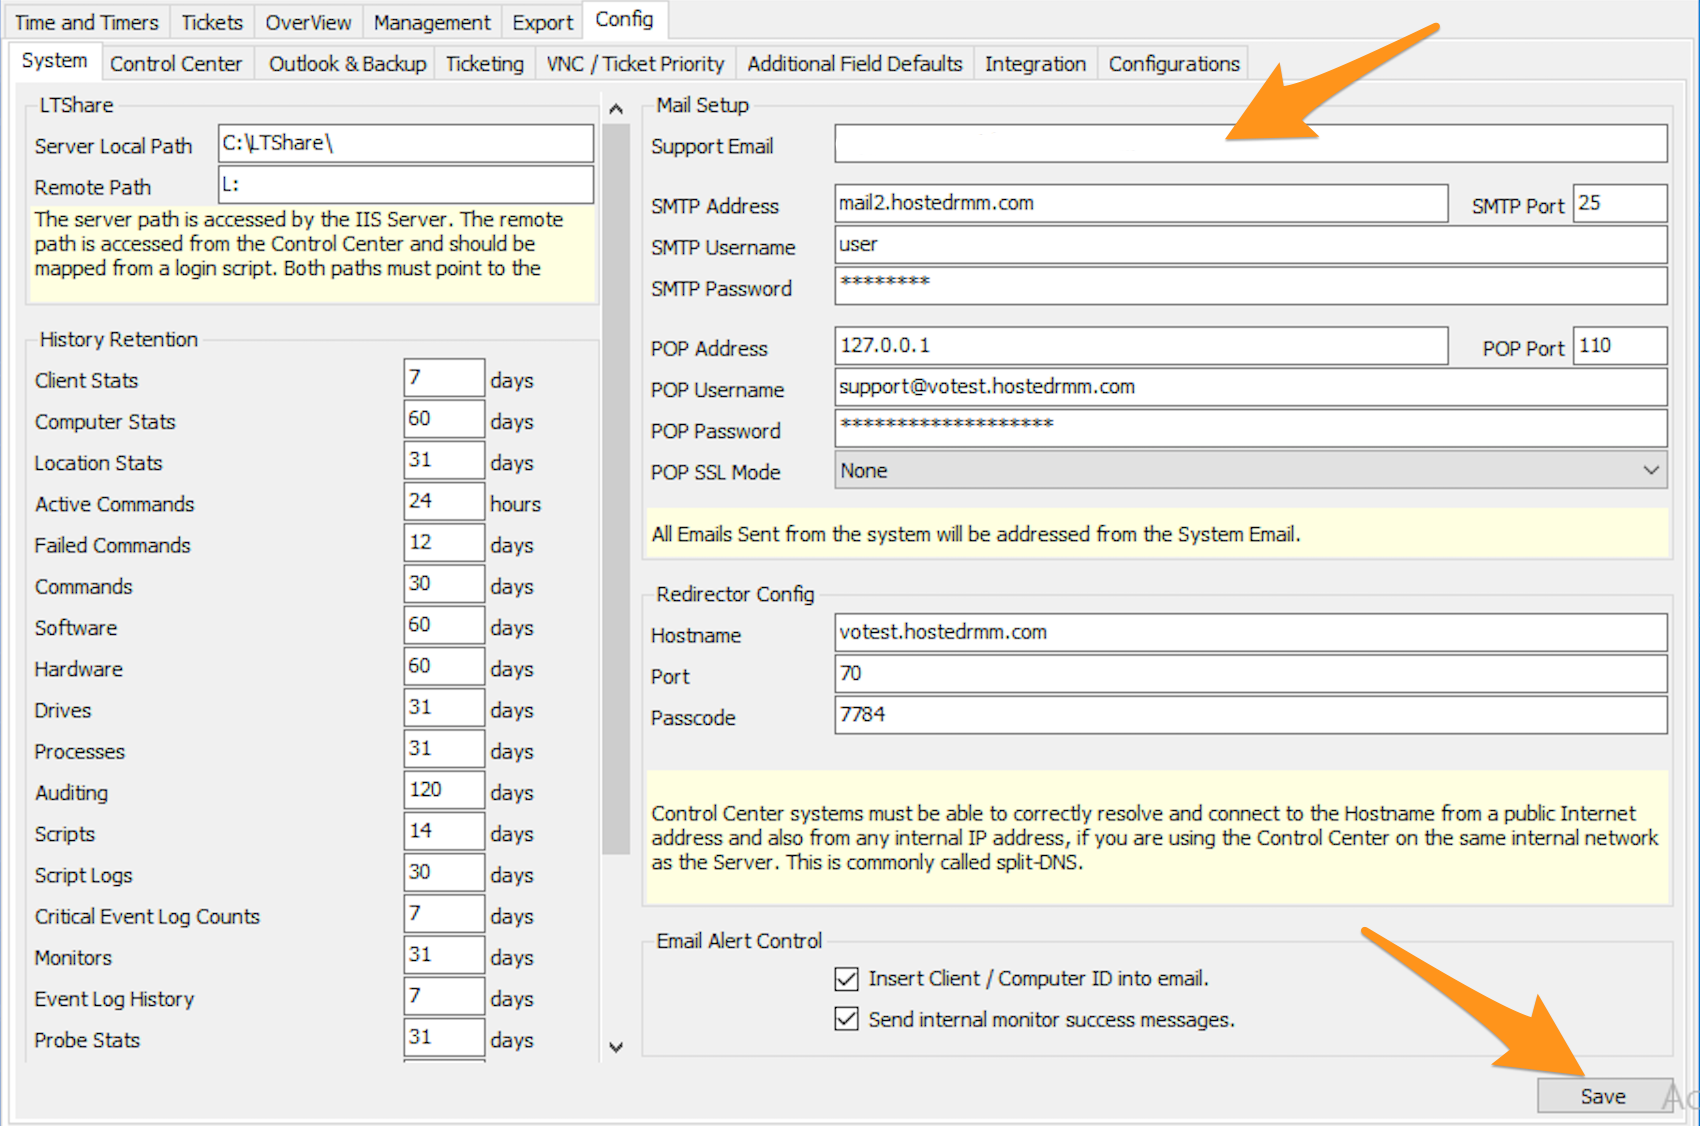
「システム」タブで、」In VictorOps」セクションの」Email Address」を」Support Email」フィールドに貼り付け、SMTPとPOPの設定を行い、保存 をクリックします。
これでこのインテグレーションの設定は完了です。ご不明な点がございましたら、VictorOpsサポート までお問い合わせください。