Splunk On-CallのHumioインテグレーション 🔗
要件 🔗
このインテグレーションは以下のバージョンのSplunk On-Callと互換性があります:
Starter
Growth
エンタープライズ
Humioにより、システムのデータをすぐに利用でき、仕事を効果的に行うための質問に答えられます。
HumioとSplunk On-Callのインテグレーションは、指定したHumio Alertクエリが結果を返すと通知します。
In Splunk On-Call 🔗
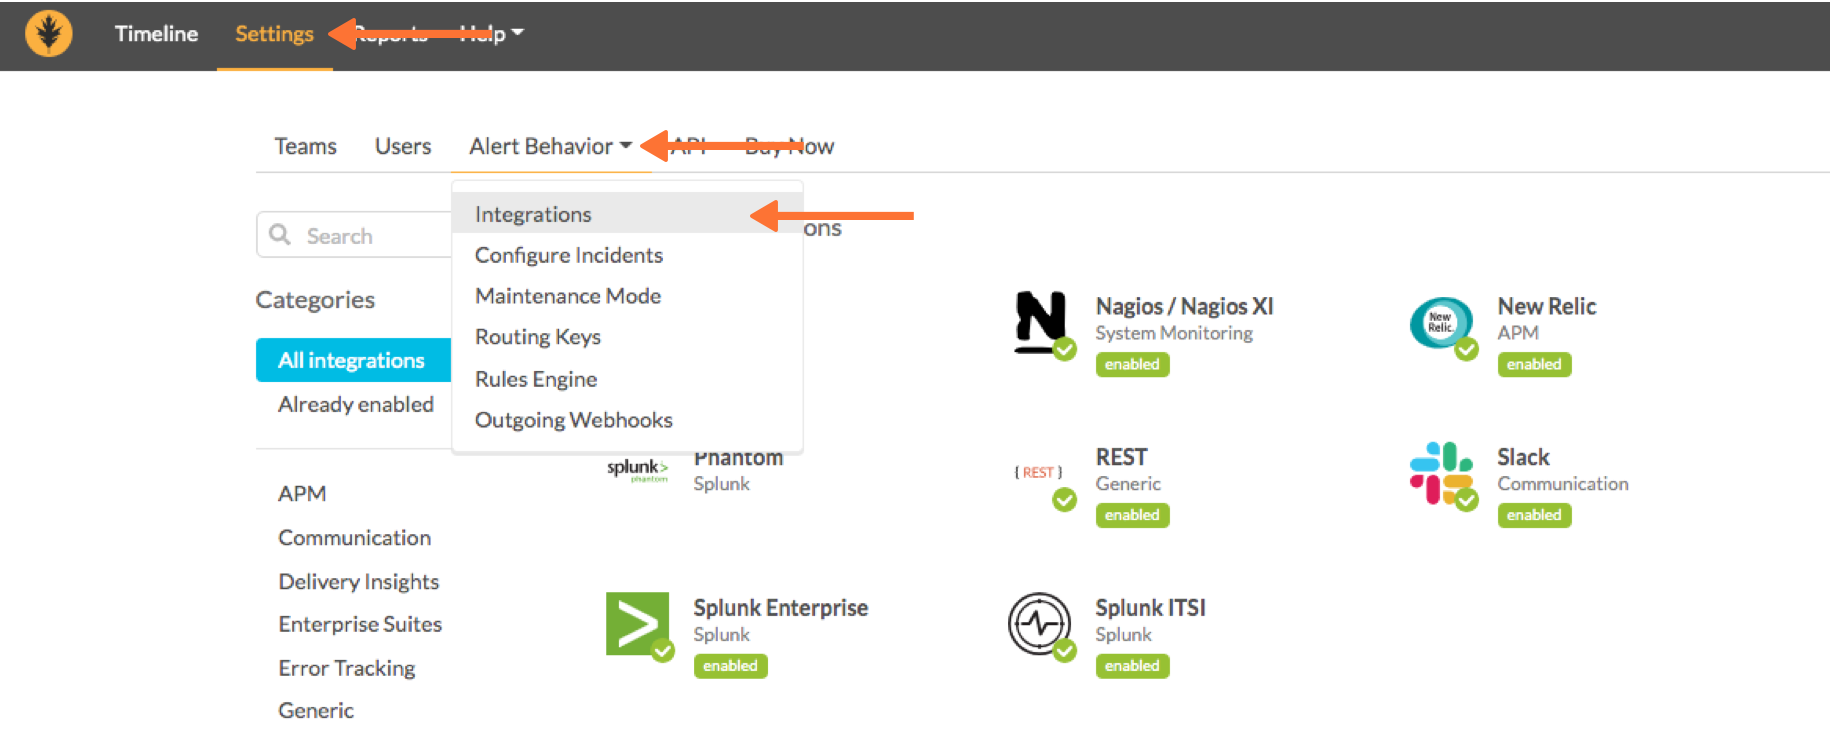
メインのタイムラインから、Settings >> Alert Behavior >> Integrations >> Humio を選択します
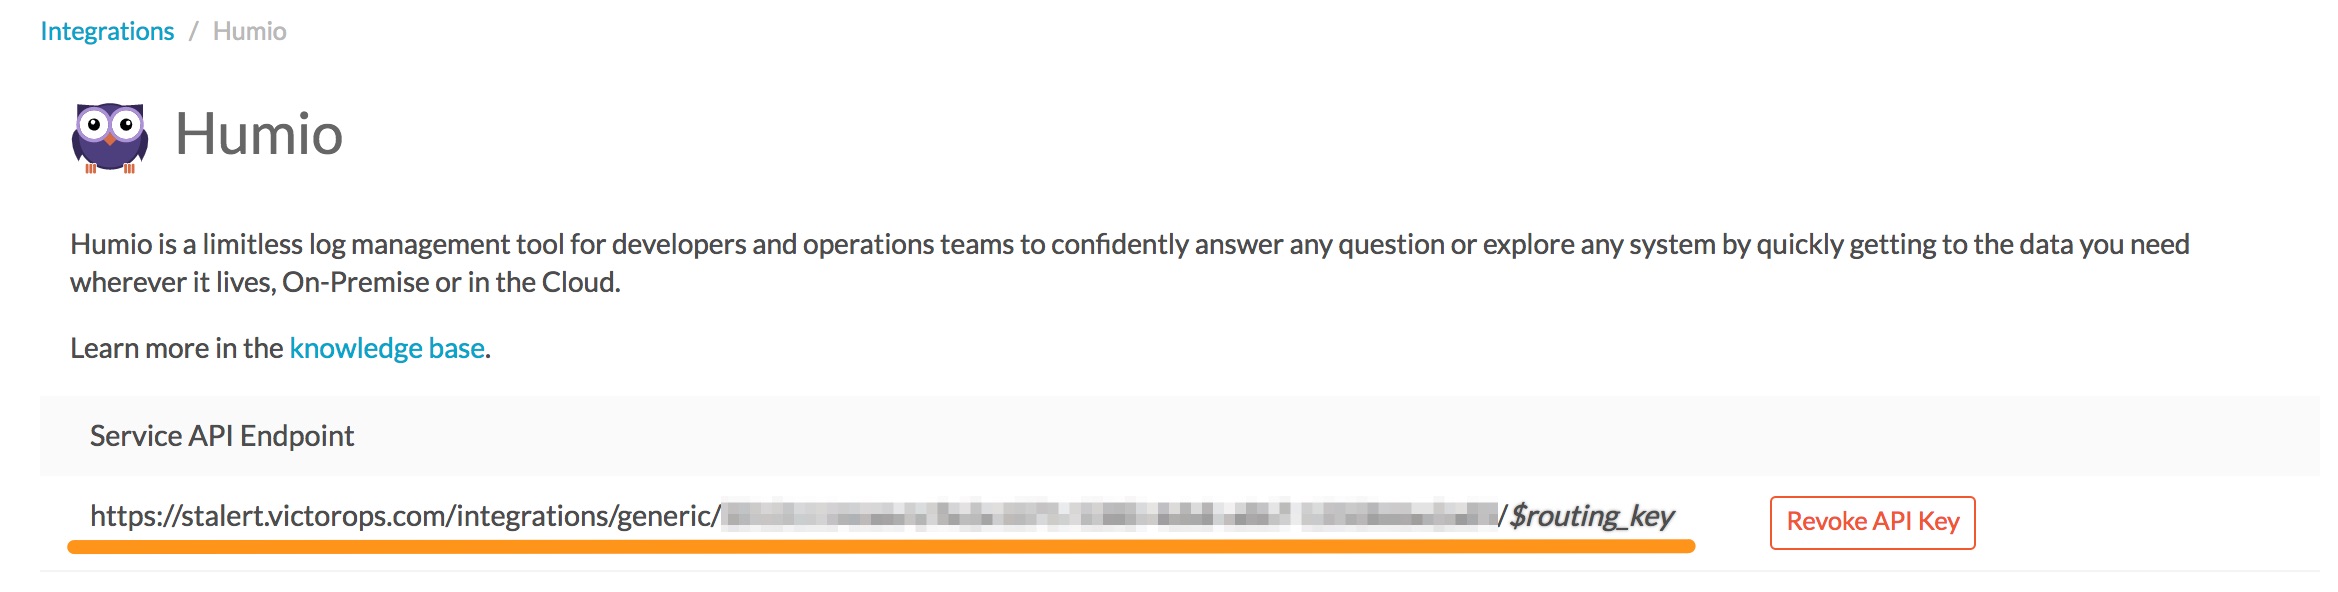
インテグレーションがまだ有効になっていない場合は、「インテグレーションを有効にする」ボタンを選択します。」サービスAPIエンドポイント」をクリップボードにコピーします。必ず」$routing_key」セクションを、実際に使用するルーティングキーに置き換えてください。
注釈
VictorOpsでルートキーを表示または設定するには、Alert Behavior >> Route Keys を選択します。
In Humio 🔗
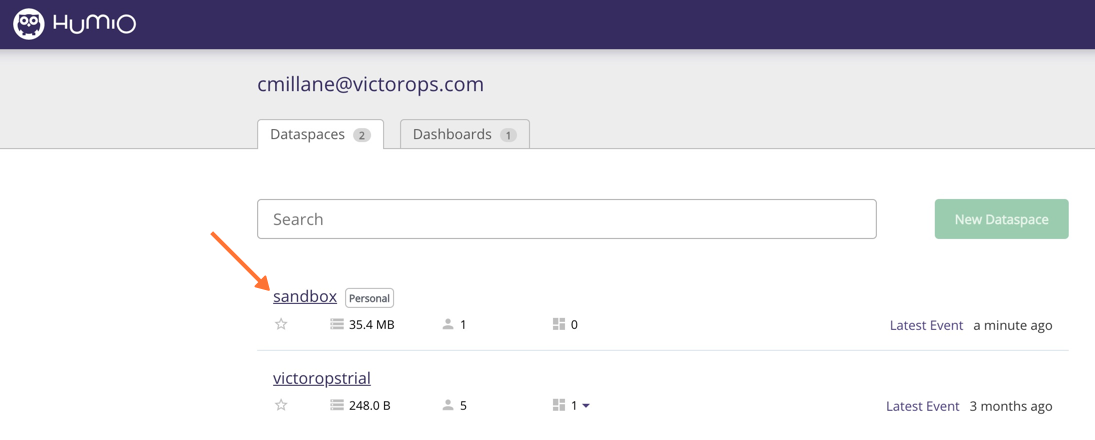
ホームページから、Splunk On-Callインテグレーションを設定するデータスペースを選択します。
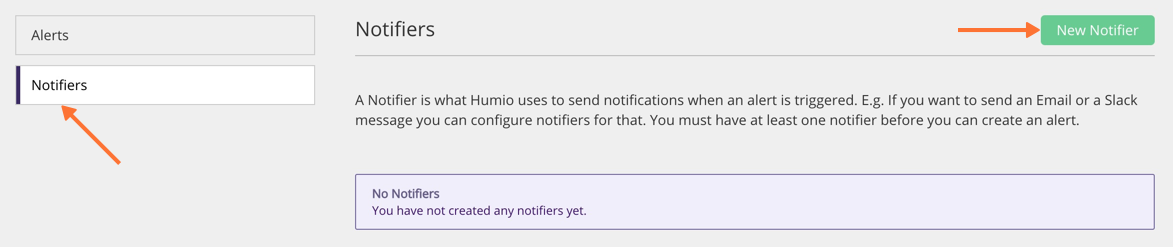
次に、画面の上部で、Alerts を選択します。

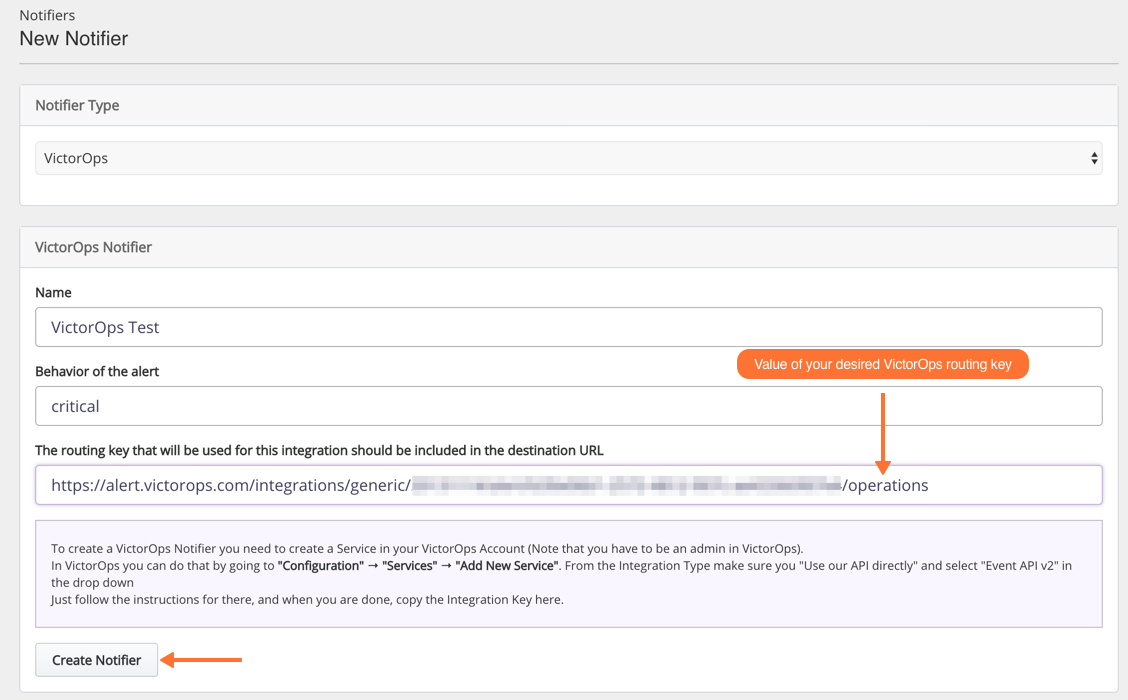
次に Notifiers >> New Notifier に移動します
Notification Type の場合は、メニューを選択し、VictorOps を選択します。
VictorOps通知者に名前を付け、アラートの動作を「クリティカル」のままにします。
「このインテグレーションに使用するルーティングキーを宛先URLに含める必要があります」フィールドには、Splunk On-CallからコピーしたサービスAPIエンドポイントを貼り付けます。最後にある$routing_keyを、使用するSplunk On-Callのルーティングキーに置き換えてください。
最後に、Create Notifier を選択します。
次に、この通知者を使用するアラートを作成します。
:guilabel:`` and then :guilabel:` 新しいアラート`を選択します。
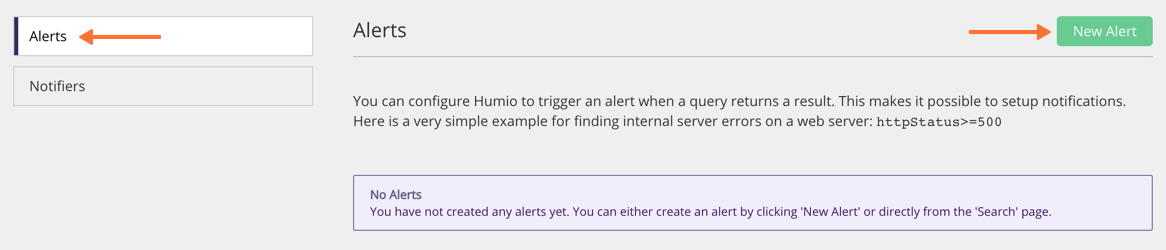
次に、通知の基準を定義します。この例では、400エラーが発生したときに通知が表示されます。
アラートに直感的な名前を付け、条件が満たされたときに使用する通知者を選択し、Splunk On-Callが通知を送信する最大頻度である通知頻度を選択します。
また、「実行」を選択すると、定義した条件の結果を見ることができます。
最後に、「有効」にチェックを入れたことを確認し、Create を選択します。

これで設定は完了です。これで、Humio内の何かが定義したアラート基準に一致するたびに、Splunk On-Callが通知頻度で定義した間隔で通知するようになります。